

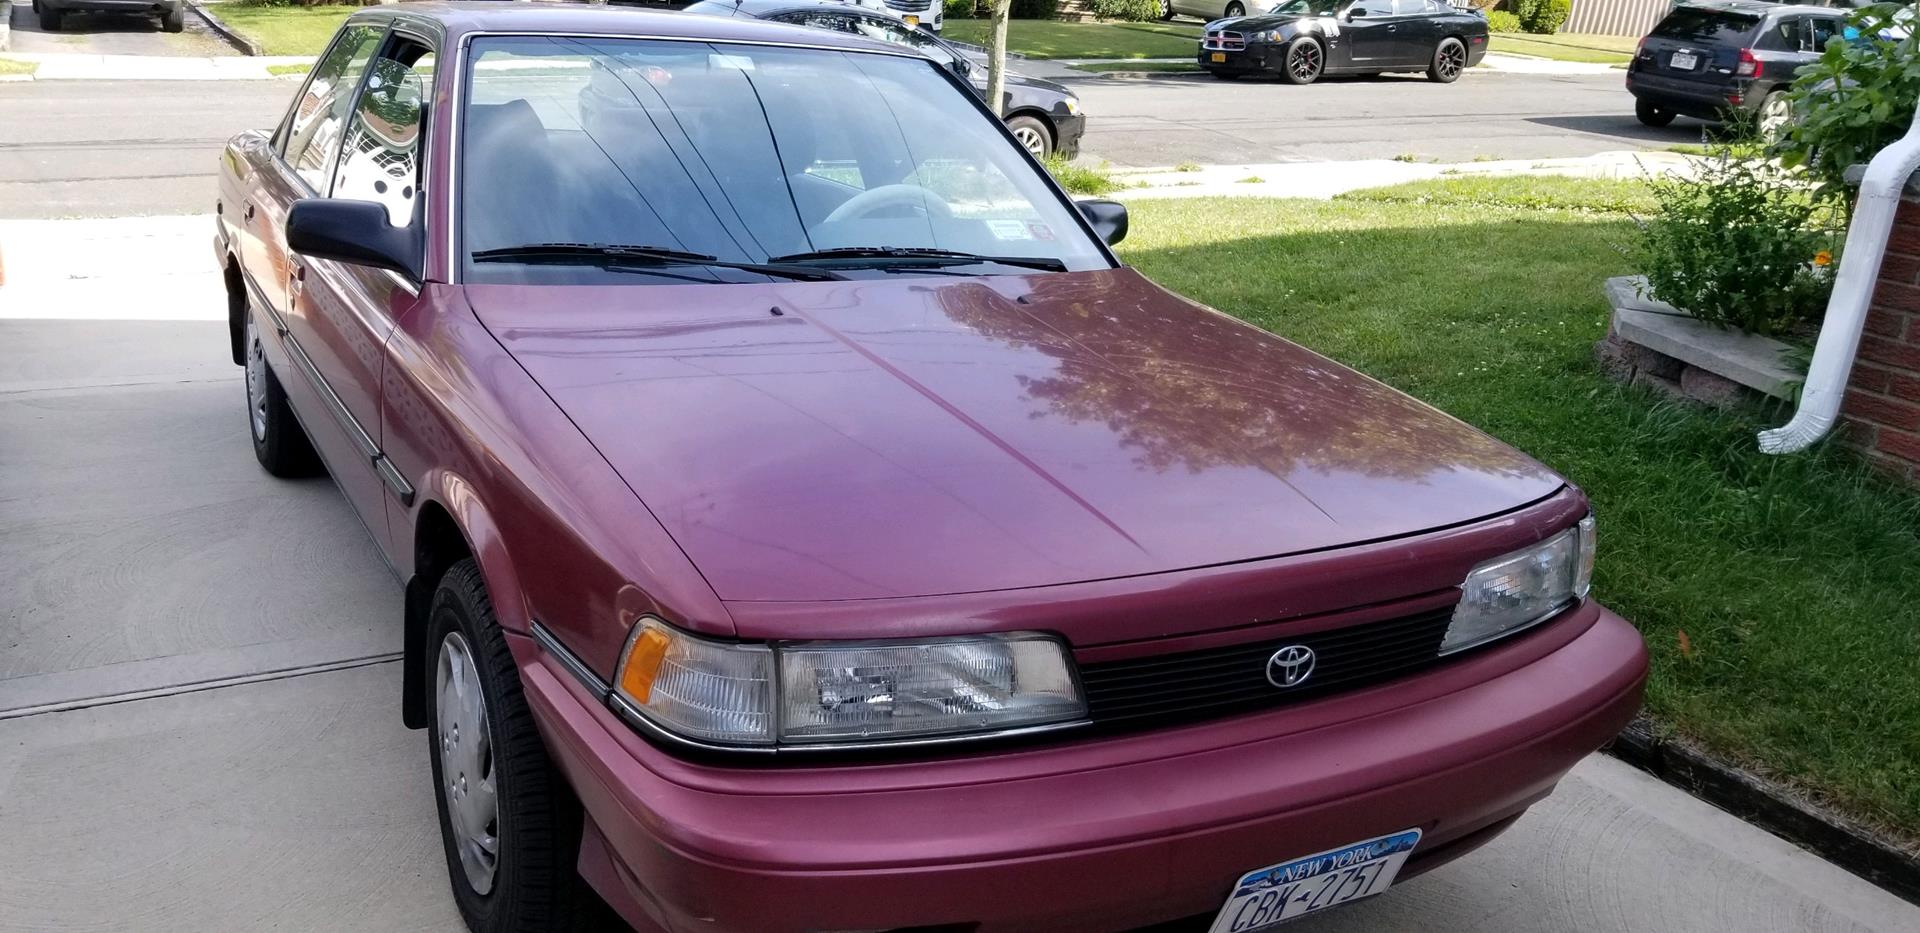
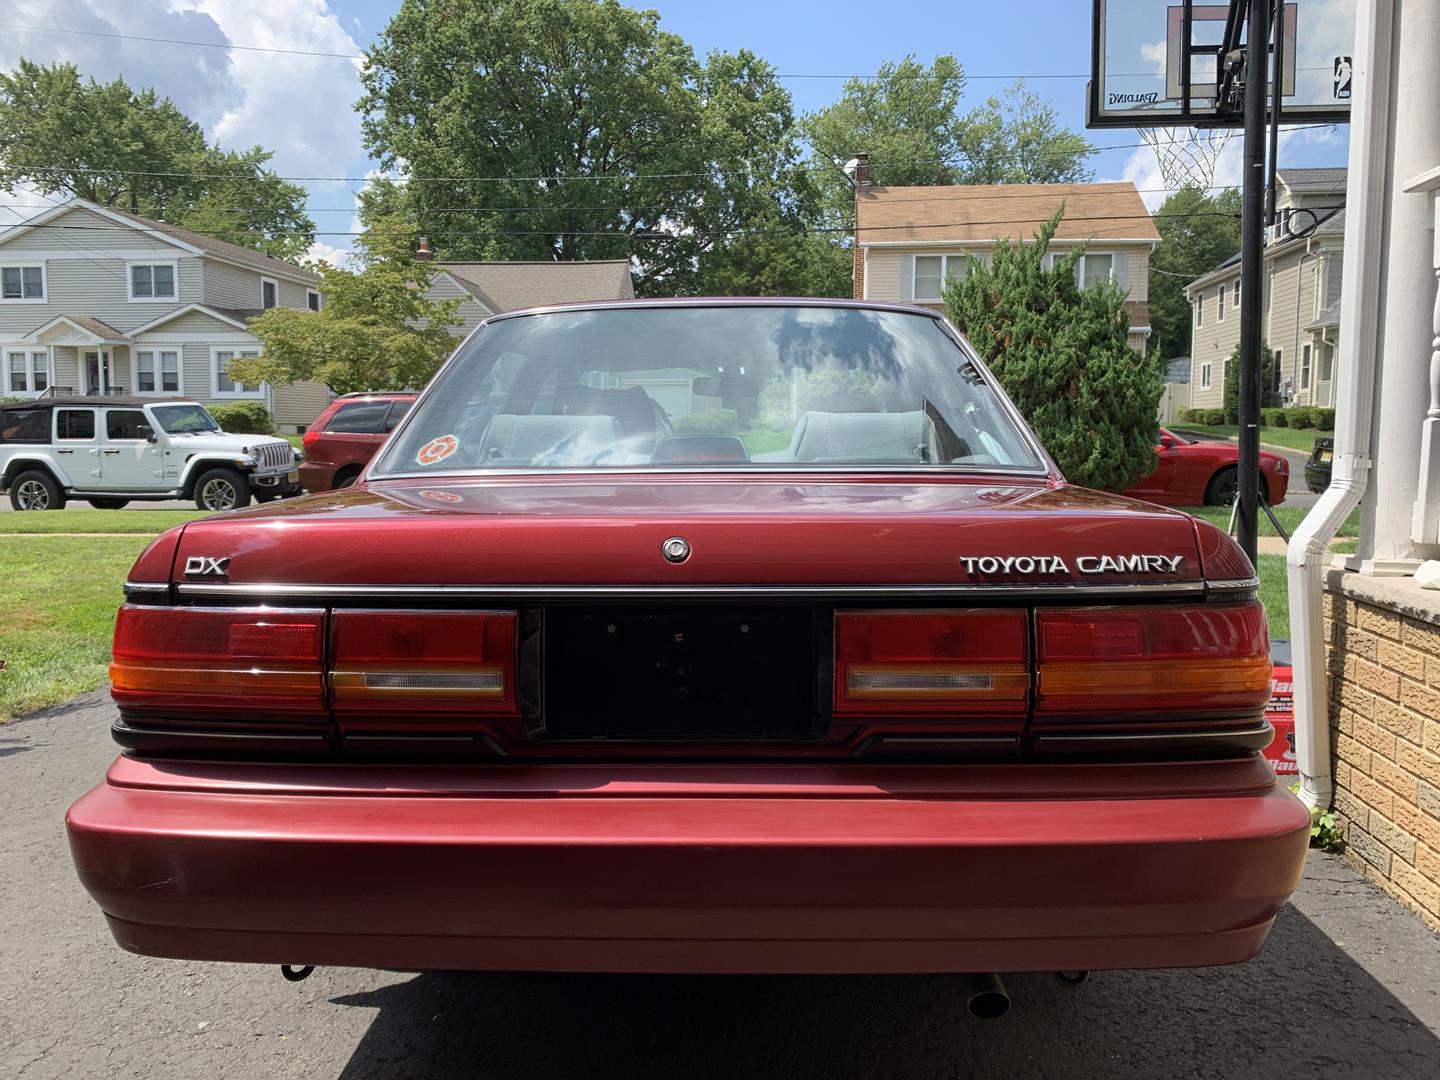
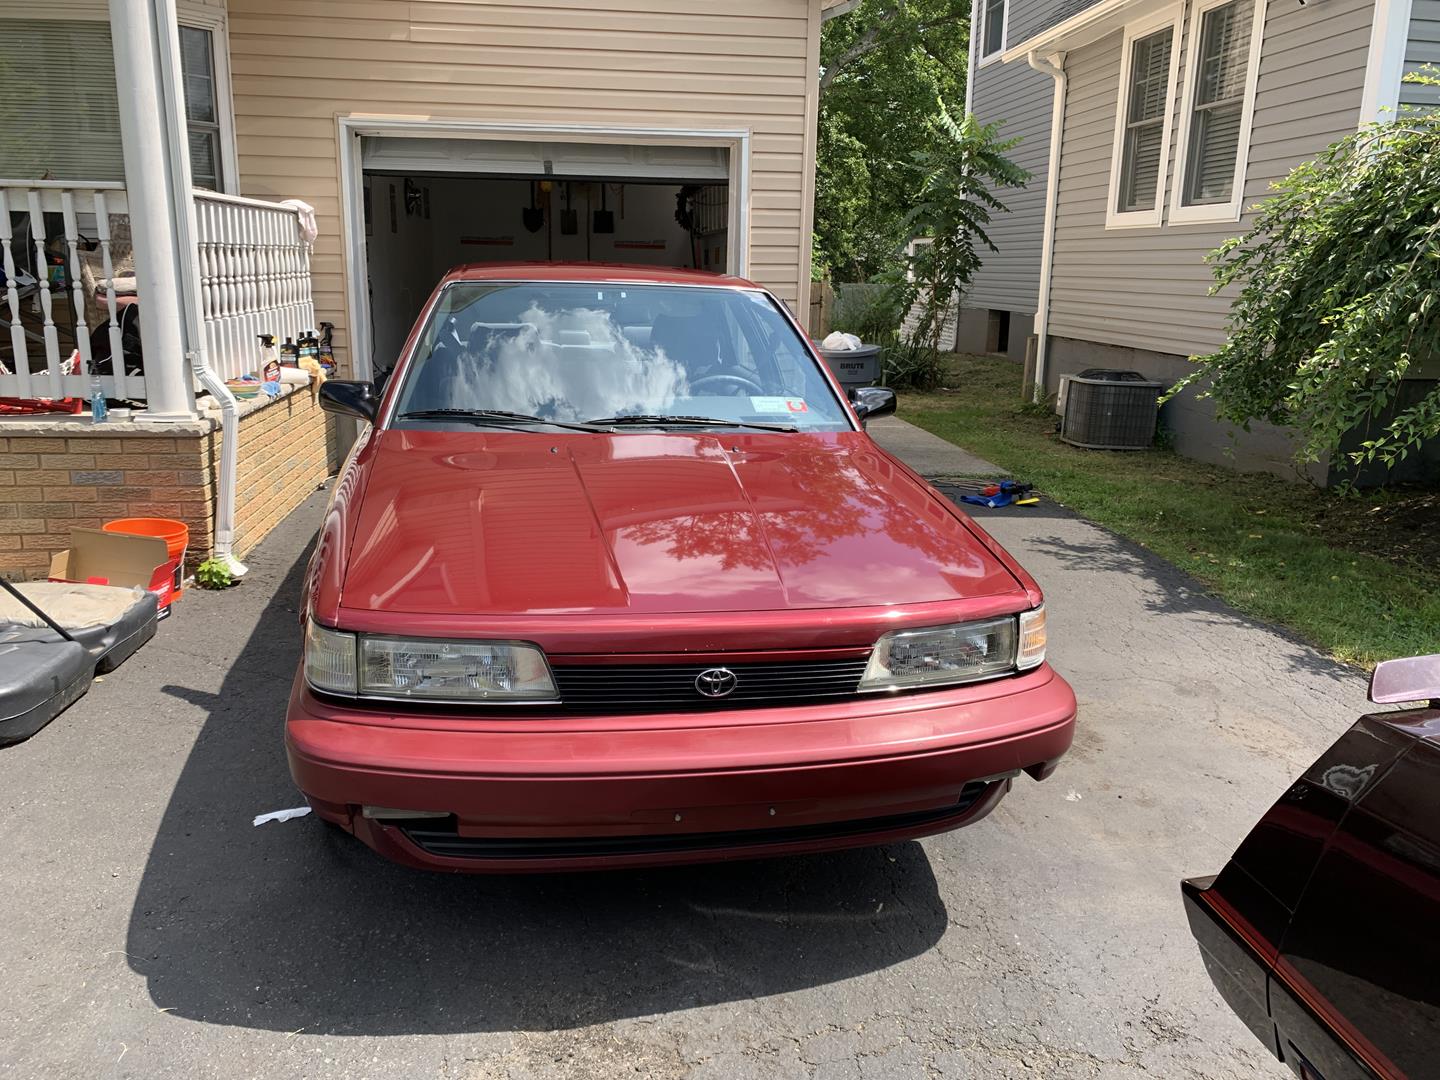
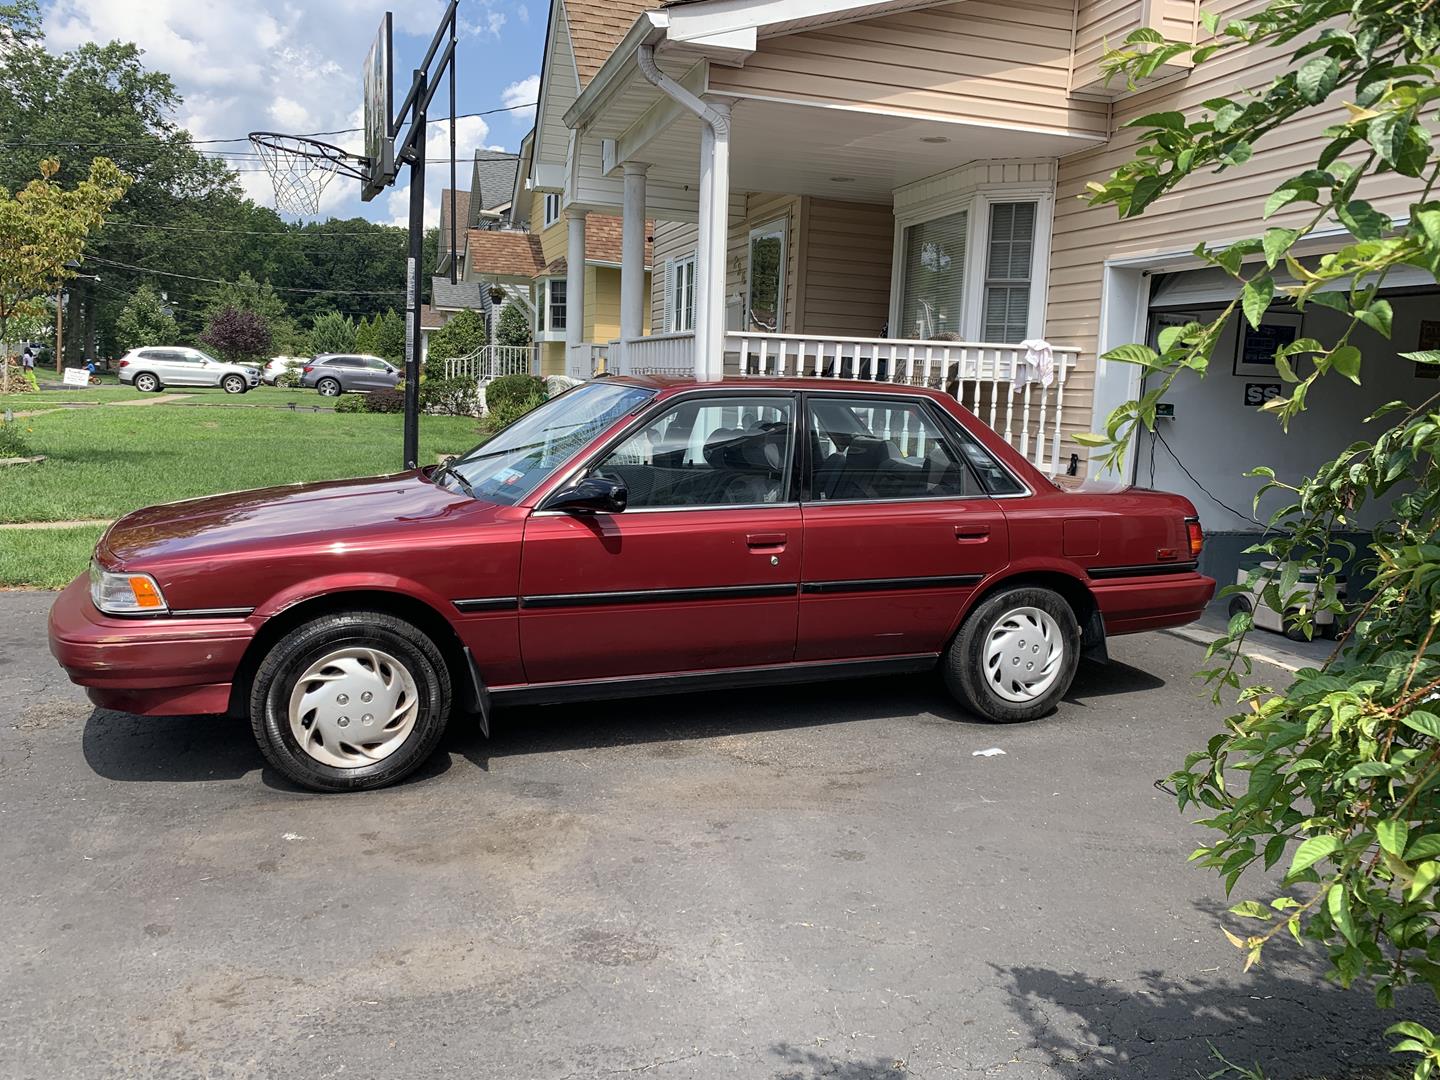
I love cars, to me they are not just a functional piece of everyday life but more a work of art. Even the ugliest car had to be designed by someone who thought it was a good idea at the time. My kids are getting older and my youngest is learning to drive. We were fortunate to have a 1991 Toyota Camry dropped into our lap. A 30 year old “beater” that runs and drives and is in surprisingly good condition. The only problem is it has 30 year old paint, that has apparently never been waxed or polished. The goal is to do a paint correction that would give the car a great look from 10ft away (lol)
Paint Correction Procedure
Rather than make a list of the products I used to do this paint correction, I’m going to list each step and which products were used for that step
STEP 1 – Wash the car
This is probably obvious as the first step, but fully wash and dry the car, get the car as clean as it can be. I like Meguiar’s products and they have a very reasonably priced car wash. $22 for a large bottle at Amazon.
If you are unsure how to properly was your car, I wrote a great blog article a couple years ago that could prove to be helpful – Click Here
STEP 2 – CLAY BAR
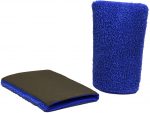
The next step in our paint correction project is to quickly clay bar the car. The clay will help remove any leftover contaminants in the paint that were not removed during the wash. I find using a Clay Mitt to be easier then the bar. The one I have used in the past is about $25 at Amazon. Also don’t forget to pick up clay luber for your clay mitt/bar. To keep friction down and prevent any  additional damage to the paint, spray a good helping of luber before rubbing your car. I have used luber from the Chemical Guys, works very well and only $9.00 for a bottle at Amazon.
The procedure is simple, spray the luber on the car, wipe with your clay mitt, buff dry with a microfiber cloth.
STEP 3 / 4 / 5 – COMPOUND, GLAZE, WAX
I am lumping these steps together because they all involve the same steps:
- Hand apply product (compound / glaze / wax)
- Allow to dry to a light haze
- Buff off
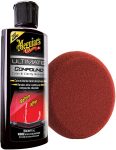 I started with the Meguiar’s compound and it was amazing at cutting through 30 years of neglect! Remember your Mr. Miyagi – Wax on – Wax Off. The compound is very inexpensive at only $15 a bottle at Amazon.
I found the compound very easy to work with and it didn’t take much effort to remove from the paint.
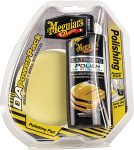
The second step was the pre-wax polishing glaze. This step further removes the haze and small scratches that built up on the paint over the years. This too was easy to apply, but felt a bit more difficult to remove. Again you are working this product into the paint with a polishing pad letting dry to a slight haze and remove with a microfiber cloth. The glaze apparently is the most expensive product I used at $20.00 on Amazon.
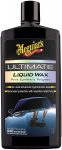
The final step to this paint correction is to give the car a good waxing. Since I began with Meguiar’s products for the last two steps, I’m going to finish the car with Meguiar’s liquid wax. Meguiar’s will seal up all your hard work into a nice shine completing the project. Again as I said earlier – WAX ON – WAX OFF. Simply apply a small amount to the pad, wax on in a circular motion overlapping each circle. Allow the wax to dry to a nice haze and buff off! The wax was about $12 for a bottle on Amazon
After thoughts – and some other stuff you could use.
Don’t get me wrong this paint correction was a tough project and took about 5 hours to complete. I probably should have spread it out over two days (or more)

Make sure you have plenty of polishing pads and microfiber towels, they work the best on your paint.
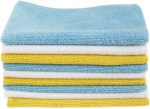
I also found this huge pack of microfiber cloths for about $15 too!
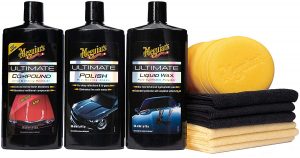 Lastly, I had found this great Meguiar’s kit that comes with pretty much everything you need! It was about $55 when I ordered it, but at the time I wrote this article it was out of stock. You might have better luck at Amazon – CLICK ME
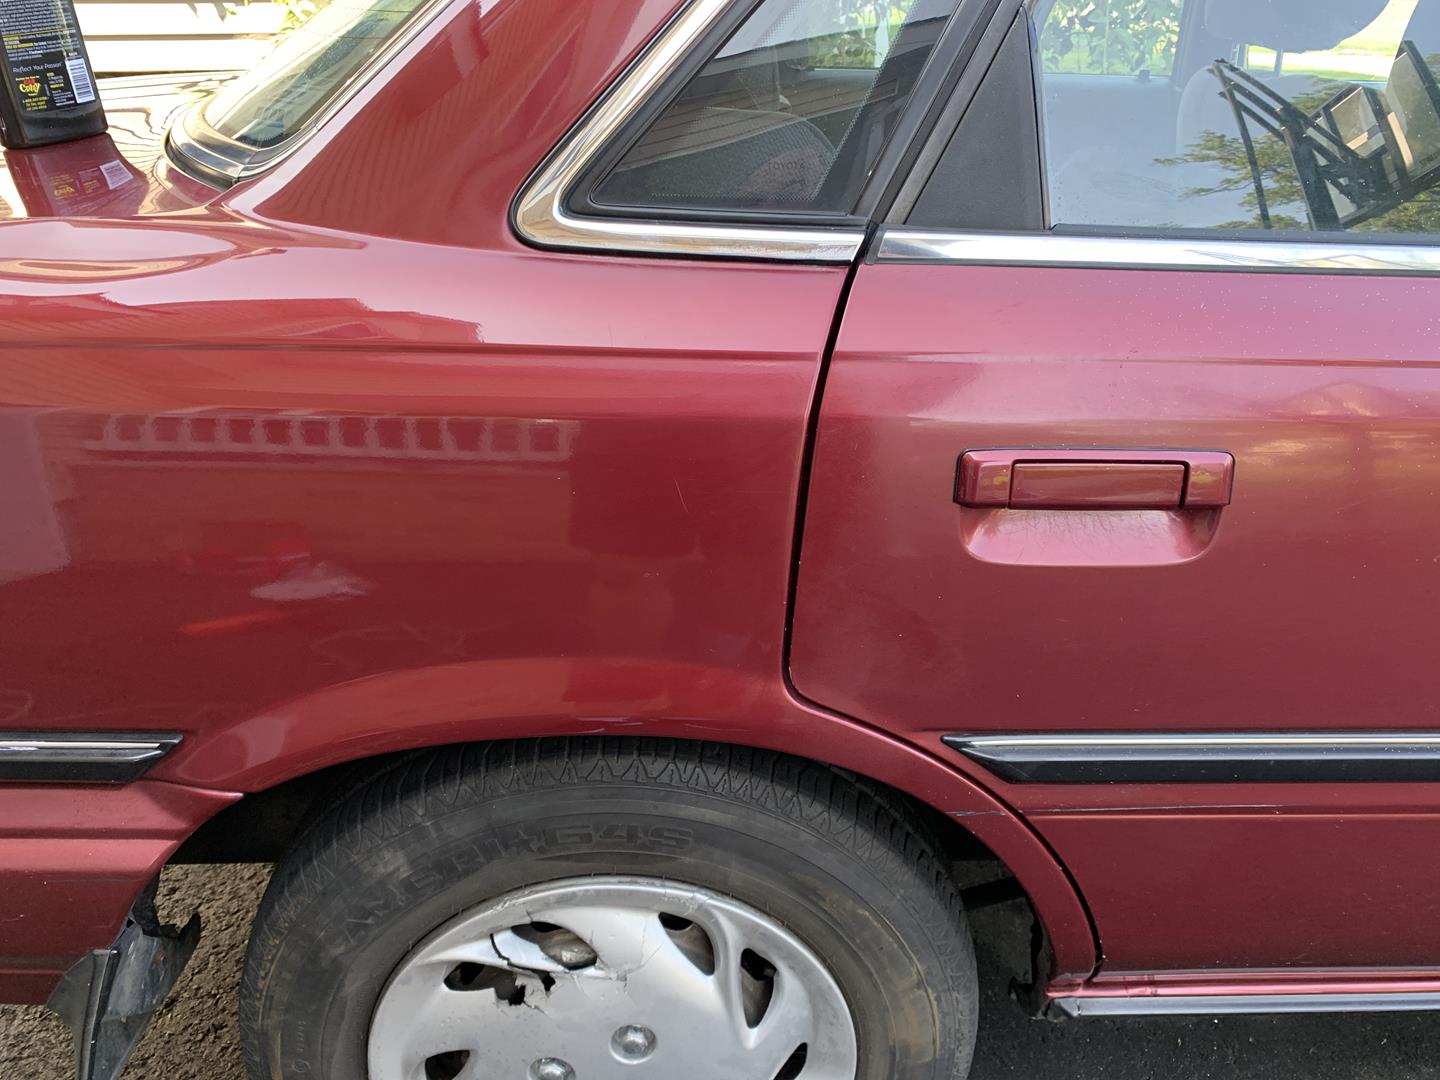
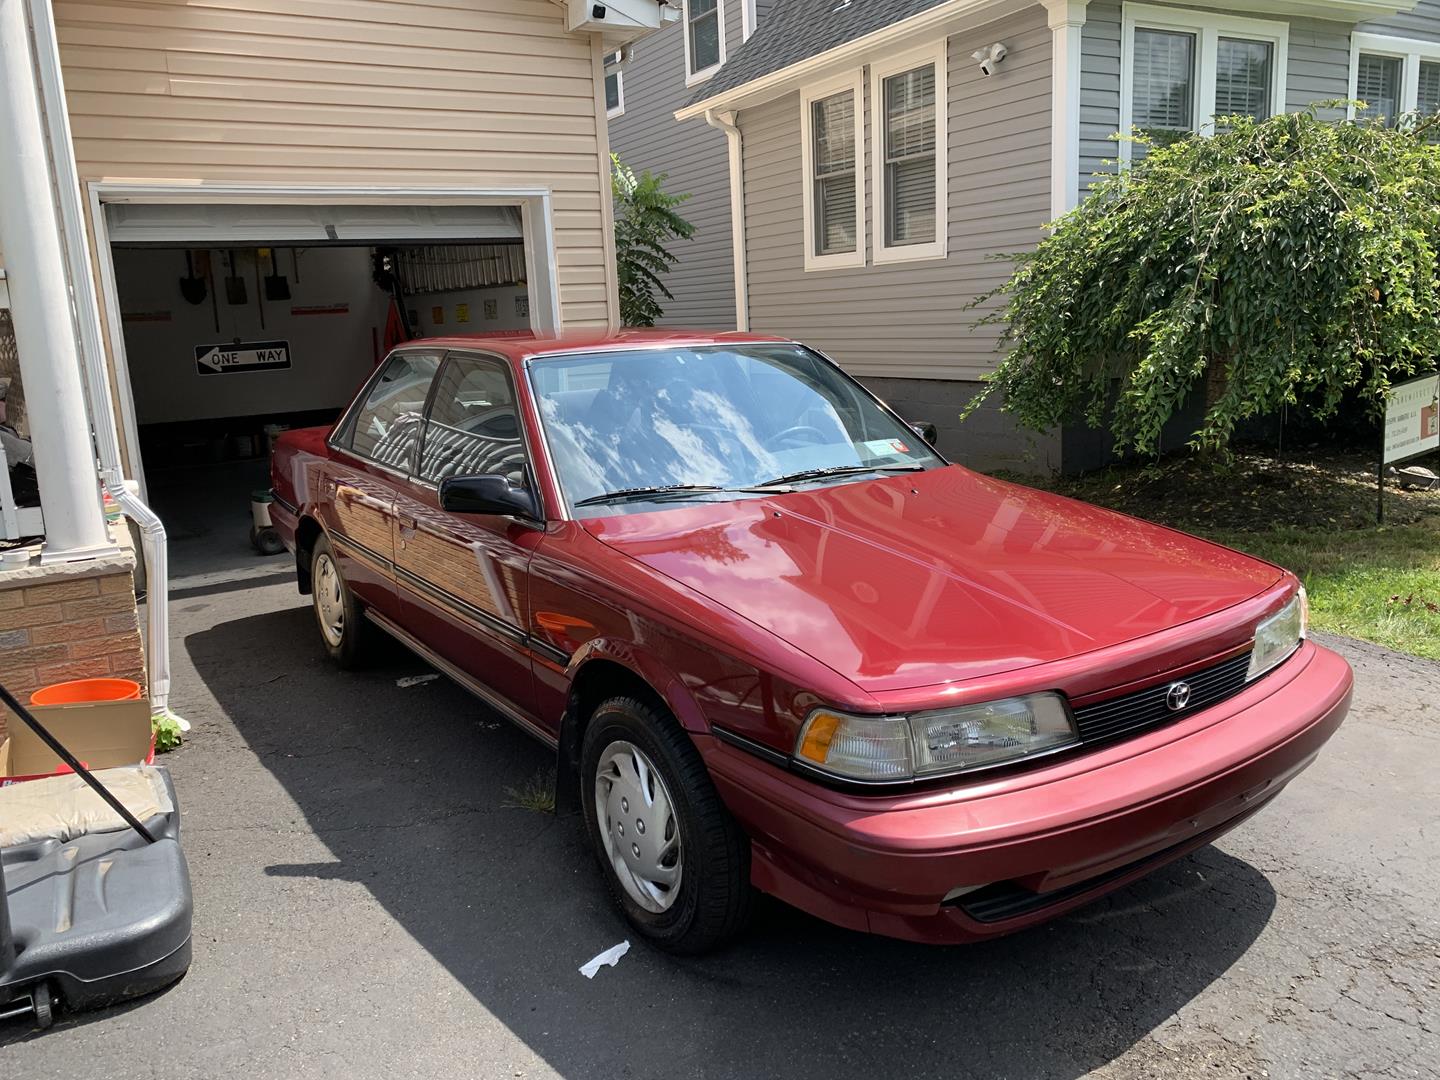
Bottom line – A paint correction is very much doable on a car that was neglected for 30 years. My example happened to have been garage kept for 30 years so it was not exposed to the sun all the time. However a wax never touched the vehicles surface. I think the finished product looks great. You can do this too!
As for my son, well he does not appreciate having his own car, because its older than him.
Thank you for reading my blog,
Joe