

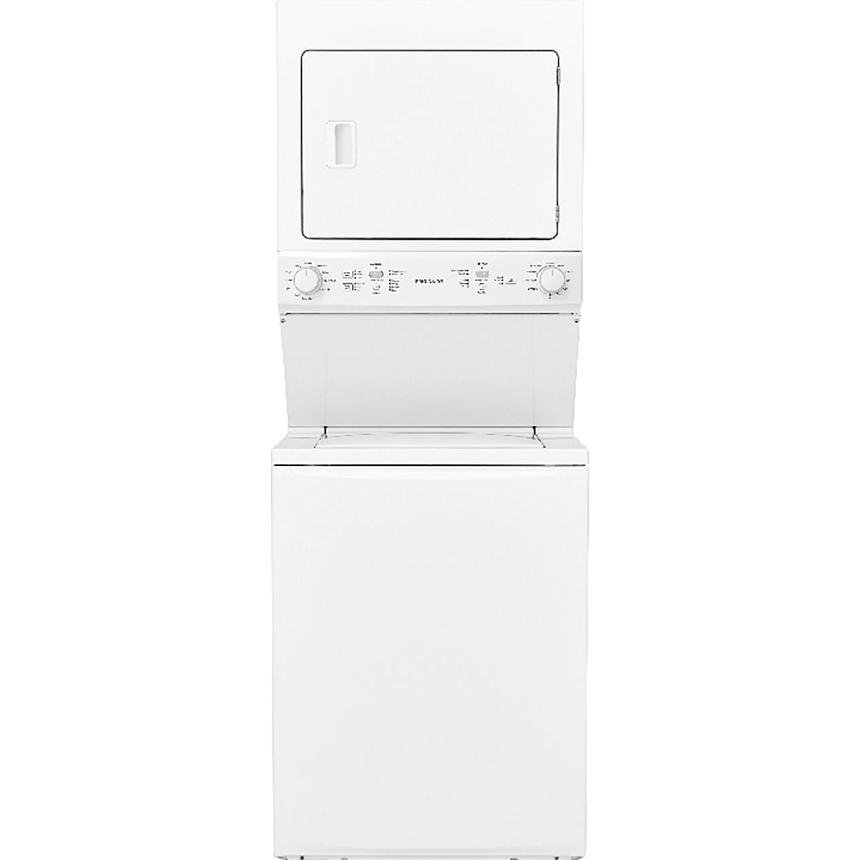
There's noting more aggravating than having a fairly new appliance (that is out of warranty) quit working. However there's nothing more satisfying than fixing it yourself and saving $200+ on a service call. I have a 5 year old Frigidaire washer / dryer combo unit and recently the dryer stopped getting hot. The unit continued to spin /tumble, however no heat. The dryer is gas and giving it a good listen there was no attempt to even light the flame. It was time to take the dryer apart!
TOOLS YOU CAN USE

Some type of screw gun or drill with a Phillips bit set. I personally like this Makita, but never the less a cordless drill or screw gun would be helpful.

A stubby screwdriver set is also very helpful they are so inexpensive and available for $10 at Amazon like this one.

We need to test some of the parts. Any digital multi-meter with an ohms / continuity scale will work just fine. They are very inexpensive $25 at Amazon
Time to take the unit apart
I am going to describe to the best of my ability how to take this dryer apart, however there are some great YouTube videos that explain it better than I can. I still recommend you read my description as I will tell you what my personal experience was during the process.
- First disconnect the power
- Shut off the gas line
I did not disconnect mine, but it might be a good idea to do so. - Shut off the water lines
Again, I left mine attached, but it might be a good idea to disconnect - Remove the drain hose from the sink or stand pipe
Guess what, I left mine connected. - Remove the dryer vent (use the stubby screwdriver)
- Now locate the dryer motor access cover and remove the two screws that are holding it to the dryer. You should see the motor, belt and belt tensioner. If you have never done this before take a quick picture of how the belt is set around the motor

- Push the tensioner to the left, this will give the belt some slack and allow you to remove it from the motor

There are 4 screws on the rear of the unit (RED ARROWS) remove them (it will make life a bit easier later.
Work your way to the front of the unit. There are two screws holding a white trim cover on - (YELLOW ARROWS) remove them and set the cover aside
Under the trim cover remove the two screws that hold the control panel on, (BLUE) arrows. Then push down on the control panel to remove. *** IMPORTANT *** Disconnect the dryer door switch.
Next there are two screws directly below the screws you just removed. They are holding a silver plate on. Just take the top two out. No need to remove the entire silver plate.
WE ARE GOING TO TAKE THE DOOR OFF
Two more additional screws hold the bottom of the door on. remove them.
Next work your way to the top front of the dryer. 4 screws need to be removed. Now the door can come off! Get some help. The DOOR IS HEAVY!
Ok we're in!
There is a little black piece of rubber in the top center of the dryer. Its called a drum stop and needs to be removed.
Now the entire drum needs to come out. You could use a helper with this step. The drum sits in a bearing at the back of the dryer wall. Its like a ball and socket. Lift up on the back of the drum to remove the ball from the socket. (this may take a little bit of effort.)
Slide the drum out (don't catch the belt on anything!
WHAT PARTS TO TEST

This is what the inside of the dryer looks like with the drum removed. Kind of simple, don't you think?
Lets get to testing, all the way in the back on top (RED ARROWS) are two thermal fuses. This is the most common part to die. Start w/ one of the fuses and remove one wire. Then check across the fuse (both legs) with your multi-tester set to continuity. A BEEP = GOOD!

The first part I tested was bad! Thermal limiter 137032600, I believe they sell everything at Amazon and was able to pick this one up for $20
Moving down the line, be sure to test the flame sensor as well (Aqua Arrow) same procedure here, pull one of the wires off and check for continuity.
The yellow arrow points to the leads for the igniter. Use the OHMs setting on the meter to see if there is any resistance. If is shows OPEN (or infinity) its bad.
Same goes for the gas valves, check for resistance.
CLEAN ME!
The reason my dryer failed was because of lint buildup. Over the years lint collected behind the drum and it looked burnt. There was lint in the door, the sides the exhaust fan, pretty much everywhere. Use a vacuum to clean the entire dryer before you put it back together. don't forget the back of the drum.
")
")
A couple of closing thoughts
- DON'T MOVE THE DRYER AROUND WHILE ITS APART! The sheet metal is so thin it will bend.
- The door was hard to get back on because my dryers sheet metal shifted a bit.
- The BELT GOES GROOVED SIDE DOWN. While you are in there you may want to order a replacement belt.
Thank you for reading my blog,
Joe