

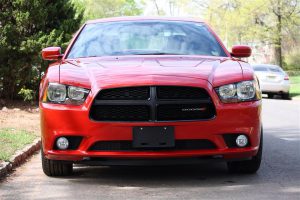
Over the last few months the backup camera on my wife’s 2014 Dodge Charger has been intermittently failing to send picture to the console display. The radio / head unit is functioning normally for climate control functions and AM/FM/ and Satellite is working OK too, so I began to troubleshoot the wiring.
During the troubleshooting process, with the backup camera active I disconnected the unit from the cars wiring harness and then reconnected it. At that point the camera begins transmitting again. (think reboot) The next time the camera is activated it fails once again.
This leads me to believe the unit is bad and needs to be replaced. A call to the Dodge dealership quoted me a price of over $350 for parts and labor. I quickly sourced the part on Amazon for around $197
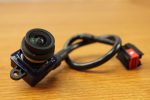 OEM – Mopar 2011-2014 Dodge Charger / Chrysler 300 Backup Camera – $197 at Amazon
Tools you can use:
The process of removing the old backup camera and installing the new should take under an hour to complete. You will need a socket set, a torx set and body panel clip removal tool.

Low cost bit set $11.00 – Amazon
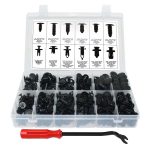
Body panel removal tool & Clips $19.99- Amazon
Lets Get Started:
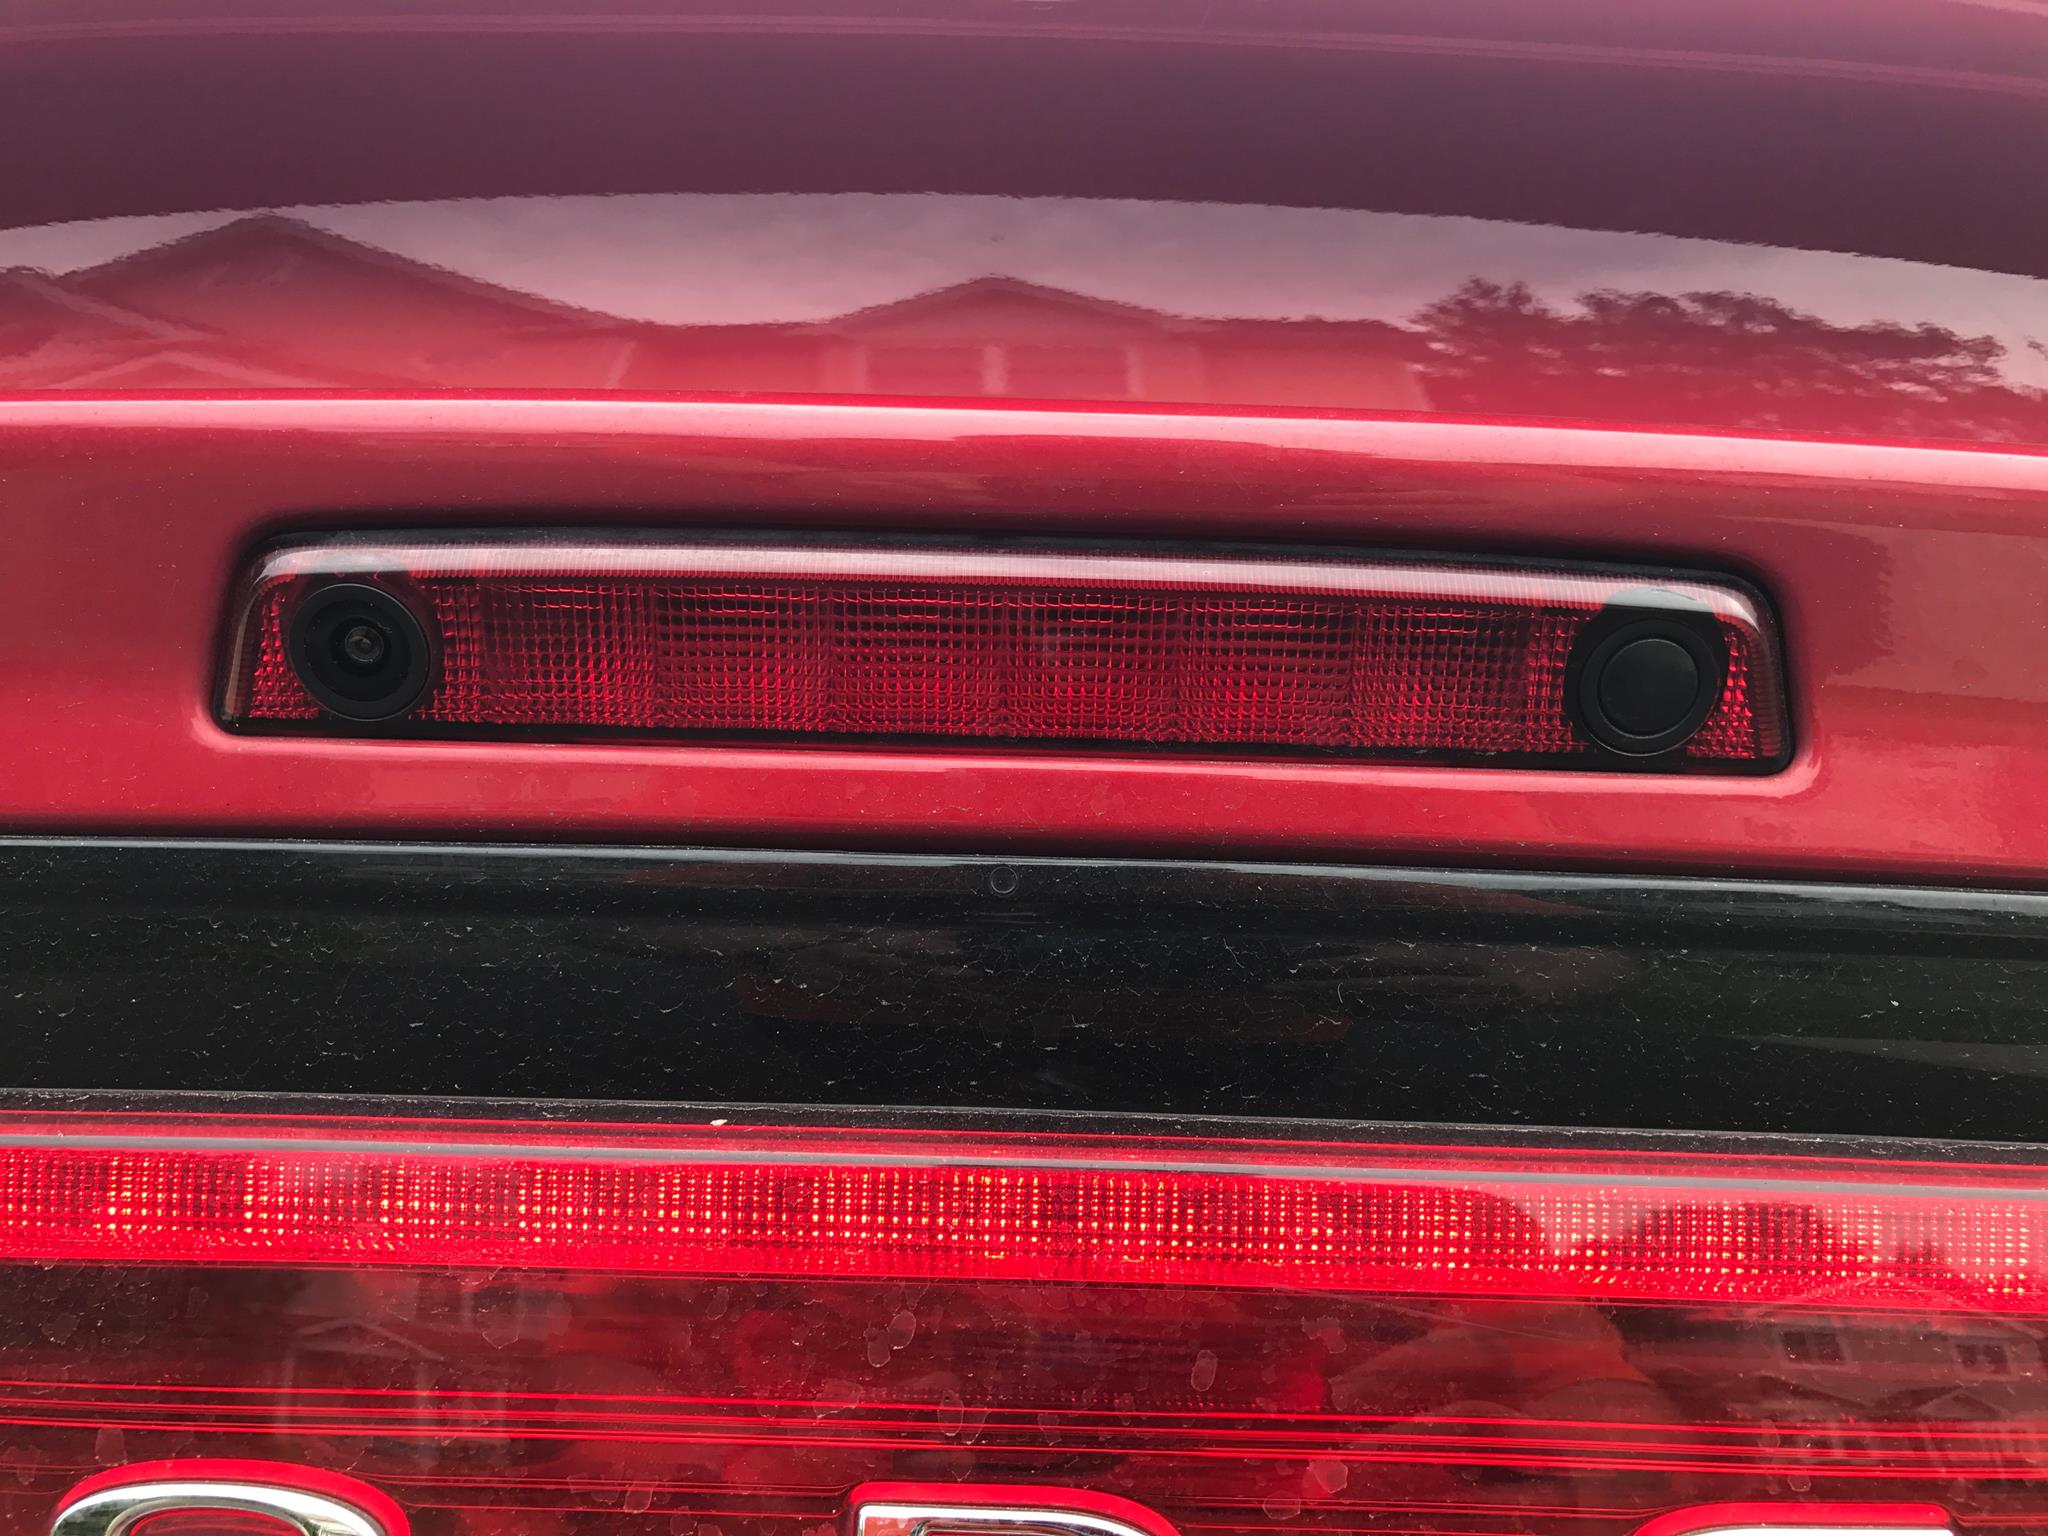
 The fist step is to partially remove the trunk lid liner to gain access to the 3rd brake light assembly. At the top of the trunk on the left and right there are two plastic trim pieces, each having a body panel trim clip. Gently pull the panel down and away from the car. It should not take too much effort to remove the pieces.
 Next, using a torx driver, remove the two screws that hold the trunk lid handle in place. There is also one panel clip next to the handle that needs to be removed as well. At this point you should be able to fold the liner down sufficiently to gain access to the tail light assembly. If not there are three additional body panel clips that you can remove to make even more room at the bottom of the liner.
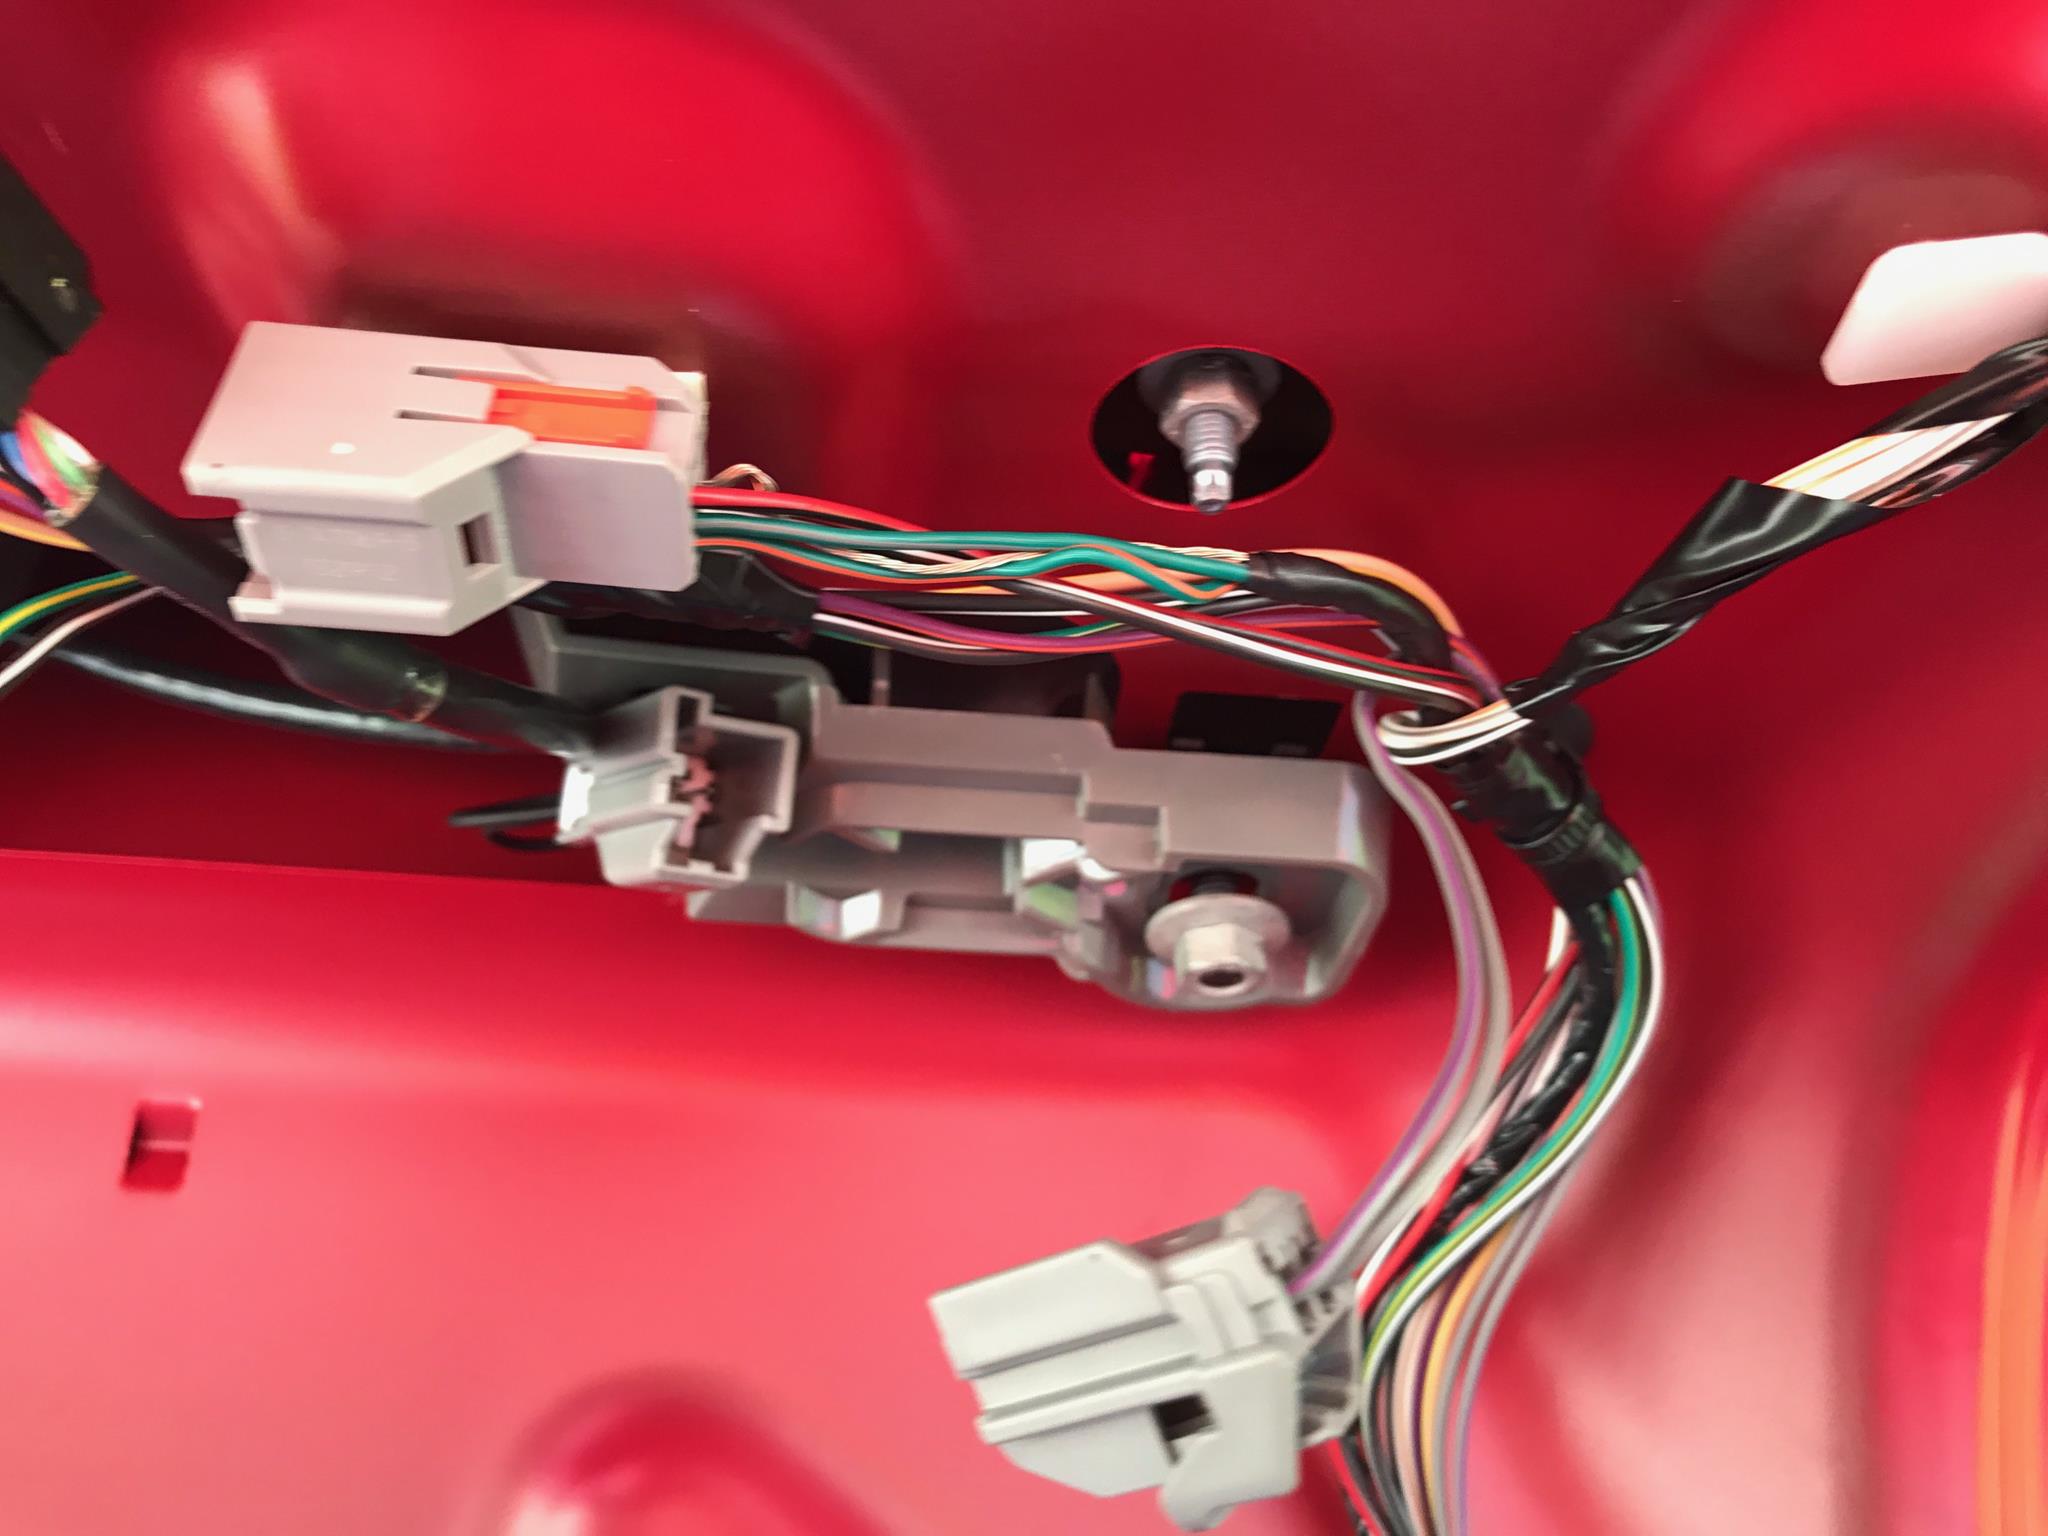 The high mount (3rd brake light) assembly has three wiring harness that need to be remove. One for the camera, a second for the trunk pop switch and a third that supplies power to the actual brake light. If you are able, gently remove all three wiring harnesses. Don’t worry if you can’t get to all of them, once the brake light is removed it will be easier, just be careful not to put excessive strain on the wires.
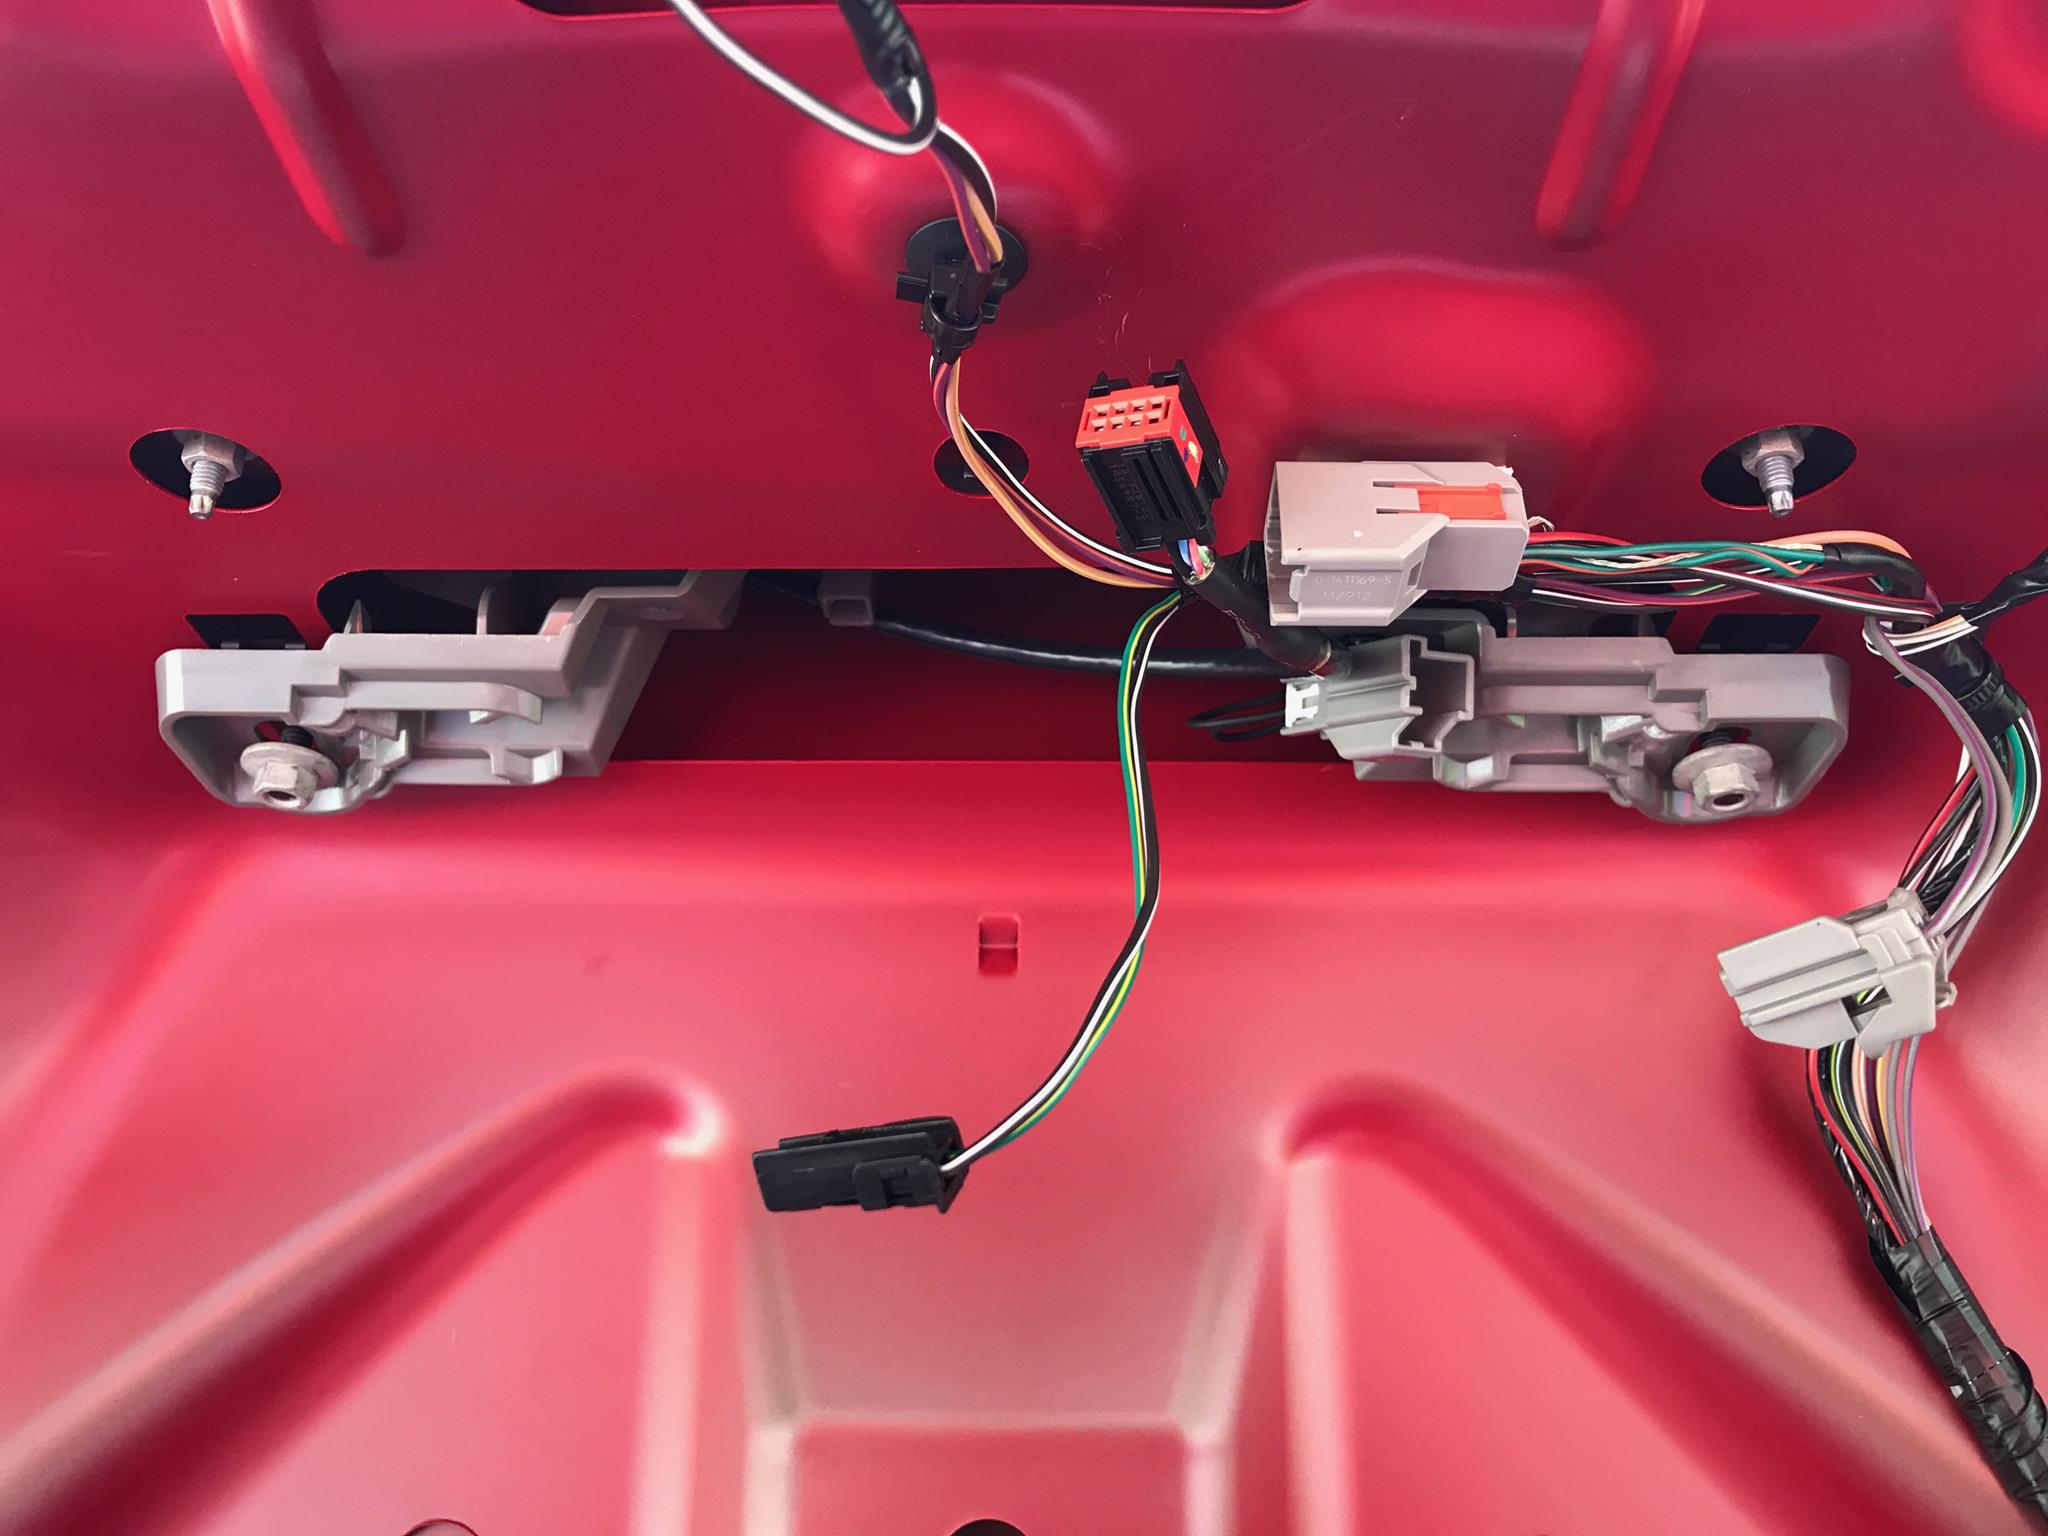 Using a socket wrench, remove the two nuts that secure the brake light in place, at this point with a little finesse you can maneuver the brake light out of the body panel. Remove any wiring that you were unable to remove earlier.
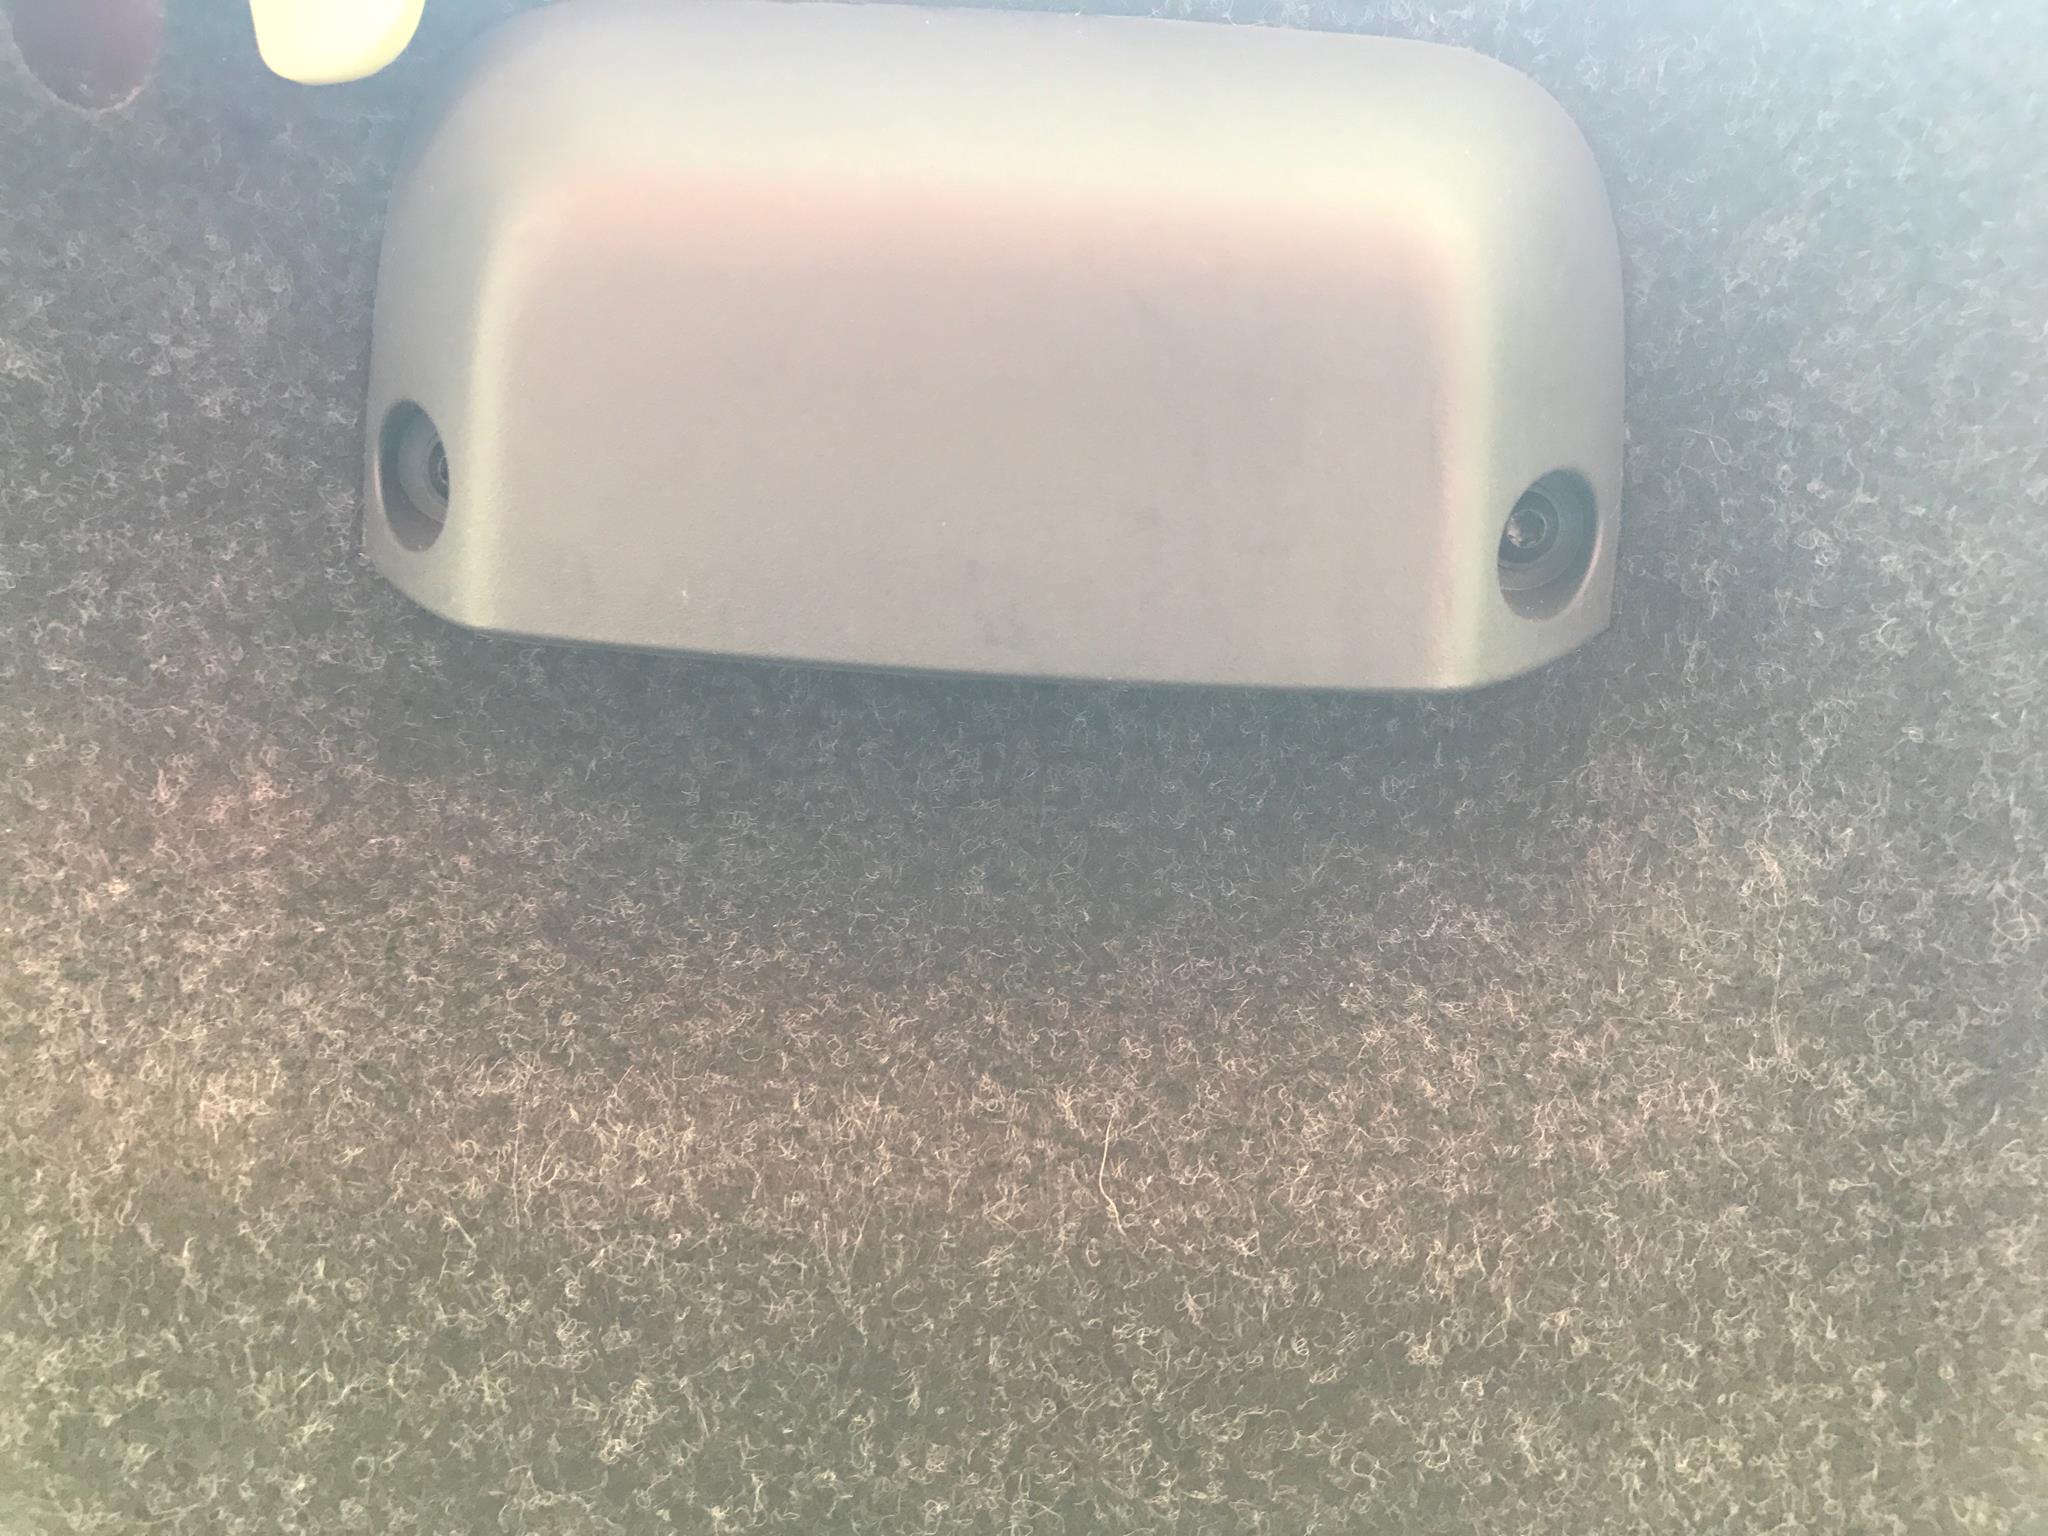
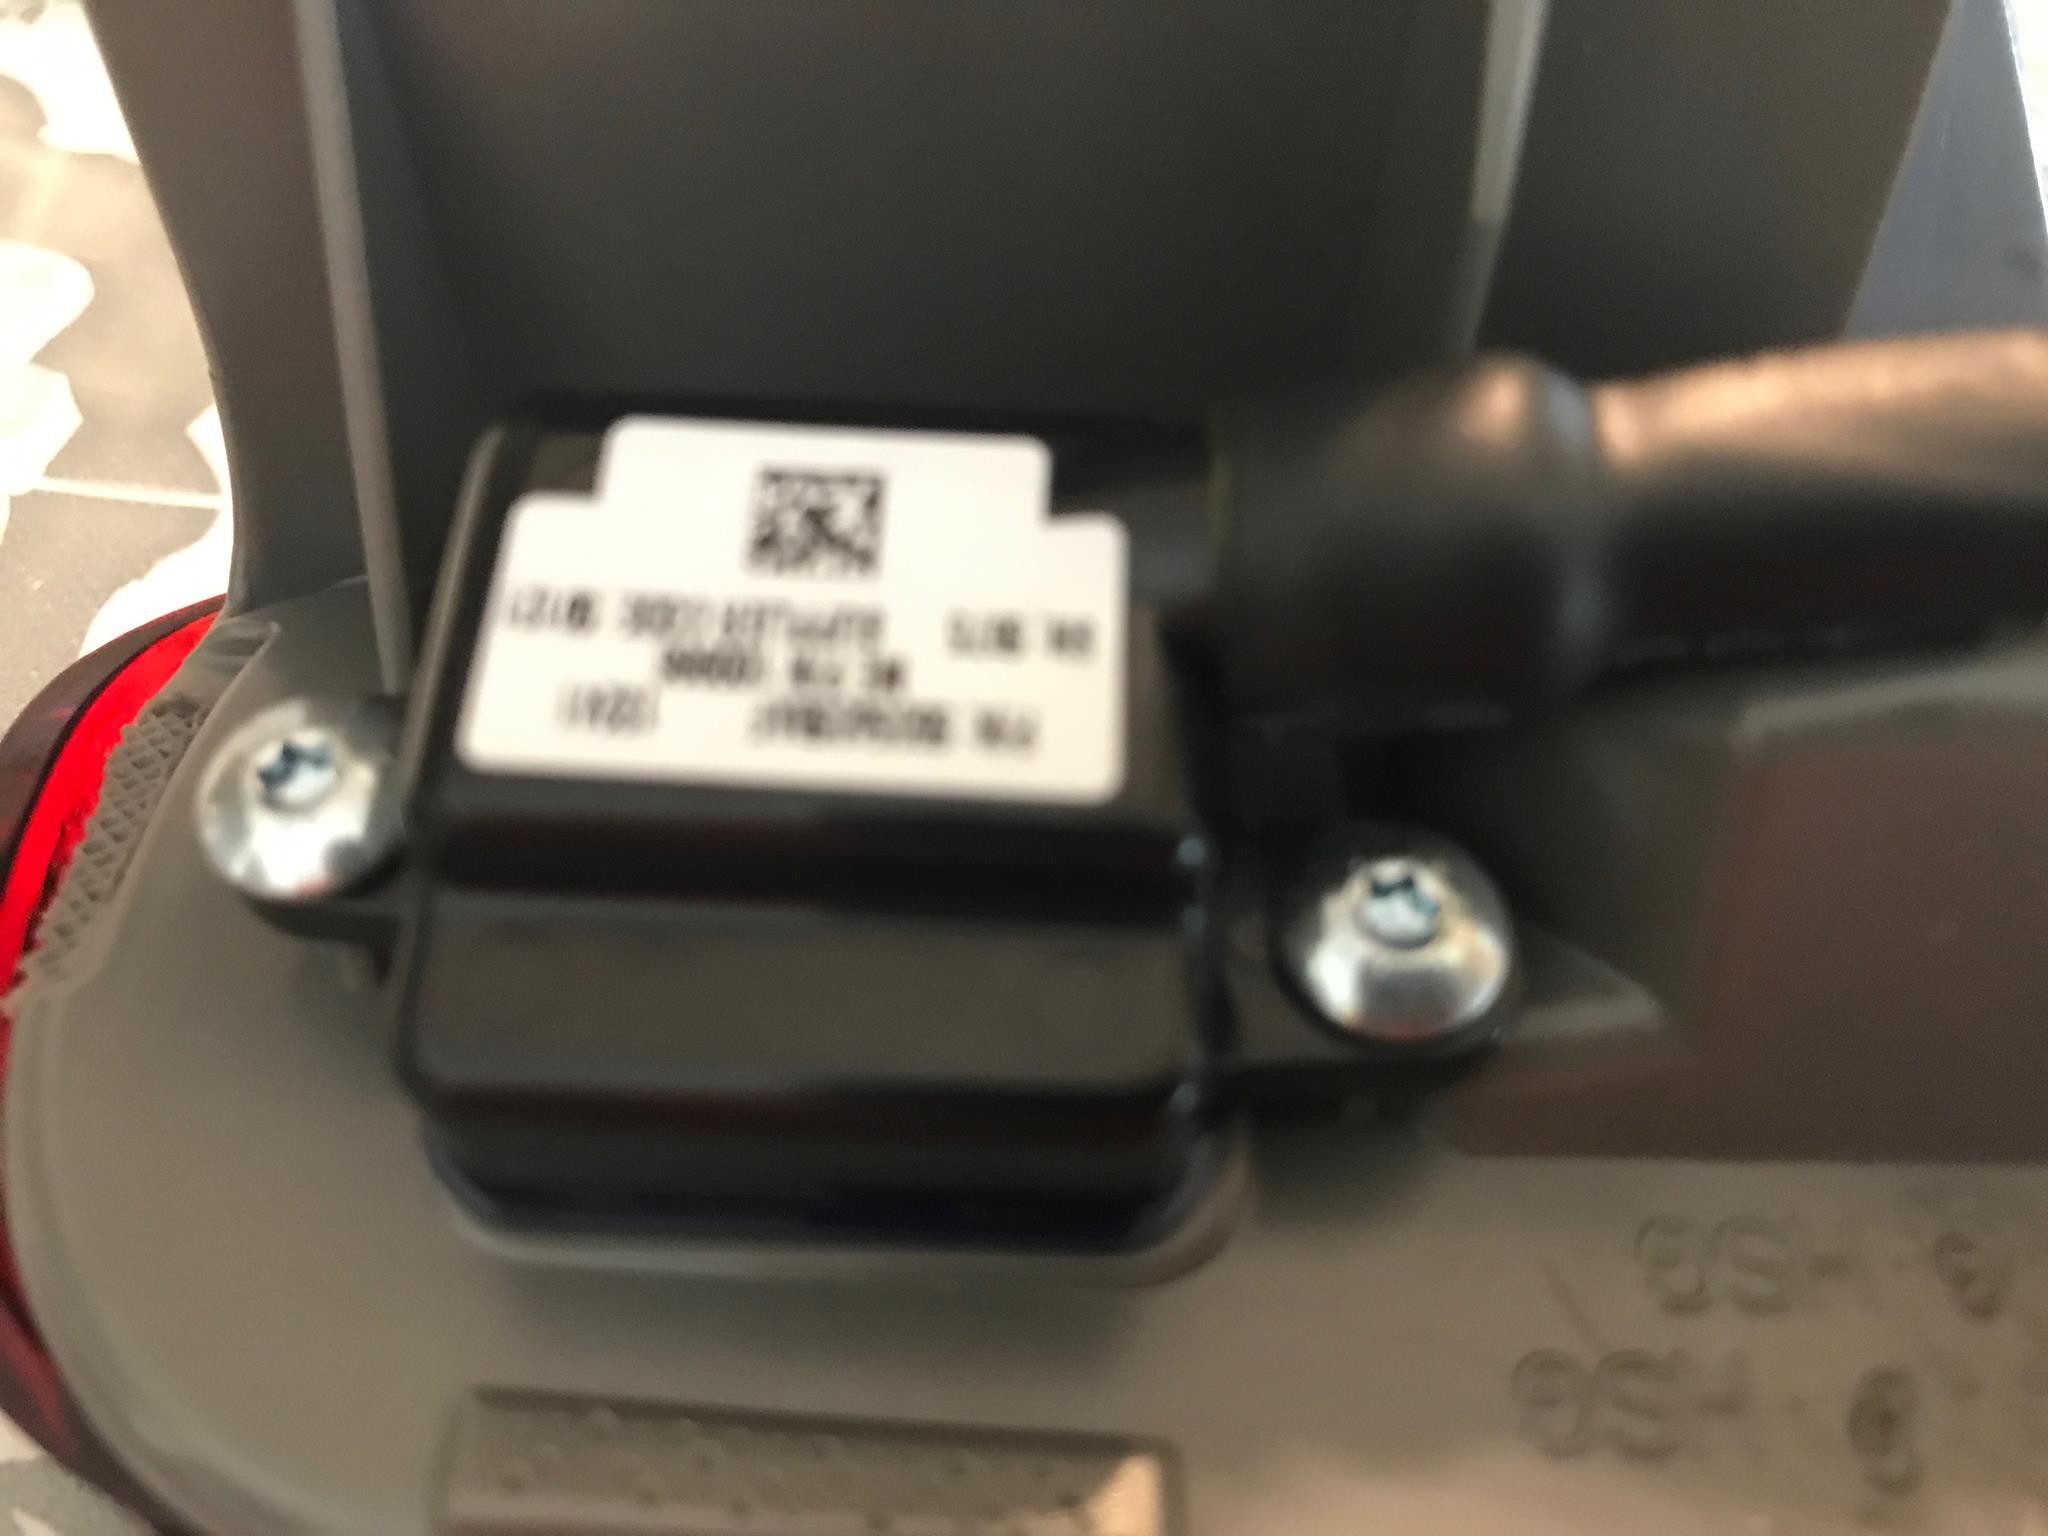 Locate the camera on the back of the brake light assembly and remove the two torx screws that secure it. The camera should easily come off the lens. Replace the camera with the new unit and tighten the screws. Be careful not to over tighten because you can crack the plastic.
Just about done! Simply follow the steps in reverse to reinstall.
 Once the backup camera is mounted to the brake light simply follow the steps in reverse. Insert the lens back into the trunk lid, fasten down with the two nuts and then reconnect the three wiring harnesses. Secure the trunk liner back in place with the body clips and handle. If you have broken any panel clips, you can order a kit of replacements for under $20 Then reinsert the corner plastic trim. You’re done, and saved a few bucks and can enjoy the satisfaction of completing a DIY project!
Related Reading:
How to: Wash and Wax Your Car
How to: Replace Your Cabin Filter
How to: Replace Your Air Filter
Thank you for reading my blog,
Joe
Don’t forget to visit GeekGearStore.com!