

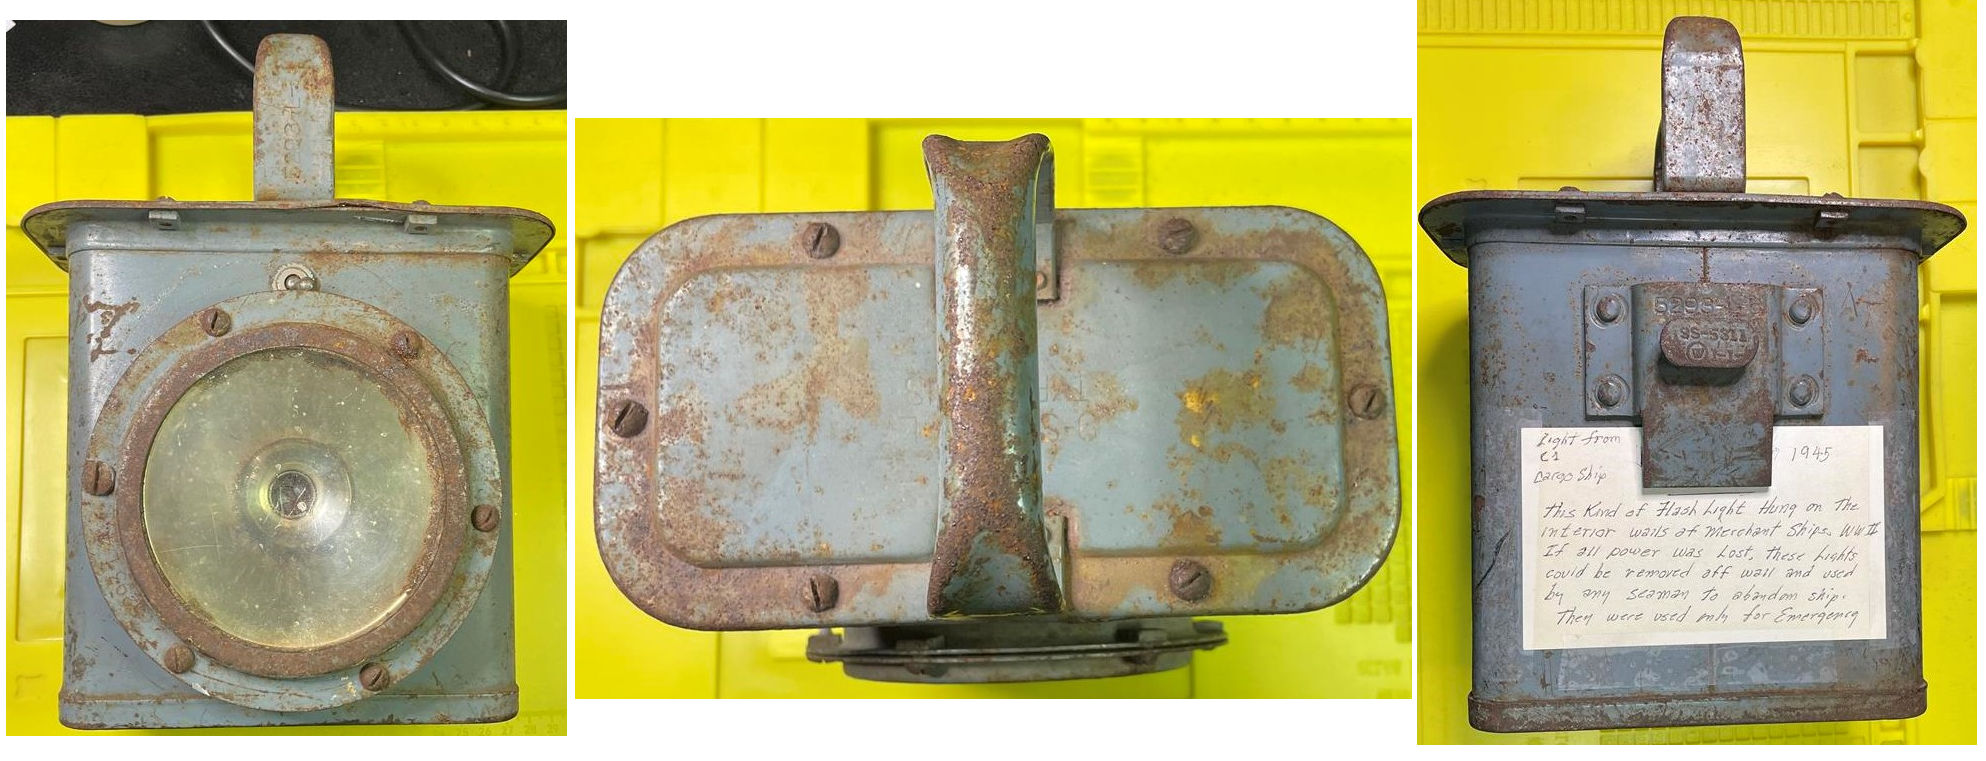
World War II ended 76 years ago, and at this point there are not many surviving service men and woman around to tell the tales of the time. I believe we need to preserve the stories of the past to enlighten future generations to insure history will never repeat itself. When I came across this Battleship lantern from the mid 1940’s at my local Goodwill, I felt it needed to be restored and preserved to tell its story for many more years.
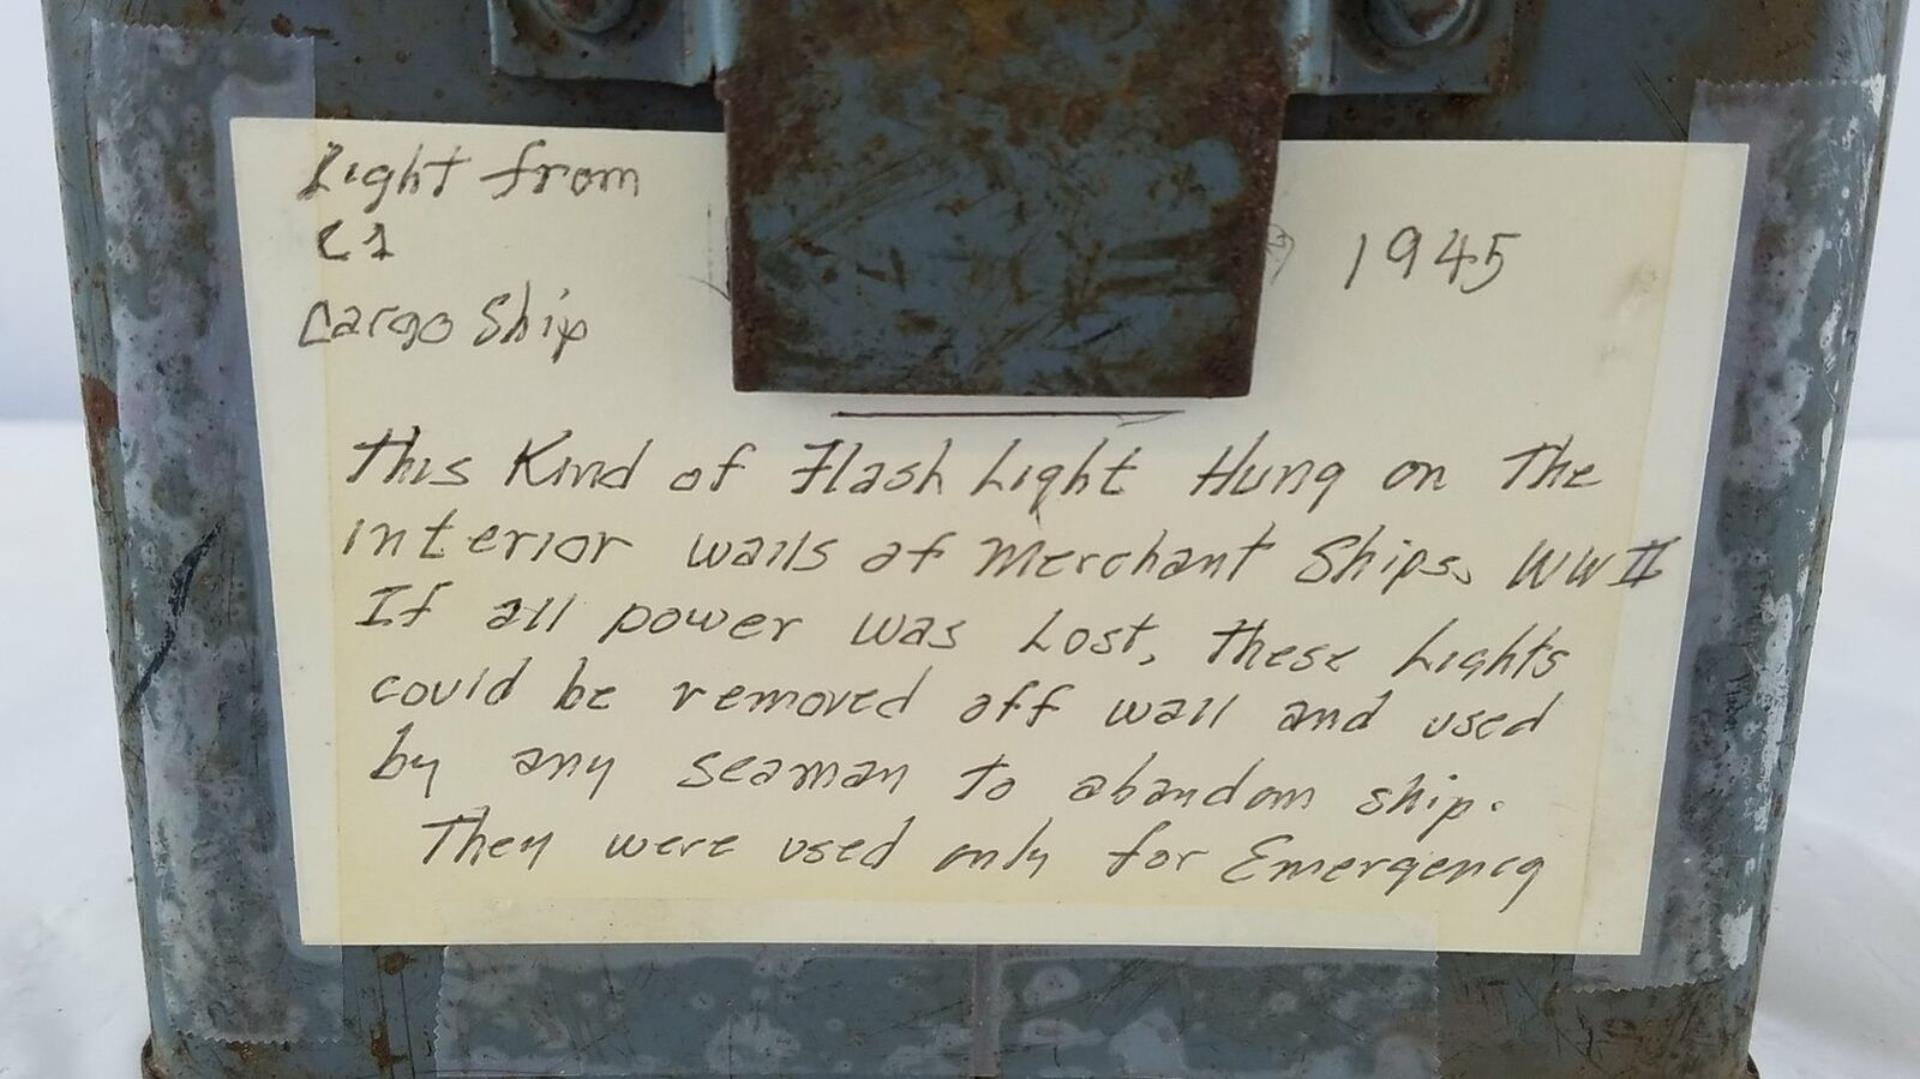
I purchased the light for $20 from the Goodwill, which I felt was a bit overpriced for its condition. However hopefully some of my purchase price is going to a good cause. Researching a 76 year old flashlight proved to be more difficult than you would expect. According to Google, the 5293-L Lantern was attached to the US Navy Battleships and according to the letter that came with the lantern it was also used on cargo and merchant ships.
Tools & Supplies you can use
I tried some new products when restoring the Battleship lantern which I will be listing below, most if not all can be purchased on Amazon,
The lantern was very rusty, so I decided to try a rust remover product. I have used Evapo-Rust in the past and it works well but takes a long time to do the job. This go around I tried Rust Dissolver by Rust-Oleum which promised results in 30 minutes.

Evapo-Rust gets the job done, but can take 24 to 48 hours to be effective. Sells for about $17.00 / gallon at Amazon.
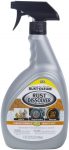
This time I used Rust Dissolver by Rust-Oleum, it worked and I saw results in 30min. However due to the severity of rust on my Battleship Lantern it was not as good as expected. About $15.00 on Amazon or Home Depot.
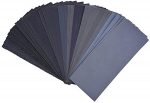
To really get all the rust off some elbow grease was needed and about an hour of hand sanding was done. Sandpaper assorted grit pack $7.00 at Amazon
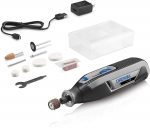
To get into the tight corners and inside the lantern I used my Dremel tool with a wire brush attachment. The Dremel has a wide range in prices, this is a low cost example at Amazon, $40.00
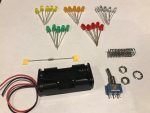
Since I was unable to find the original light bulb, I went with 5 x 5mm white LED’s with a current limiting resistor and a 4 AAA battery holder. GeekGearStore.com sells a nice kit for $10
Procedure
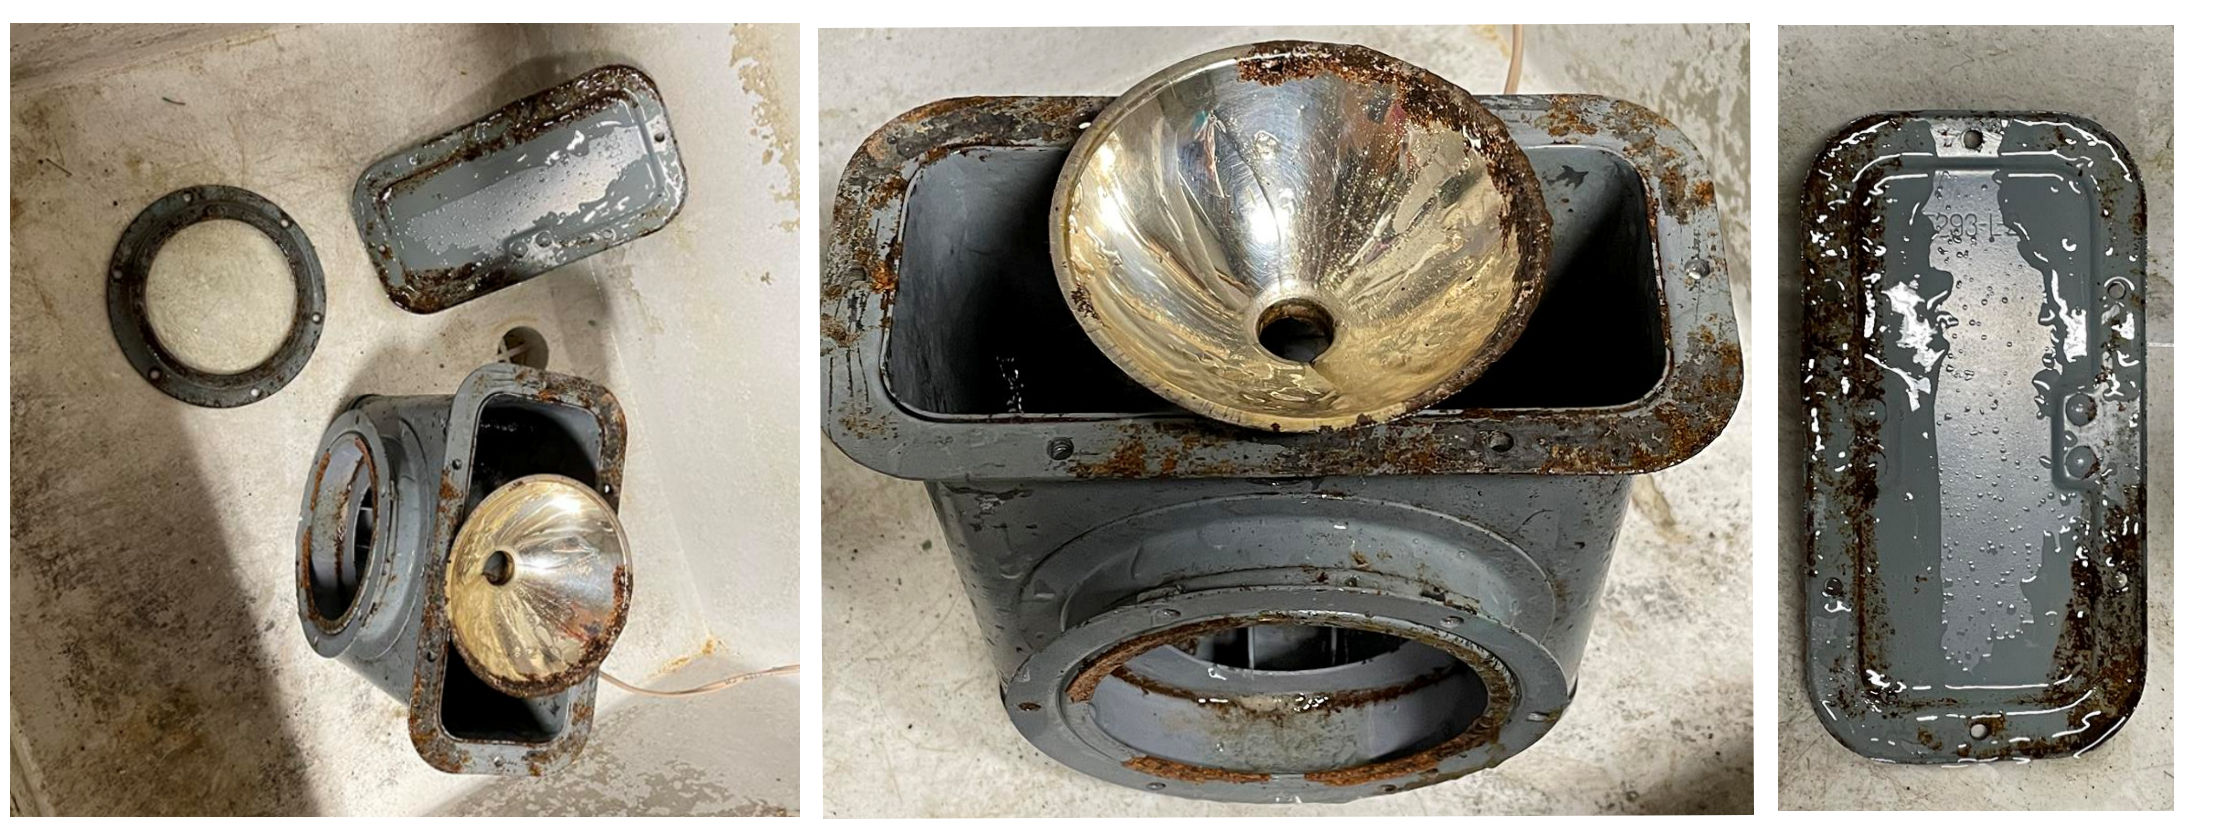
This lantern had seen better days. The front bezel was rusted, the reflective mirror under the glass was rusted, the cover was rusted. You get the idea.
Step 1 – Battleship lantern – disassembly
This lantern looks like it had not be taken apart in 50 years, so a quick squirt of WD40 on the screws and some time to allow it to penetrate proved to be very helpful. 11 of the 12 screws backed out easily, however as always there is one that did not want to cooperate. Heating the suborn screw gave it the motivation to be relieved of duty.
STEP 2 – CLEAN ME
Once the top cover was off and the front bezel / glass lens was removed I began cleaning. Removing heavier rust deposits with a wire brush and just a general wipe down proved to be helpful. At this point I removed the original switch and wiring from the lantern. I wanted to keep the original switch, so it was tested and proved to still be in good working order!
STEP 3 – Operation Battleship Lantern – Rust Removal
The Rust-Oleum gel was applied to the entire lantern and allowed to sit for 30 minutes, then repeated, then repeated again, then allowed to sit for over an hour. While some of the rusty spots dissolved, overall the product was underwhelming as compared to the Evapo-Rust Unfortunately I was out of Evapo-Rust removed and decided to “elbow grease” it with sandpaper
STEP 4 – Sand, sand, sand.. Then sand some more.
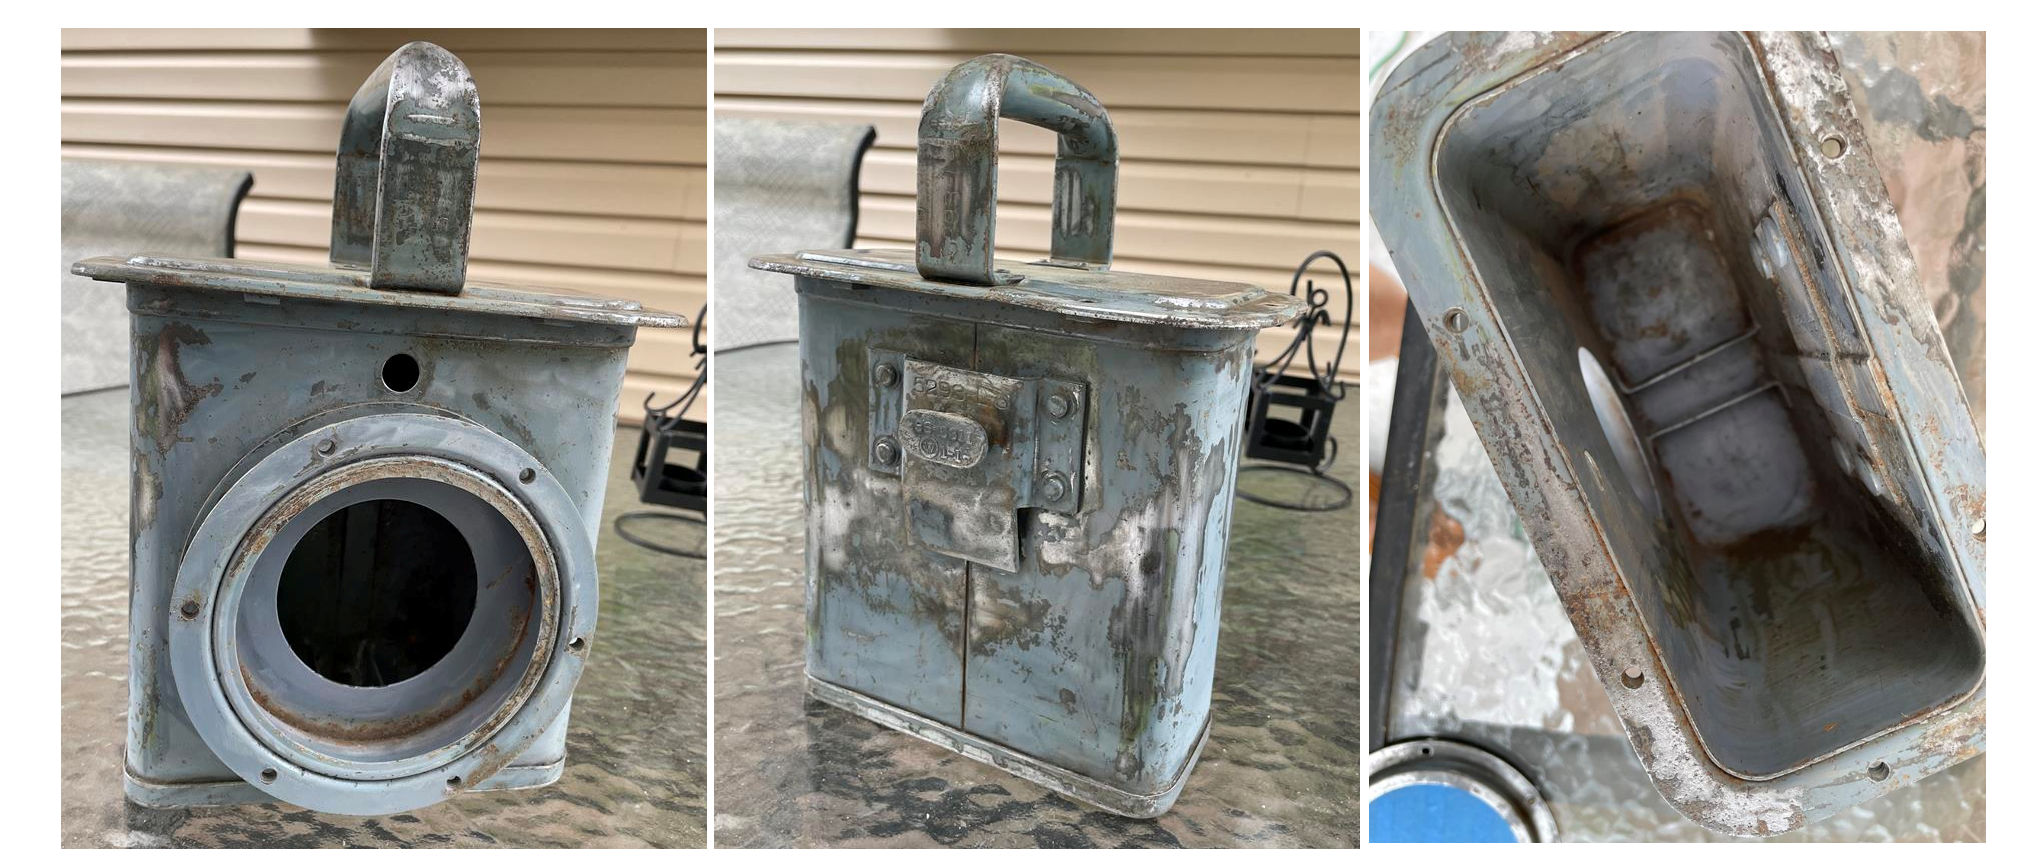
I am guessing due to the age of the lantern it is probably coated in led paint. It would be advisable to do your sanding outside and put on at least an N95 mask (or better) to protect yourself. Optimally if you own a sand blaster it would result in a more professional job.
STEP 5 – Paint, Electronics, and finishing touches
With the sanding complete its time to apply the paint, rewire the light and add ![]() the finishing touches. My paint choice was the Rust-Oleum Universal paint and primer in one. I searched for a battleship gray, but due to lack of inventory went with a gunmetal gray finish. This paint is a bit more expensive than traditional spray, but with the prime included in the formula at $7.50 a bottle its worth it.
the finishing touches. My paint choice was the Rust-Oleum Universal paint and primer in one. I searched for a battleship gray, but due to lack of inventory went with a gunmetal gray finish. This paint is a bit more expensive than traditional spray, but with the prime included in the formula at $7.50 a bottle its worth it.
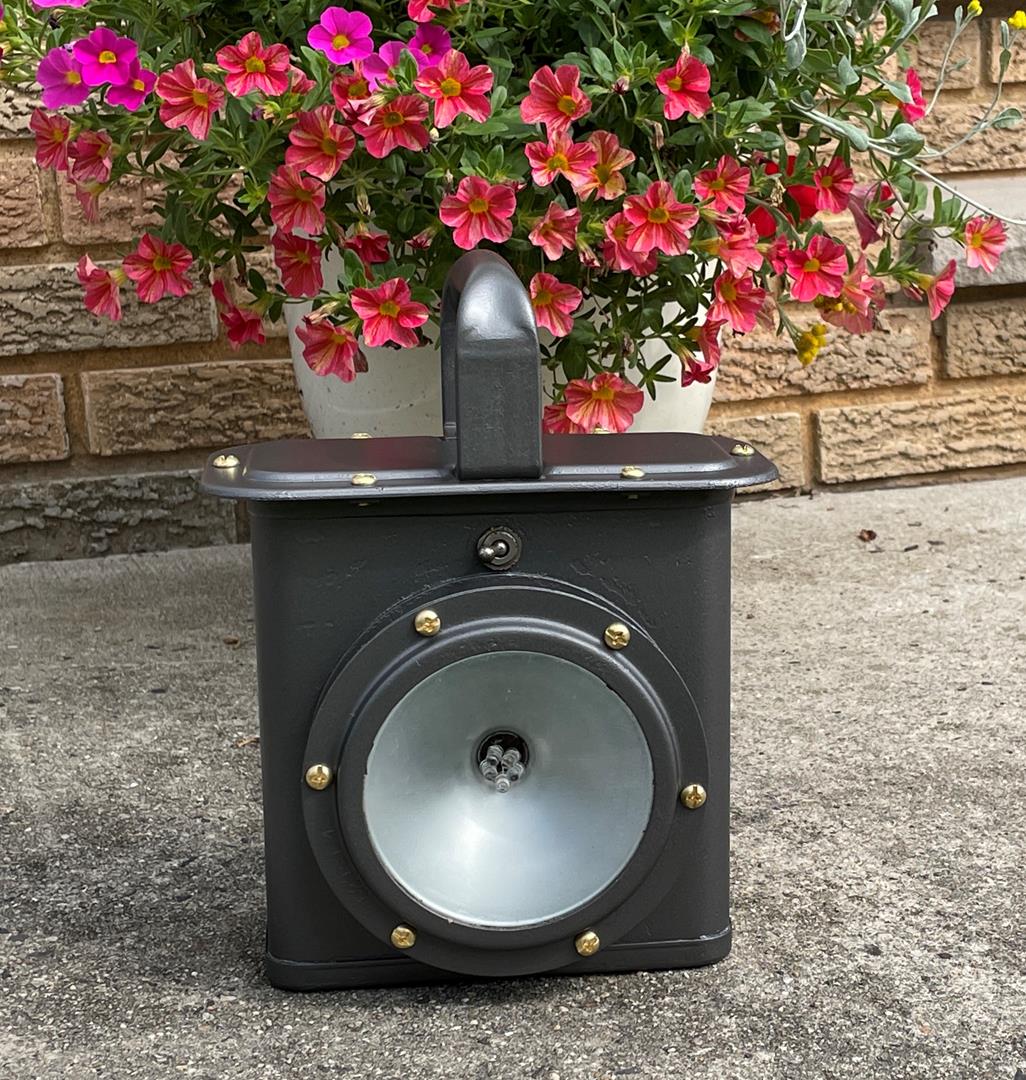
The original 75 year old switch was reinstalled, a bit of soldering and wiring and the lantern was back to life! My LED choice makes this more of a Battleship Lantern nightlight rather than a flashlight, but I’m fine with that. The project was never intended to be useful, but more of a conversation piece.
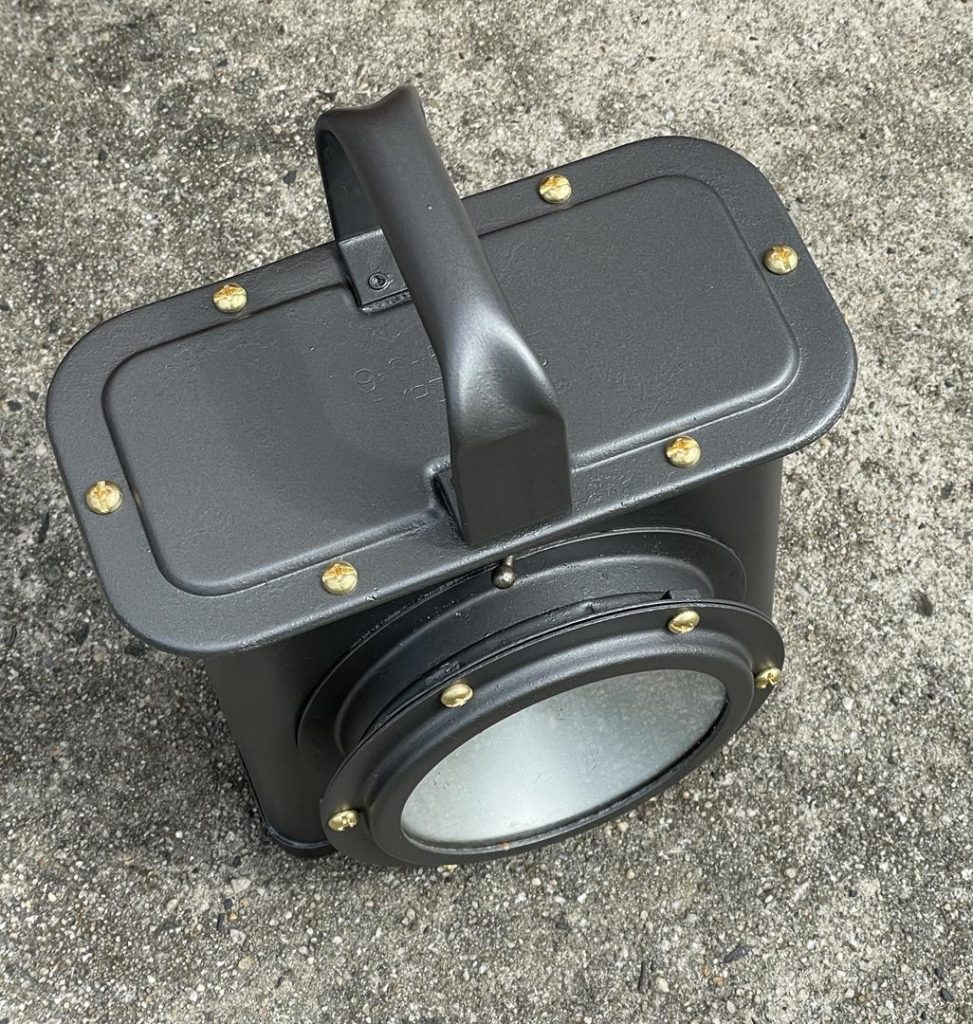
The final assembly required new screws. There was no saving the original hardware as they were consumed by the rust. I thought that brass was appropriate and was a great accent to give my Battleship Lantern a nautical look. Hindsight 2020 I would have purchased period correct slotted screws.
Final Thoughts
I purchased this World War II era 52934-L Battleship Lantern with the intent to fix it and sell it for a profit, after seeing the results I am going to add it to my personal collection for now. However if the right offer came along I would consider selling it. (email me)
- Rust-Oleum gel is NOT as good as Evapo-Rust
- Use a Dremel tool to help with sanding
- Rust-Oleum paint w/ primer does work very well
I hope you enjoyed reading my blog
Don’t forget to visit my online store www.GeekGearStore.com
Thank you,
Joe