

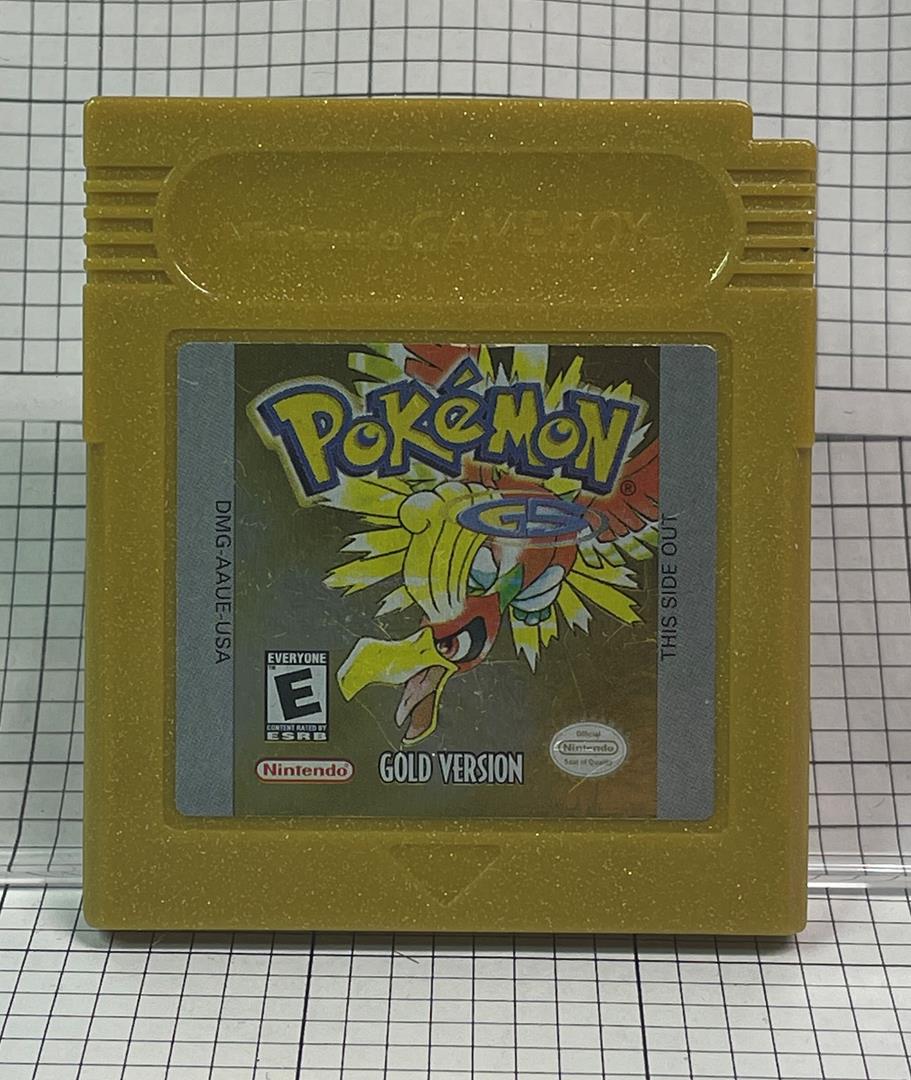
I never realized how much we take flash memory for granted. A little over 20 years ago the go to choice to save your game using a Nintendo Game boy color was a lithium battery. This was an excellent cost effective choice at the time since the batteries had a 7 to 10 year life span. Nintendo never counted on how resilient their games would be, or even how nostalgic their customers are.
Fast forward to present day and the lithium batteries have all gone dead making it impossible to save your game for later use. Luckily with a couple dabs from the soldering iron and a $2.00 battery your cartridge can be back up and saving games in no time!
TOOLS YOU CAN USE
You will need a good soldering station. Soldering stations come in all shapes and sizes and price points
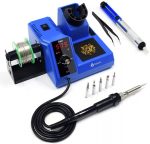 Something like the one to the left sells for about $50 on Amazon. If you’re like me I would spend a little more for variable heat control and some extra tips.
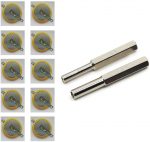 Replacment batteries are very inexpensive. This set sells for $15 on Amazon and even includes the security bits you will need to open the cartridge cover.
NICE TO HAVE TOOLS
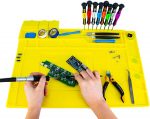
A quality silicone mat to use as your work surface can protect your work bench and also help keep the screws and parts organized while you work. For $18 its worth every penny! (Amazon)
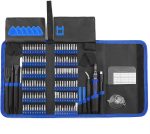
I also recently picked up this 140 piece tool kit form Amazon as well. It was $20 and has every security bit you may need to open electronics.
–NOW OFFERING SAVE GAME BATTERY REPLACEMENT SERVICE–
Sorry to interrupt this article, but I am offering this as a service if you don’t feel comfortable doing it on your own! – CLICK HERE FOR DETAILS
Replacing the battery in a Game Boy Color cartridge
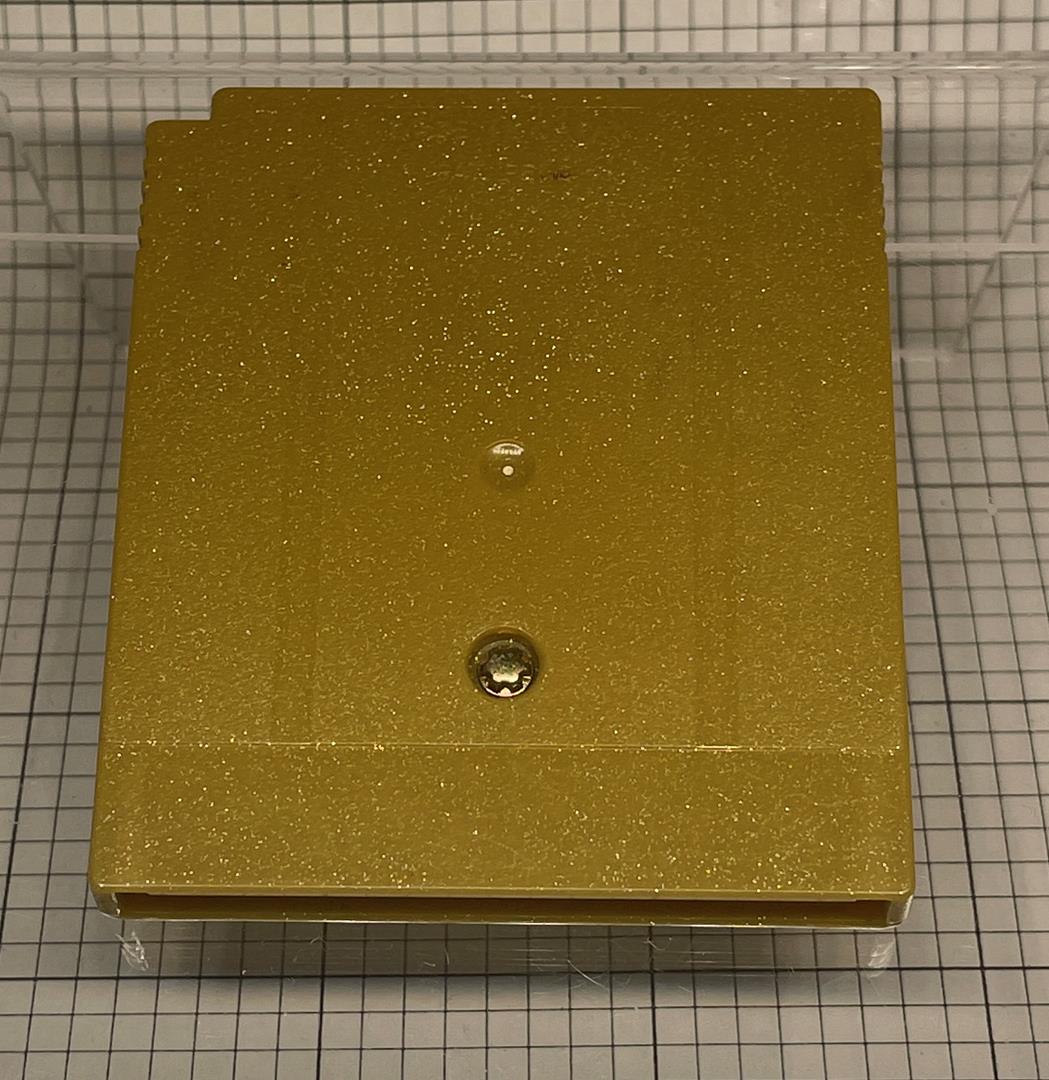
The first step is to remove the security bit from the back of the cartridge. Simply unscrew with the Nintendo security driver and it should come out with ease. (If you purchased the replacement batteries on Amazon they usually come with the bit) Once the bit is removed the front cover slides down and then off. DO NOT TRY TO PRY THE COVER OFF – IT WILL BREAK!
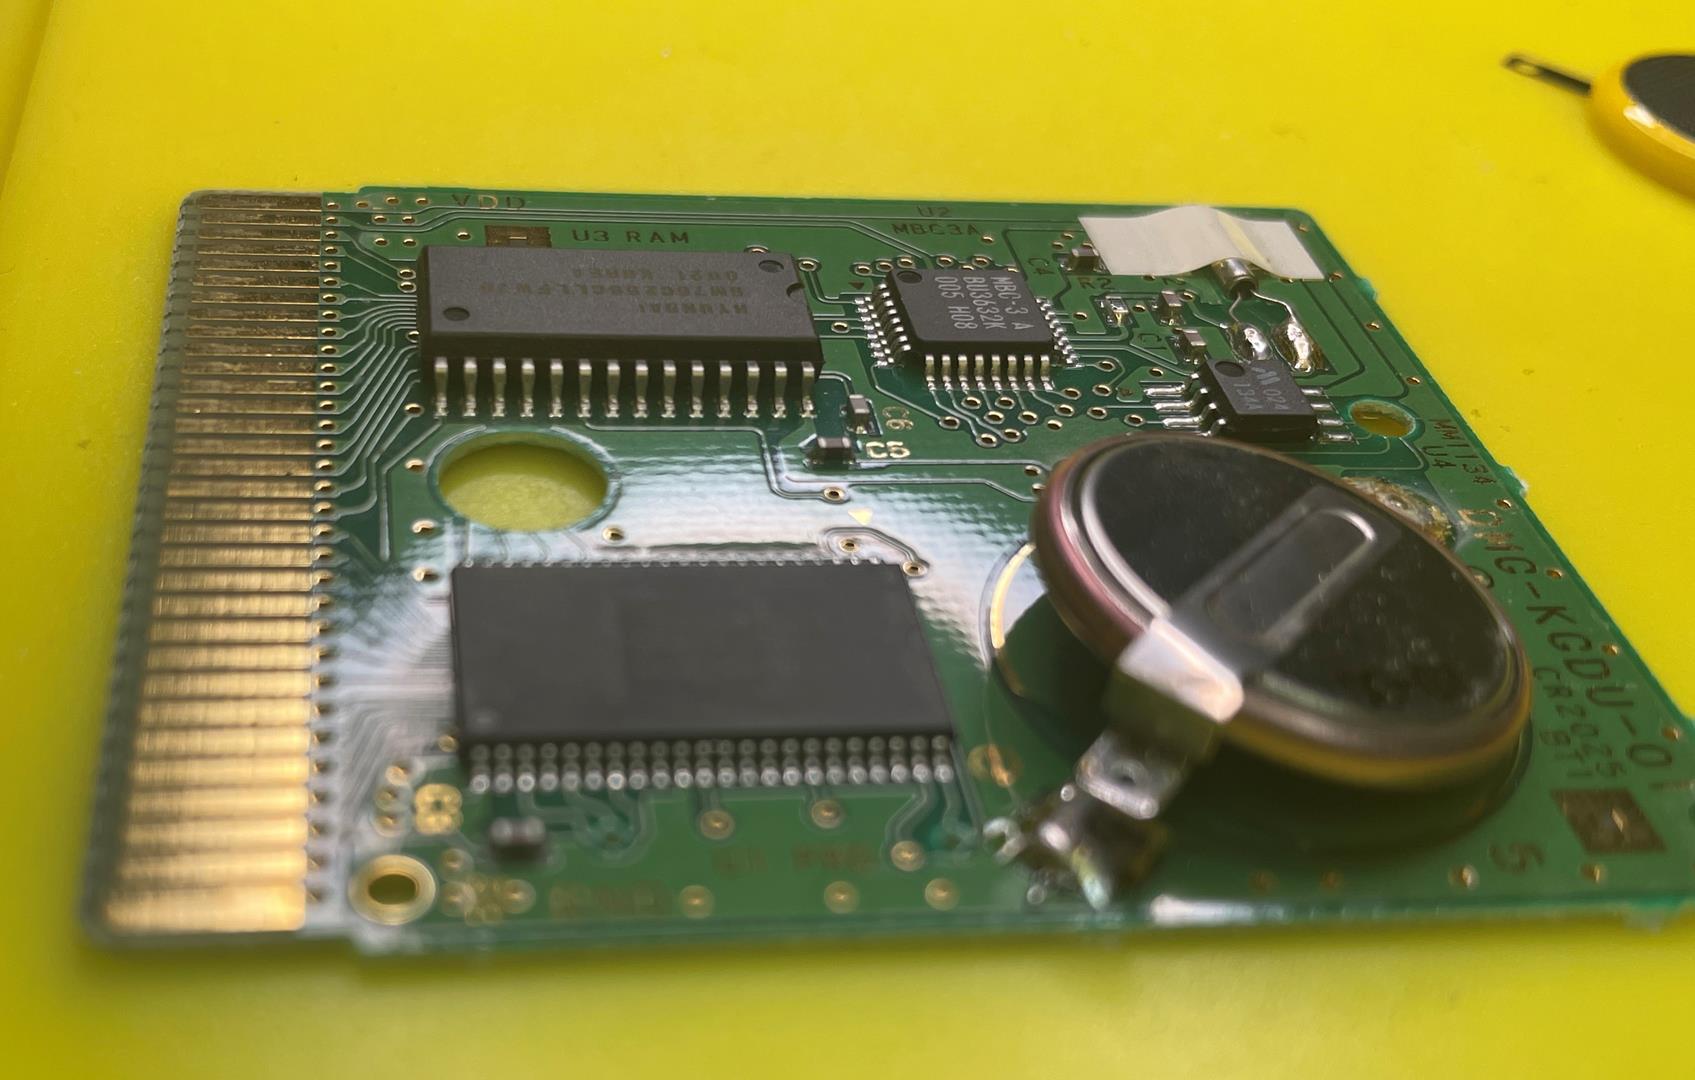
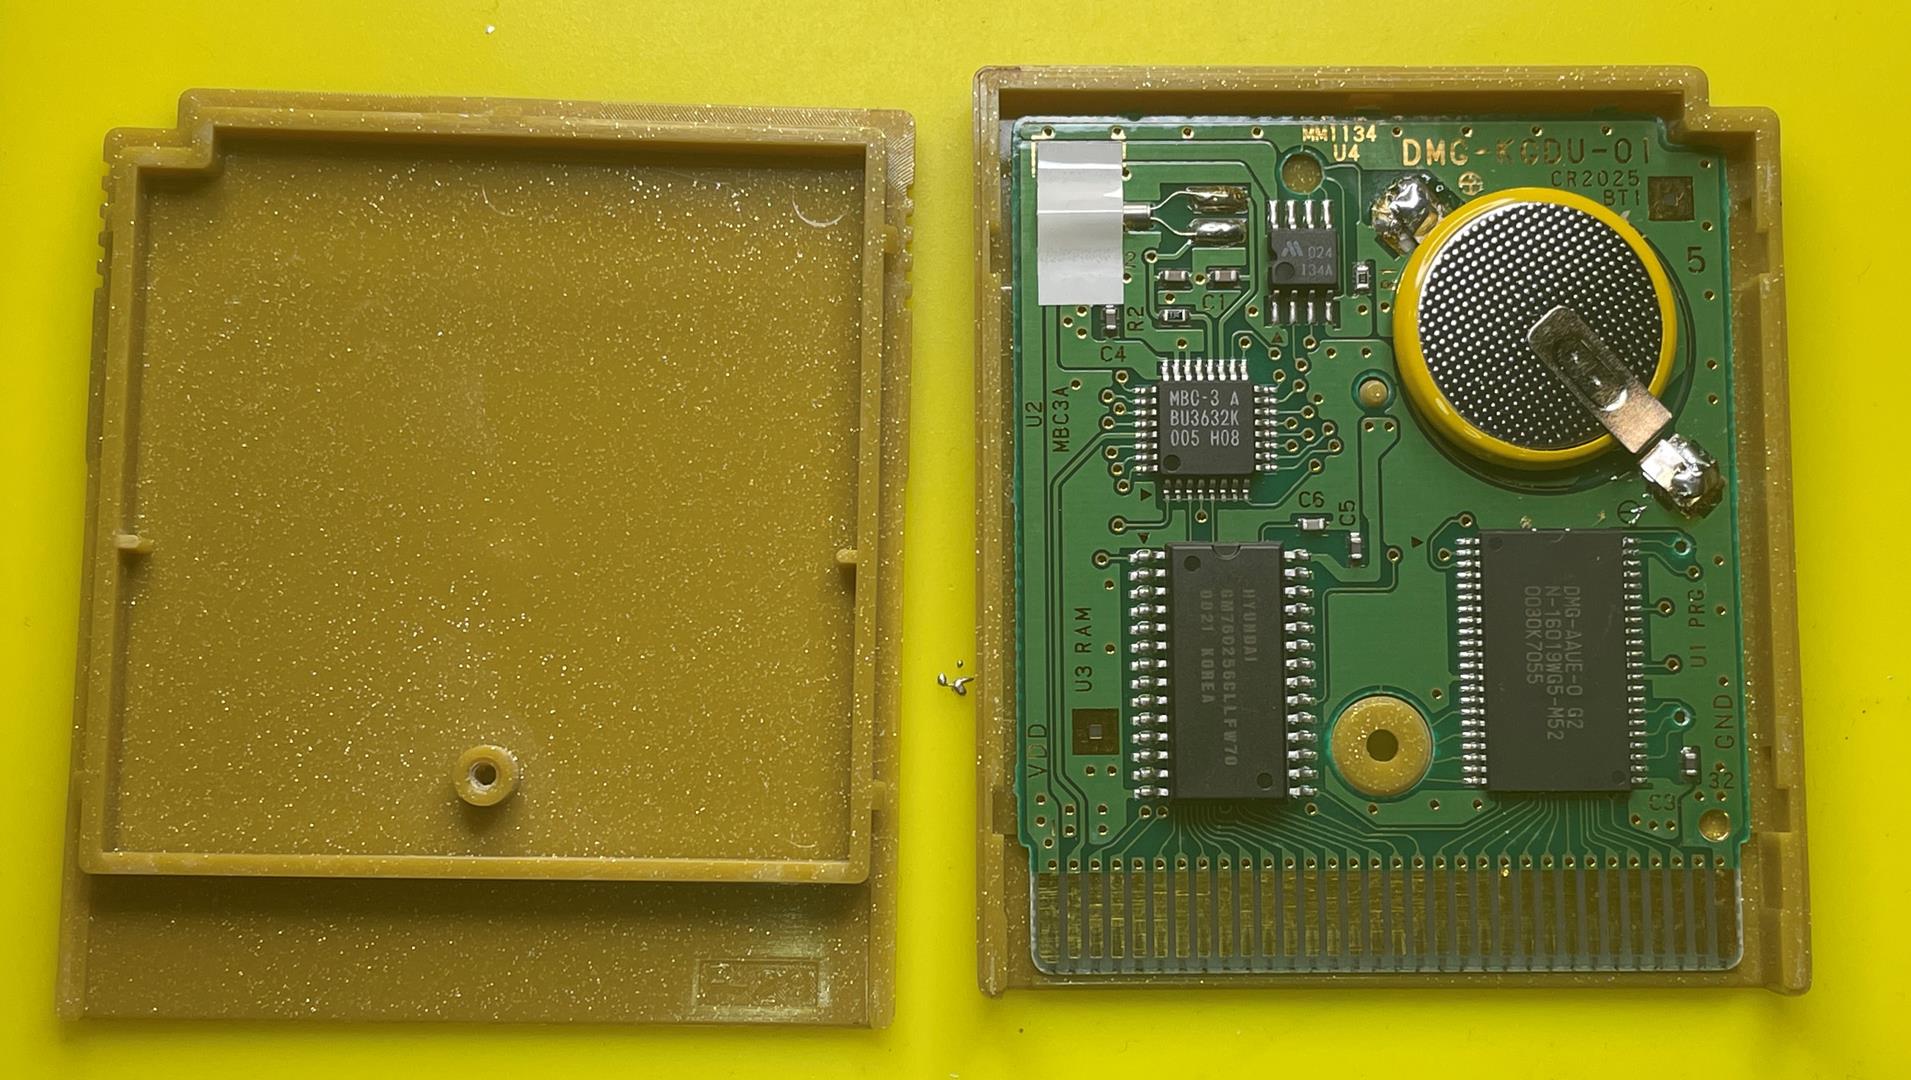
Next, remove the circuit board from the cartridge and place on the side (you wouldn’t want to damage it by accident) Locate the battery in the top right and begin heating the old solder joints. Gently pry up the battery using a plastic pry tool or case opener tool
One the battery has been removed, clean up the old solder pads. Here you can use some solder wick to remove some excess solder or simply heat the pad to flatten the old solder.
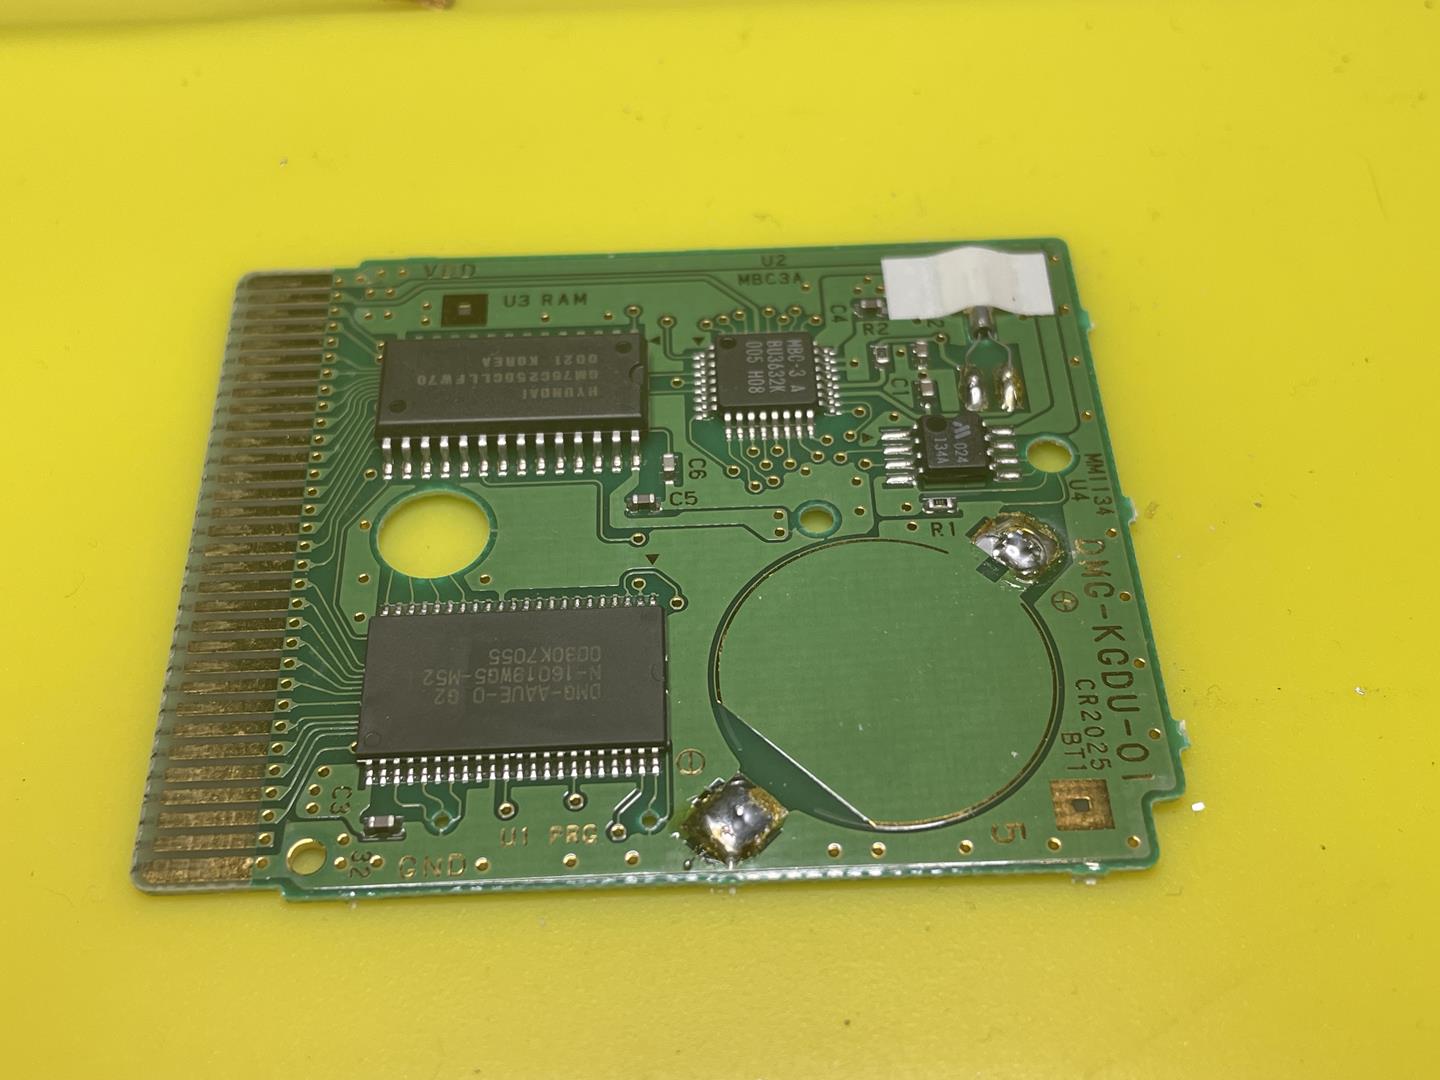
Take one of the new batteries and check the polarity of the battery in conjunction to the circuit board. In other words line of the positive (+) with the positive on the board and the negative (-) as well. Putting the batter in backwards will damage the cartridge! Lay down some fresh solder to secure the battery and you’re DONE!
Give it a test run in your Game Boy and you will be once again able to save games.
Tips –
- Work slowly
- Make the soldering iron hot, but not TOO hot. I like 700~750deg
- Use solder wick to remove some of the old solder
- Don’t get solder on anything else. It could short circuit the game.
Thank you for reading my blog,
Joe
Visit my online store www.geekgearstore.com