

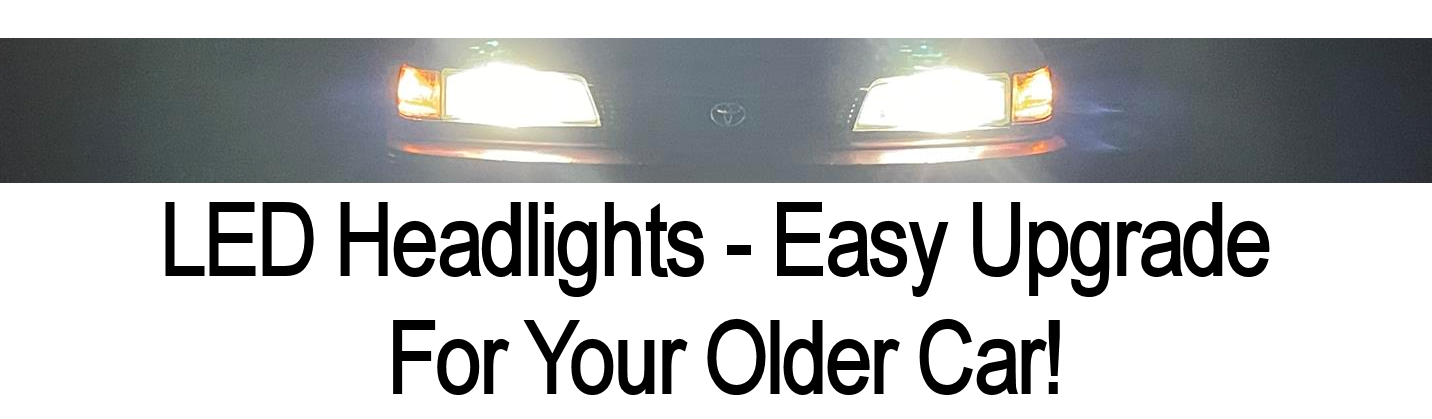
There are still a number of older cars on the road that don’t have LED headlights. Before the LED Headlight craze we had HID (high intensity discharge) projector style lights, and before that halogen lights and even before that incandescent type lighting. It is amazing how far lighting technology has come in just the last 20 years increasing visibility and safety while we are on the road.
My son is a new driver and he was luck enough to be gifted a 1991 Toyota Camry. The car is in great condition for being 30 years old, and runs and drives like it was new! Wanting to make sure he is as safe as he can be in his ride, I decided to make a few upgrades. New dash camera, new radio with Bluetooth, and finally new LED headlights to replace the old halogen bulbs.
Picking a replacement bulb
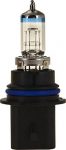
The Toyota Camry was originally equipped with the standard dual filament 9004 type halogen bulbs. They still make replacement halogen bulbs and modern 9004 bulbs are quite bright. Here we have a direct replacement Philips bulb pair for $33.00 at Amazon
If you want to take your lighting one step further consider installing a direct fit 9004 LED Headlight replacement. The LED Headlights will connect to the existing wiring and should snap right into the same socket as the old bulb.
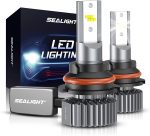
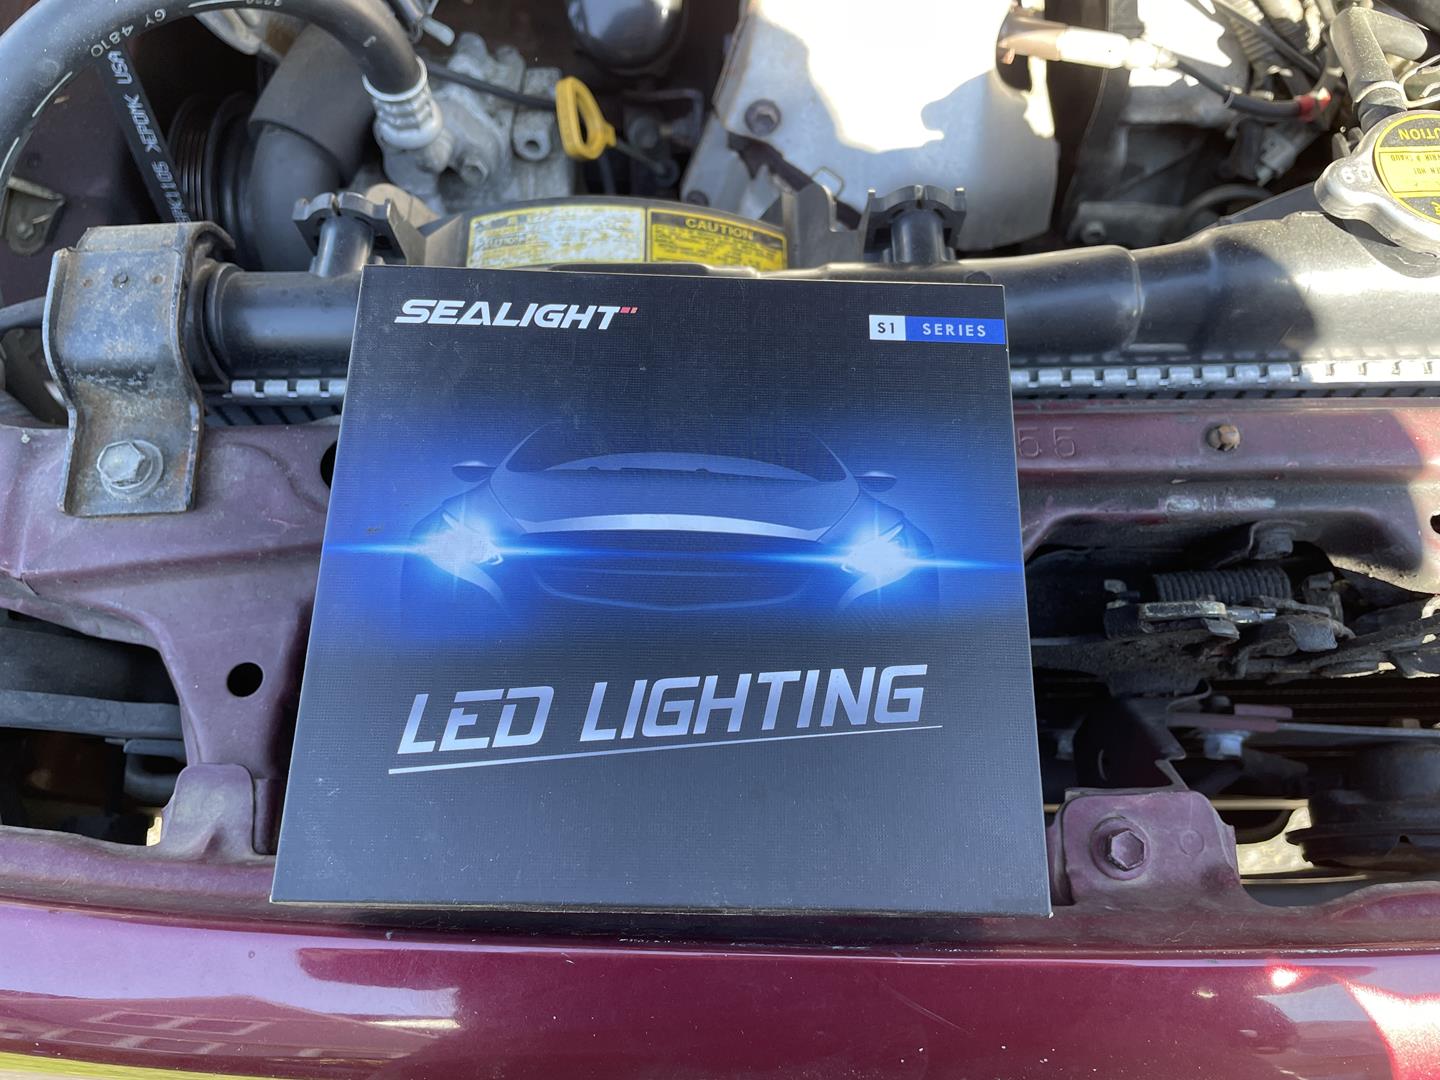
After doing extensive research on Amazon I decided to give these Sealight bulbs a chance. The normally sell for $45 a pair, but every time I visit the site they are on sale or have some kind of coupon. At the time of this writing they are $25.00 on Amazon
Installing was easy (kind of..)
Installation should have been a breeze, however anytime I work on my cars things are never as simple as they appear.
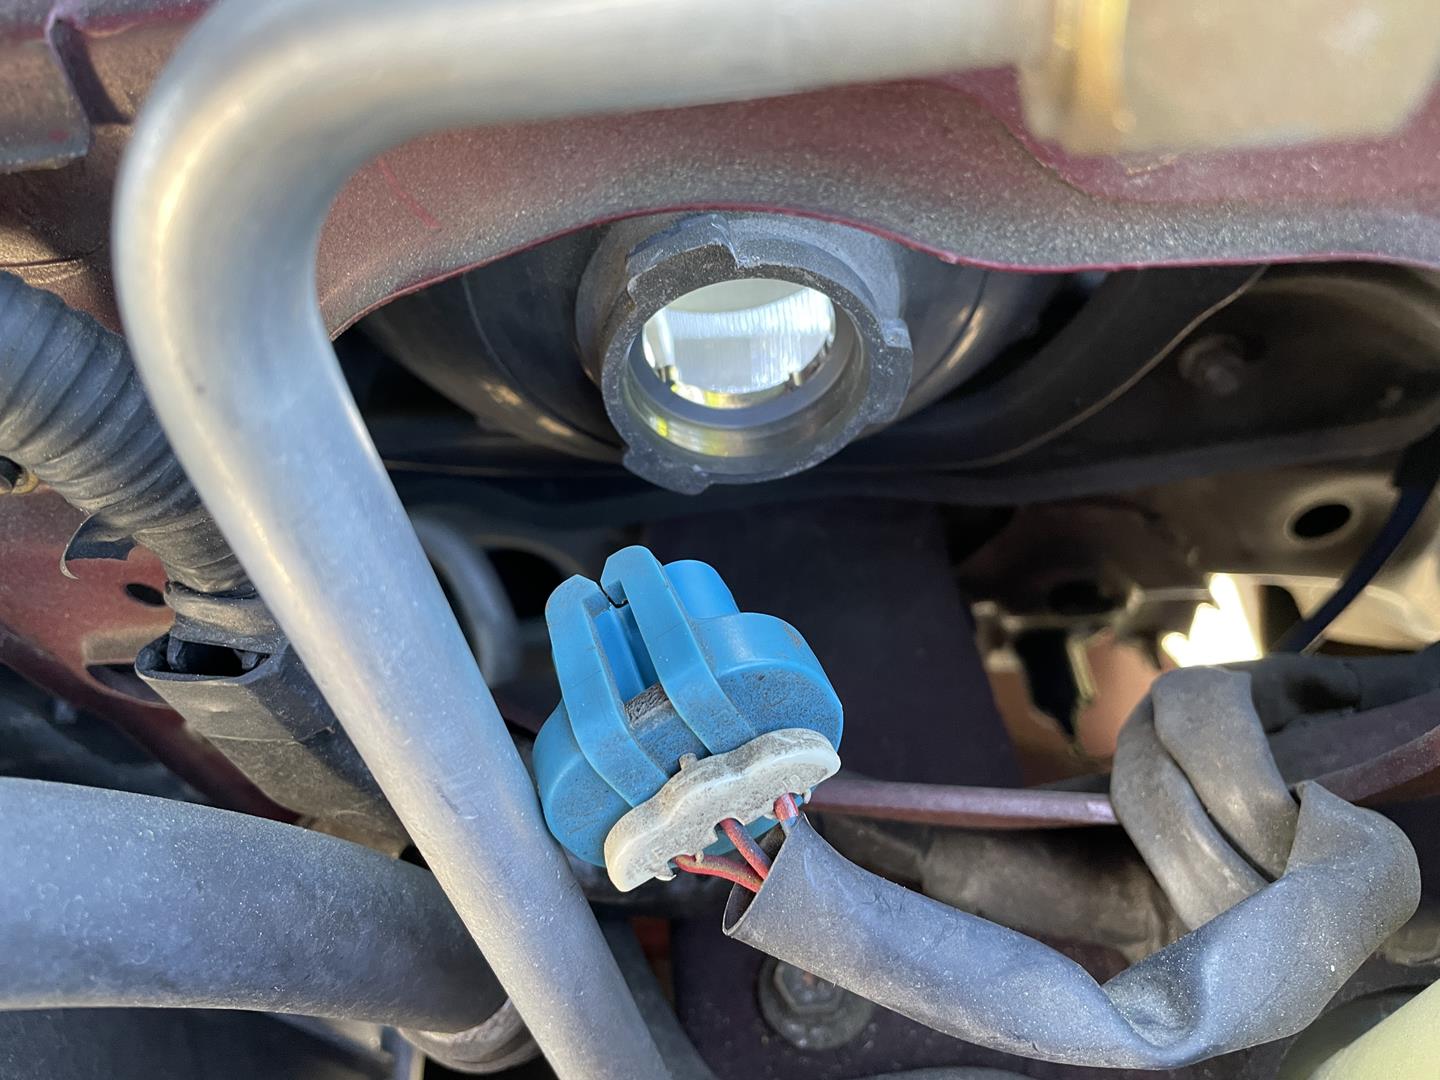
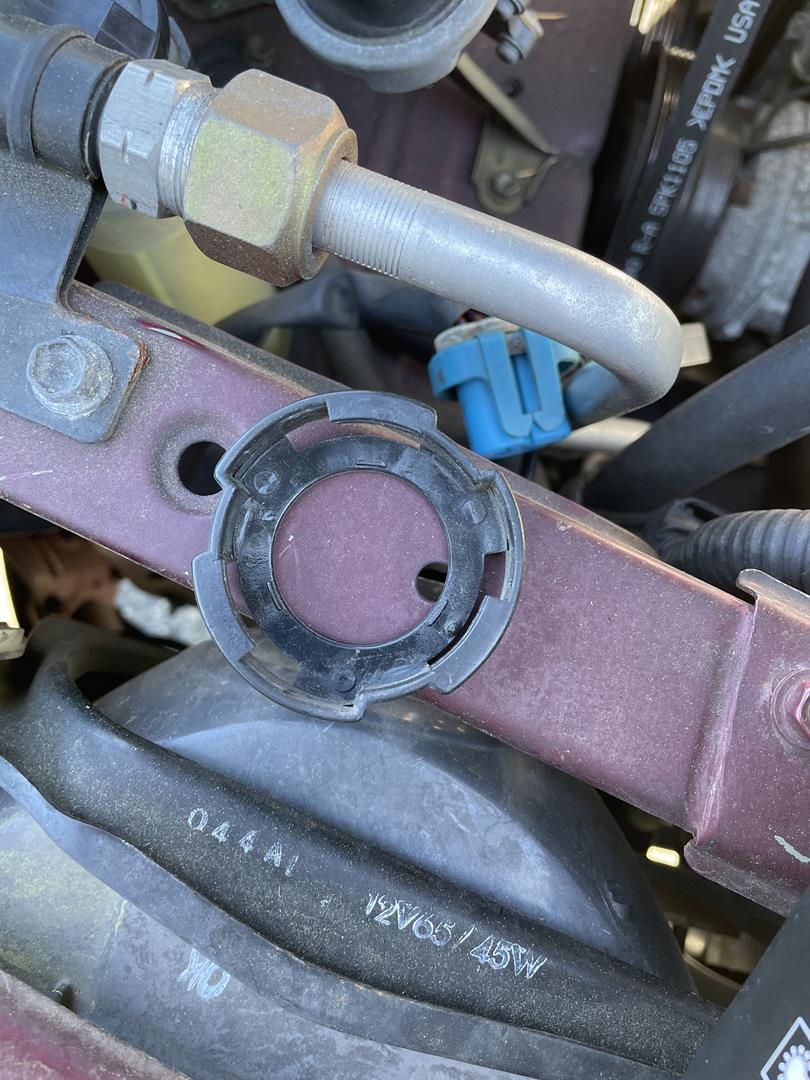
The old light had a locking retainer that simply screwed off, and after some prying the old bulb was liberated from the socket. ** Note there was an orange gasket that keeps the water out of the Headlight lens that mad the lights difficult to remove. It took a lot of prying and coaxing to get the bulb out, but eventually it was removed.
The locking ring needs to be removed from the old light and attached to the new light. This is achieved by removing the heat sync from the new Led Headlights, installing the new ring and then putting the bulb back together.
One Major Issue!
After about 20 minutes of trying to install the bulb in the lens I could not get the locking ring to lock on the bulb. I tried numerous times, used my pliers, vice grip. You name it and I tried it. To my eye the bulbs looked exactly a like so there should be no reason for this not to be a quick and easy job. After a through comparison of the bulbs it turns out the locking ring on the new LED Headlight is a tiny bit thicker than the old. (take a look at the image)
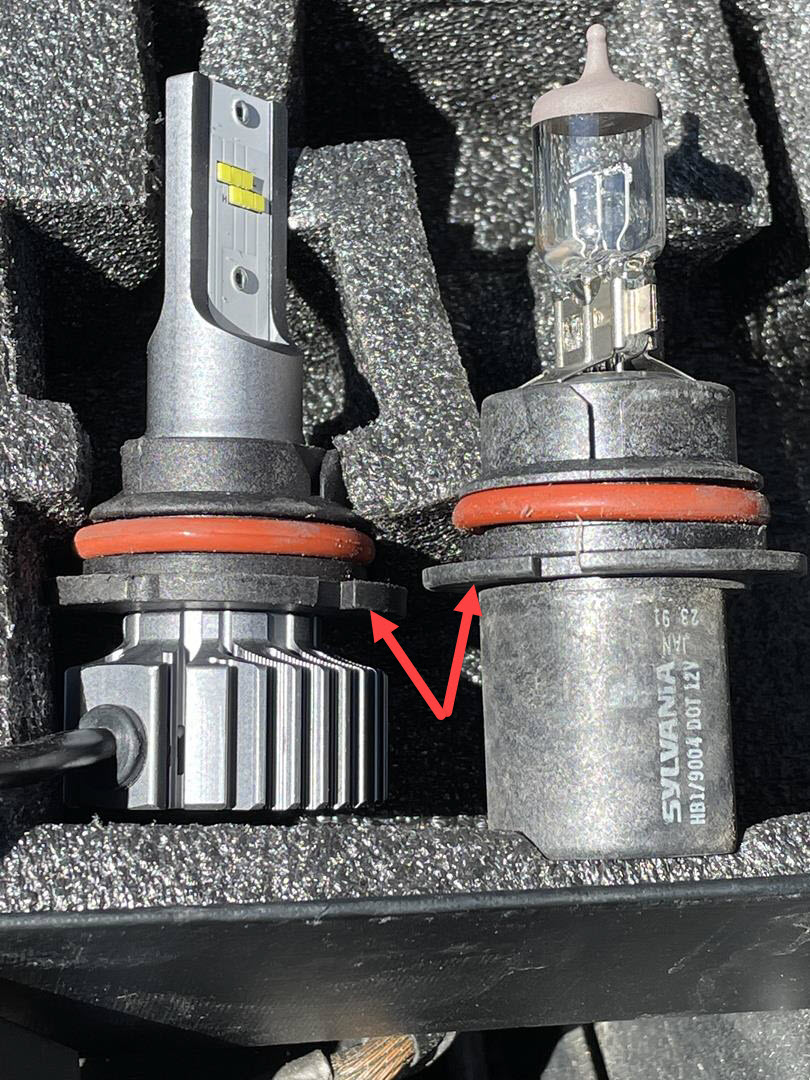
The only way to get the new LED Headlight to fit was to once again remove the heat sync from the bottom of the bulb and then use some sandpaper to sand the ring down to the correct size of the OEM. Once that was completed the new LED Headlights locked into place like butter!
I neglected to take a picture of the old stock bulbs in action, however here is a shot of the new LED Headlights and they are a 100% improvement over the previous,

Final Thoughts
- Double check that bulbs are an exact fit or you will have to make modifications
- Try to find bulbs with a heat sync only (some come with fans, and to me a fan is a huge point of failure)
Related Articles – History of head lights
Thank you for reading my blog,
Joe
Don’t forget my online store – www.GeekGearStore.com