

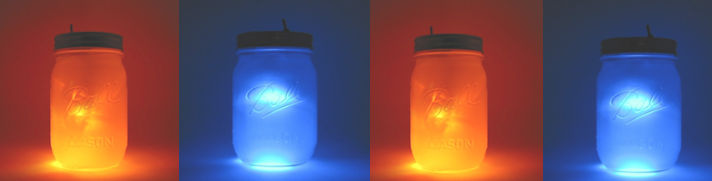
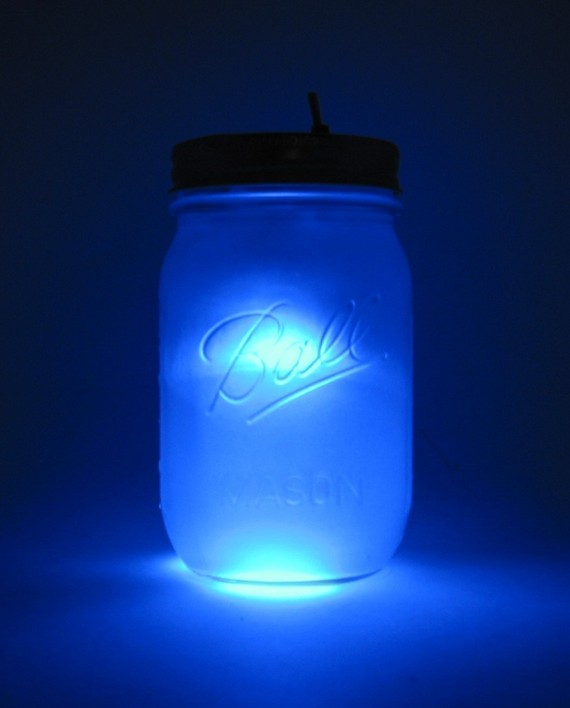
The Sun & Moon Jar night light helps set the mood in any room. Place the jar in your family room, bed room, back yard patio or even take it on your next camping trip. No matter where you place the jar, the warm glow will surely add ambiance to your surroundings.
Today I’m going to explain the steps to make your own Sun & Moon Jar.
Visit www.GeekGearStore.com for a completed version of this project!
Supplies you will need: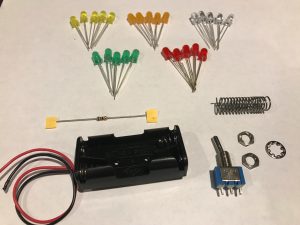
- 1x AAA Battery holder (2 AAA Batteries)
- 4x 5mm LED (2 Blue, 1 Yellow, 1 Orange)
- 1x SPDT Switch w/ Center off
- 1x Current limiting 100ohm resistor
The kit to the left shows most of the above components and is $9.99
- Ball Mason Jar (Set of 12 $9.00)

- Frosting Spay Paint ($4.00 a can)
- Goop Glue (Any good glue will do, I just happen to like GOOP) ($9.00 a tube)
Tools You Can Use:
- Small adjustable wrench ($10.00)

- Soldering iron ($10 and up)
- Wire cutter / stripper ($10.00)
Let’s Get Building!
If you are not familiar with how LED’s work give this post a quick read.
Light Up Your Projects With (LED) Light Emitting Diodes
SUN & MOON JAR STEP 1 – Prepare The LED module
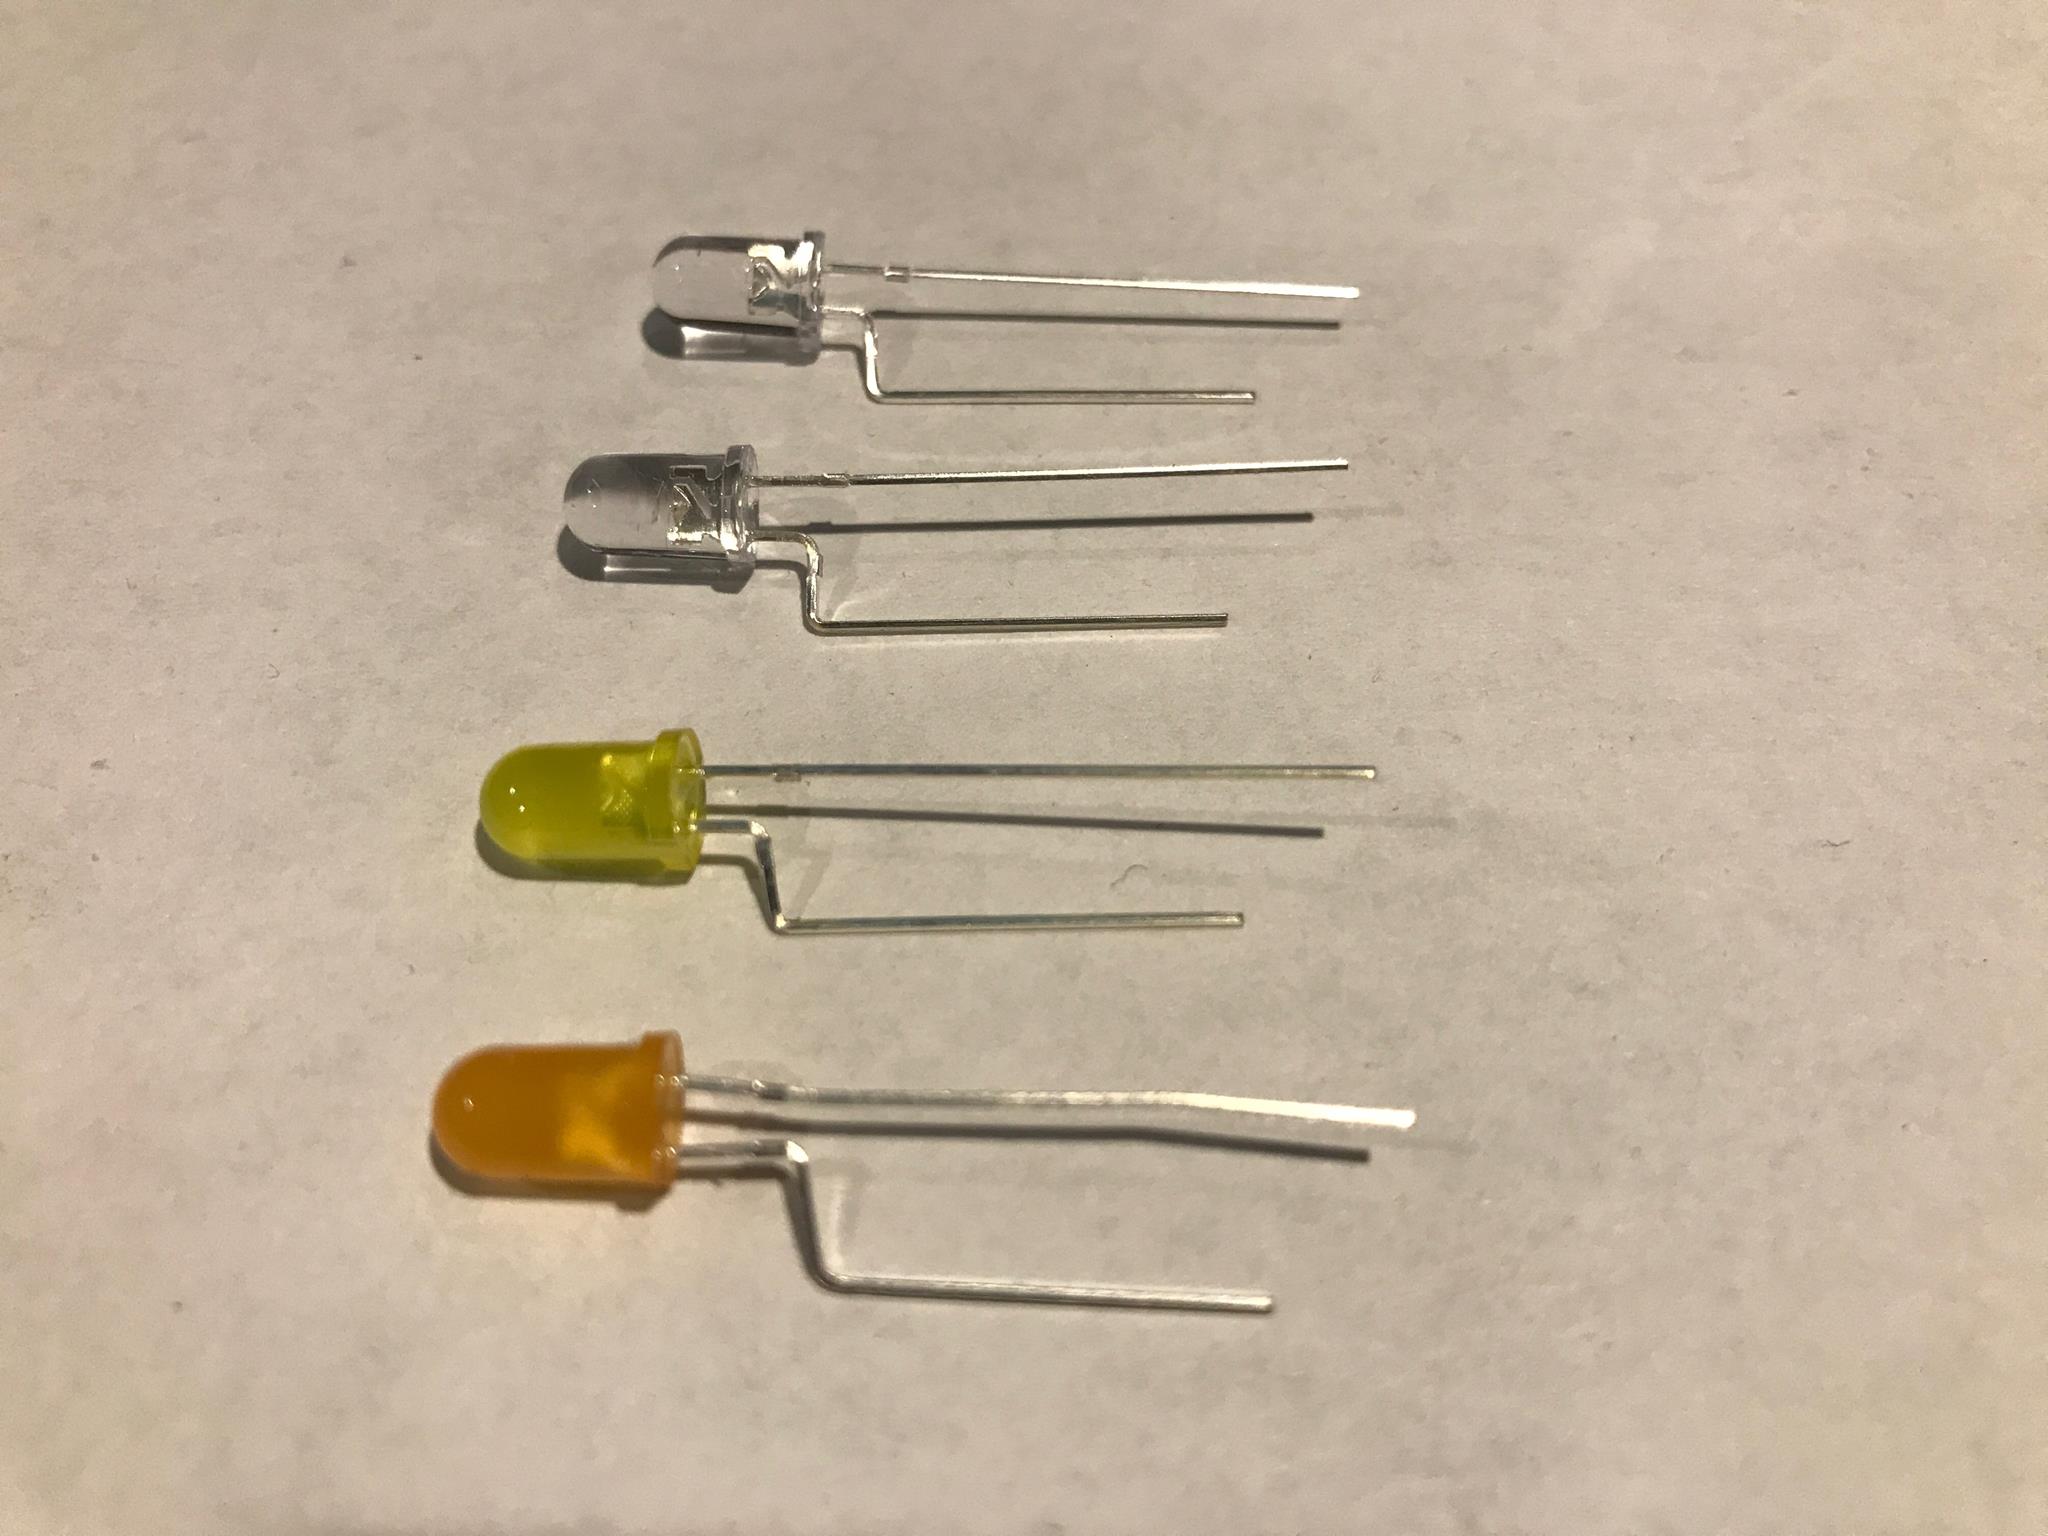 Take each LED and bend the Cathode (negative) post as shown.
I use a small needle nose to make the “L” shape.
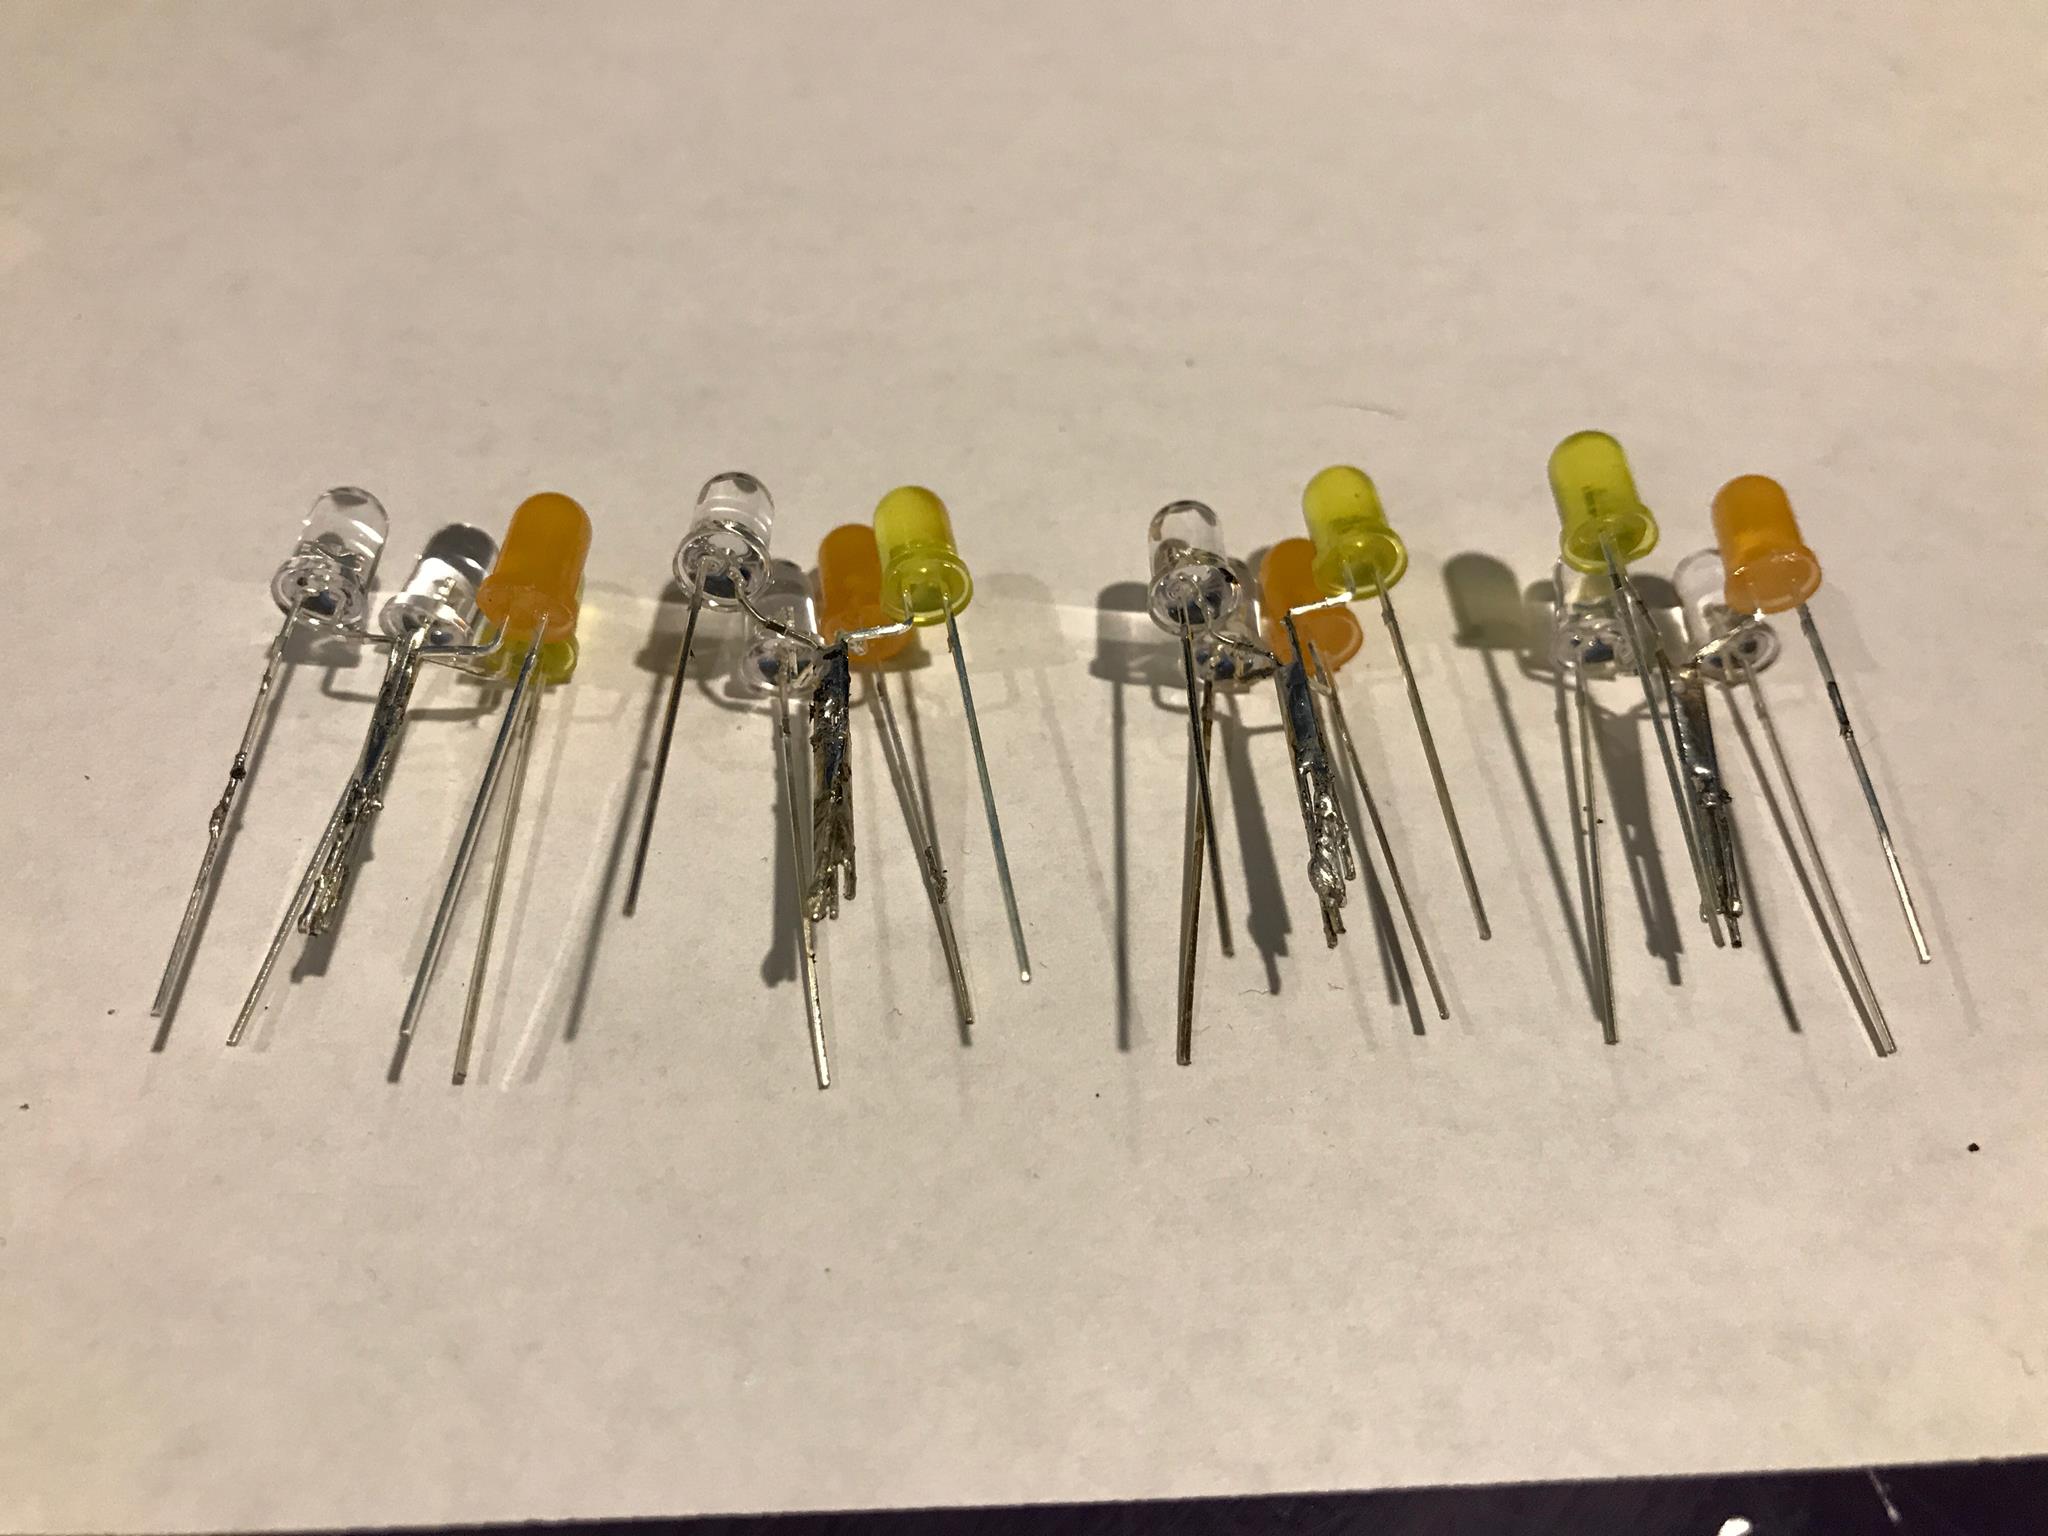 Next, take the four cathodes and solder them together in the pattern below. The two blue LED’s on one side and the yellow and orange on the other side.
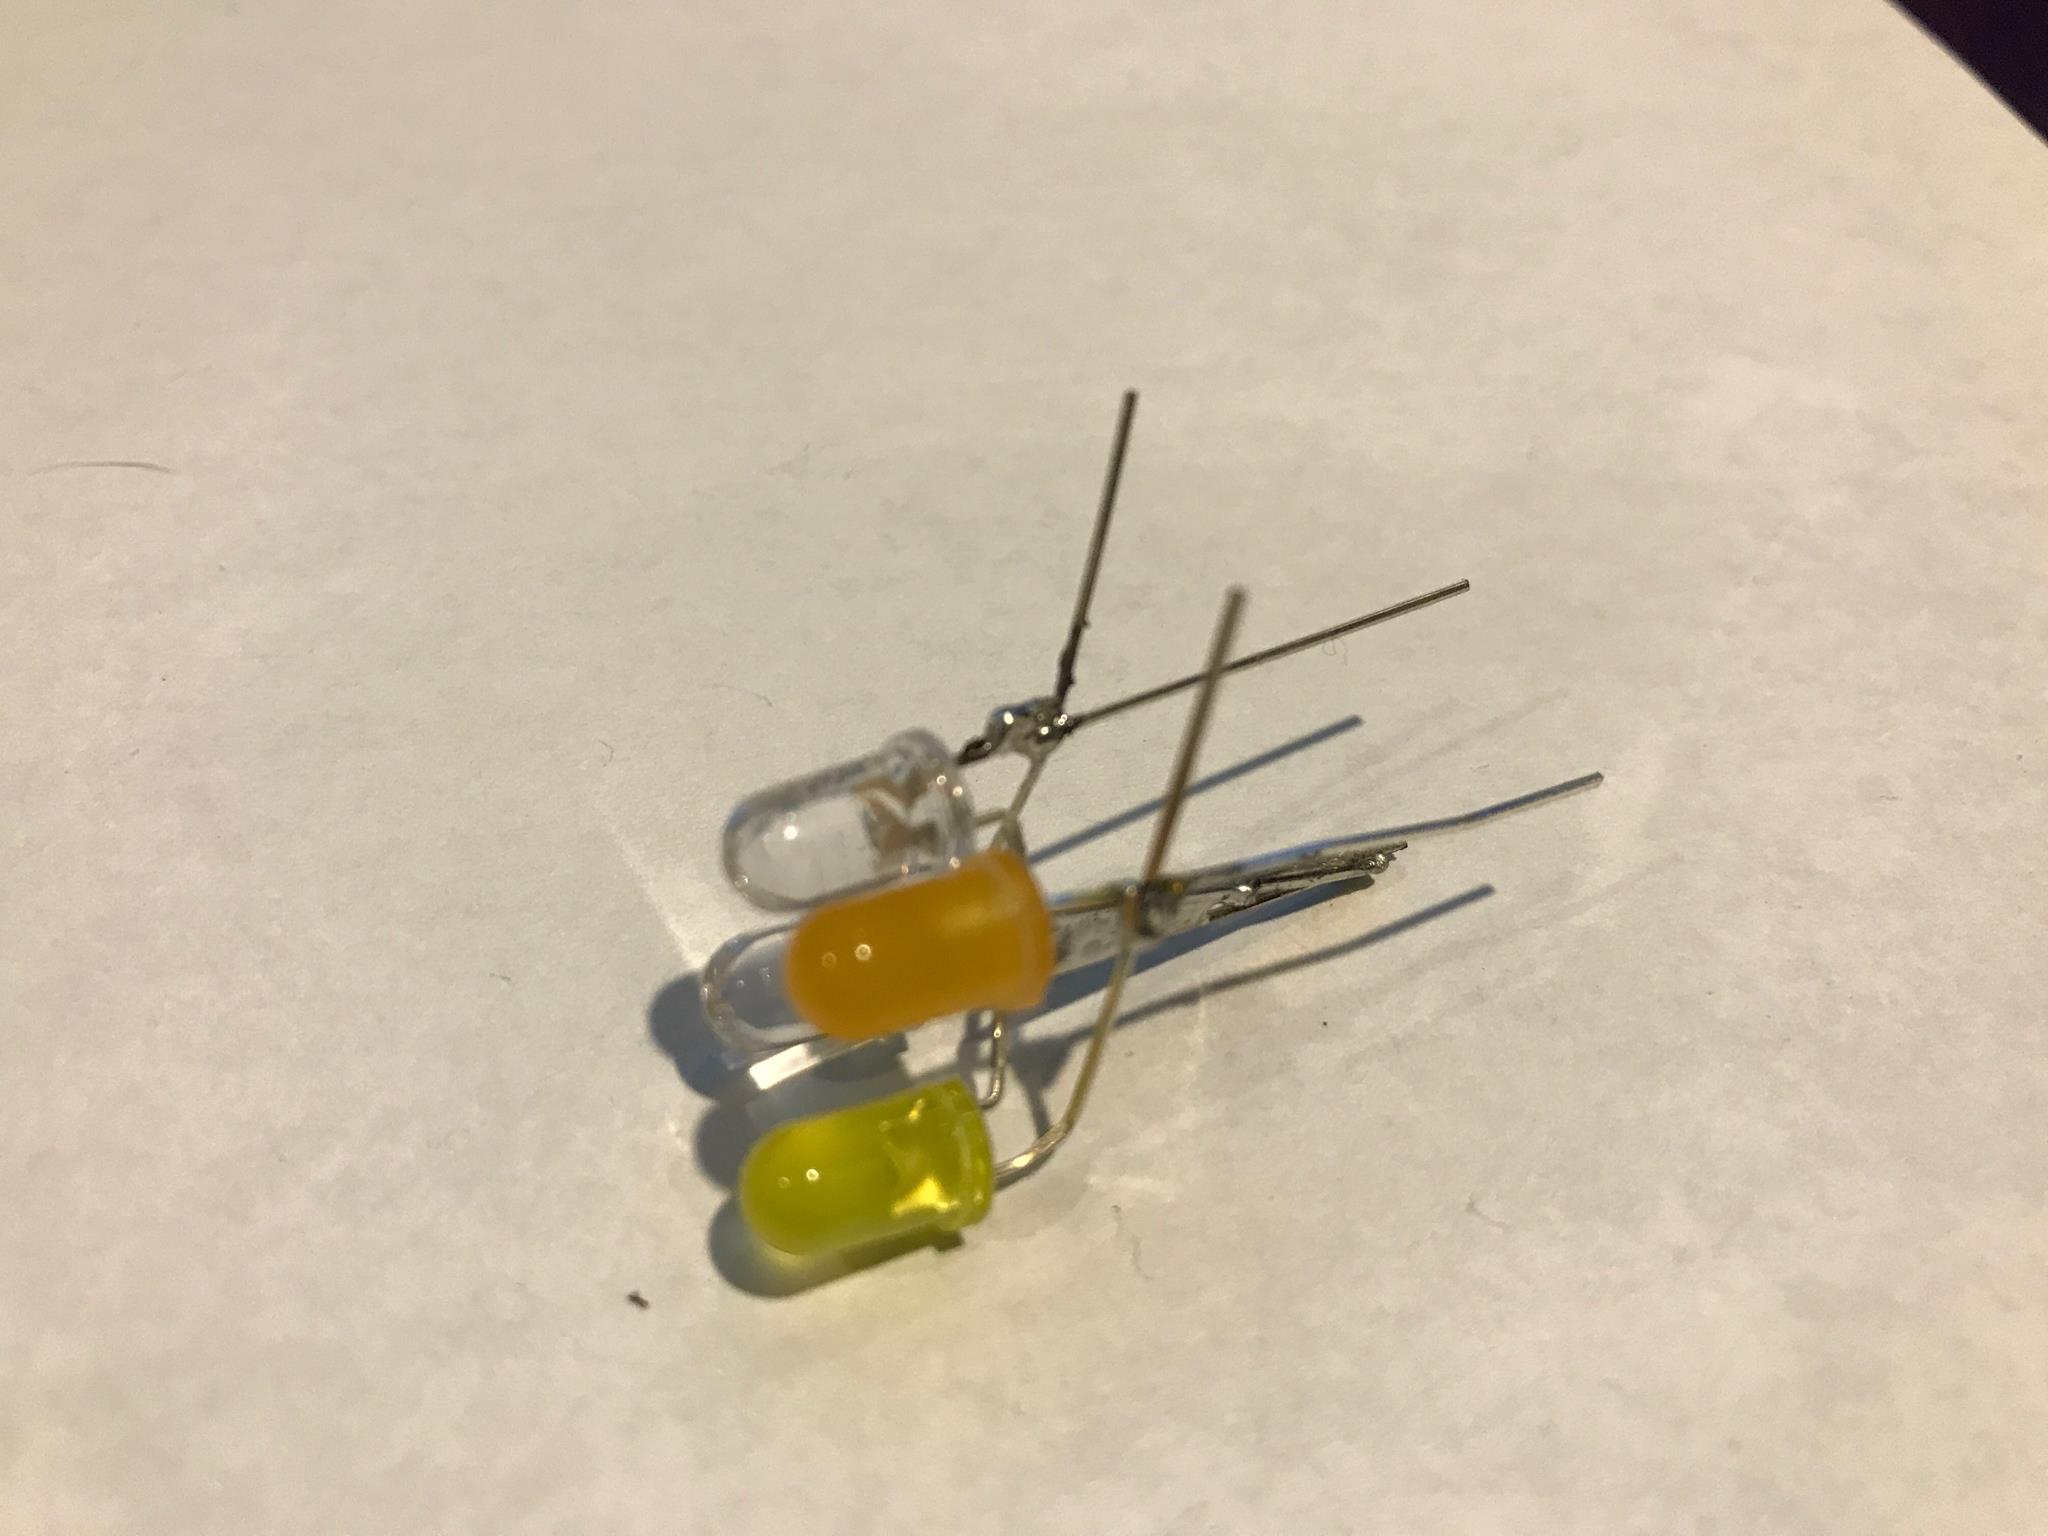 Now bend one of the blue anode (positive) legs of the LED 90° so that it touches the other anode. Do the same for the yellow and orange.
Solder them both in place as show in the image.
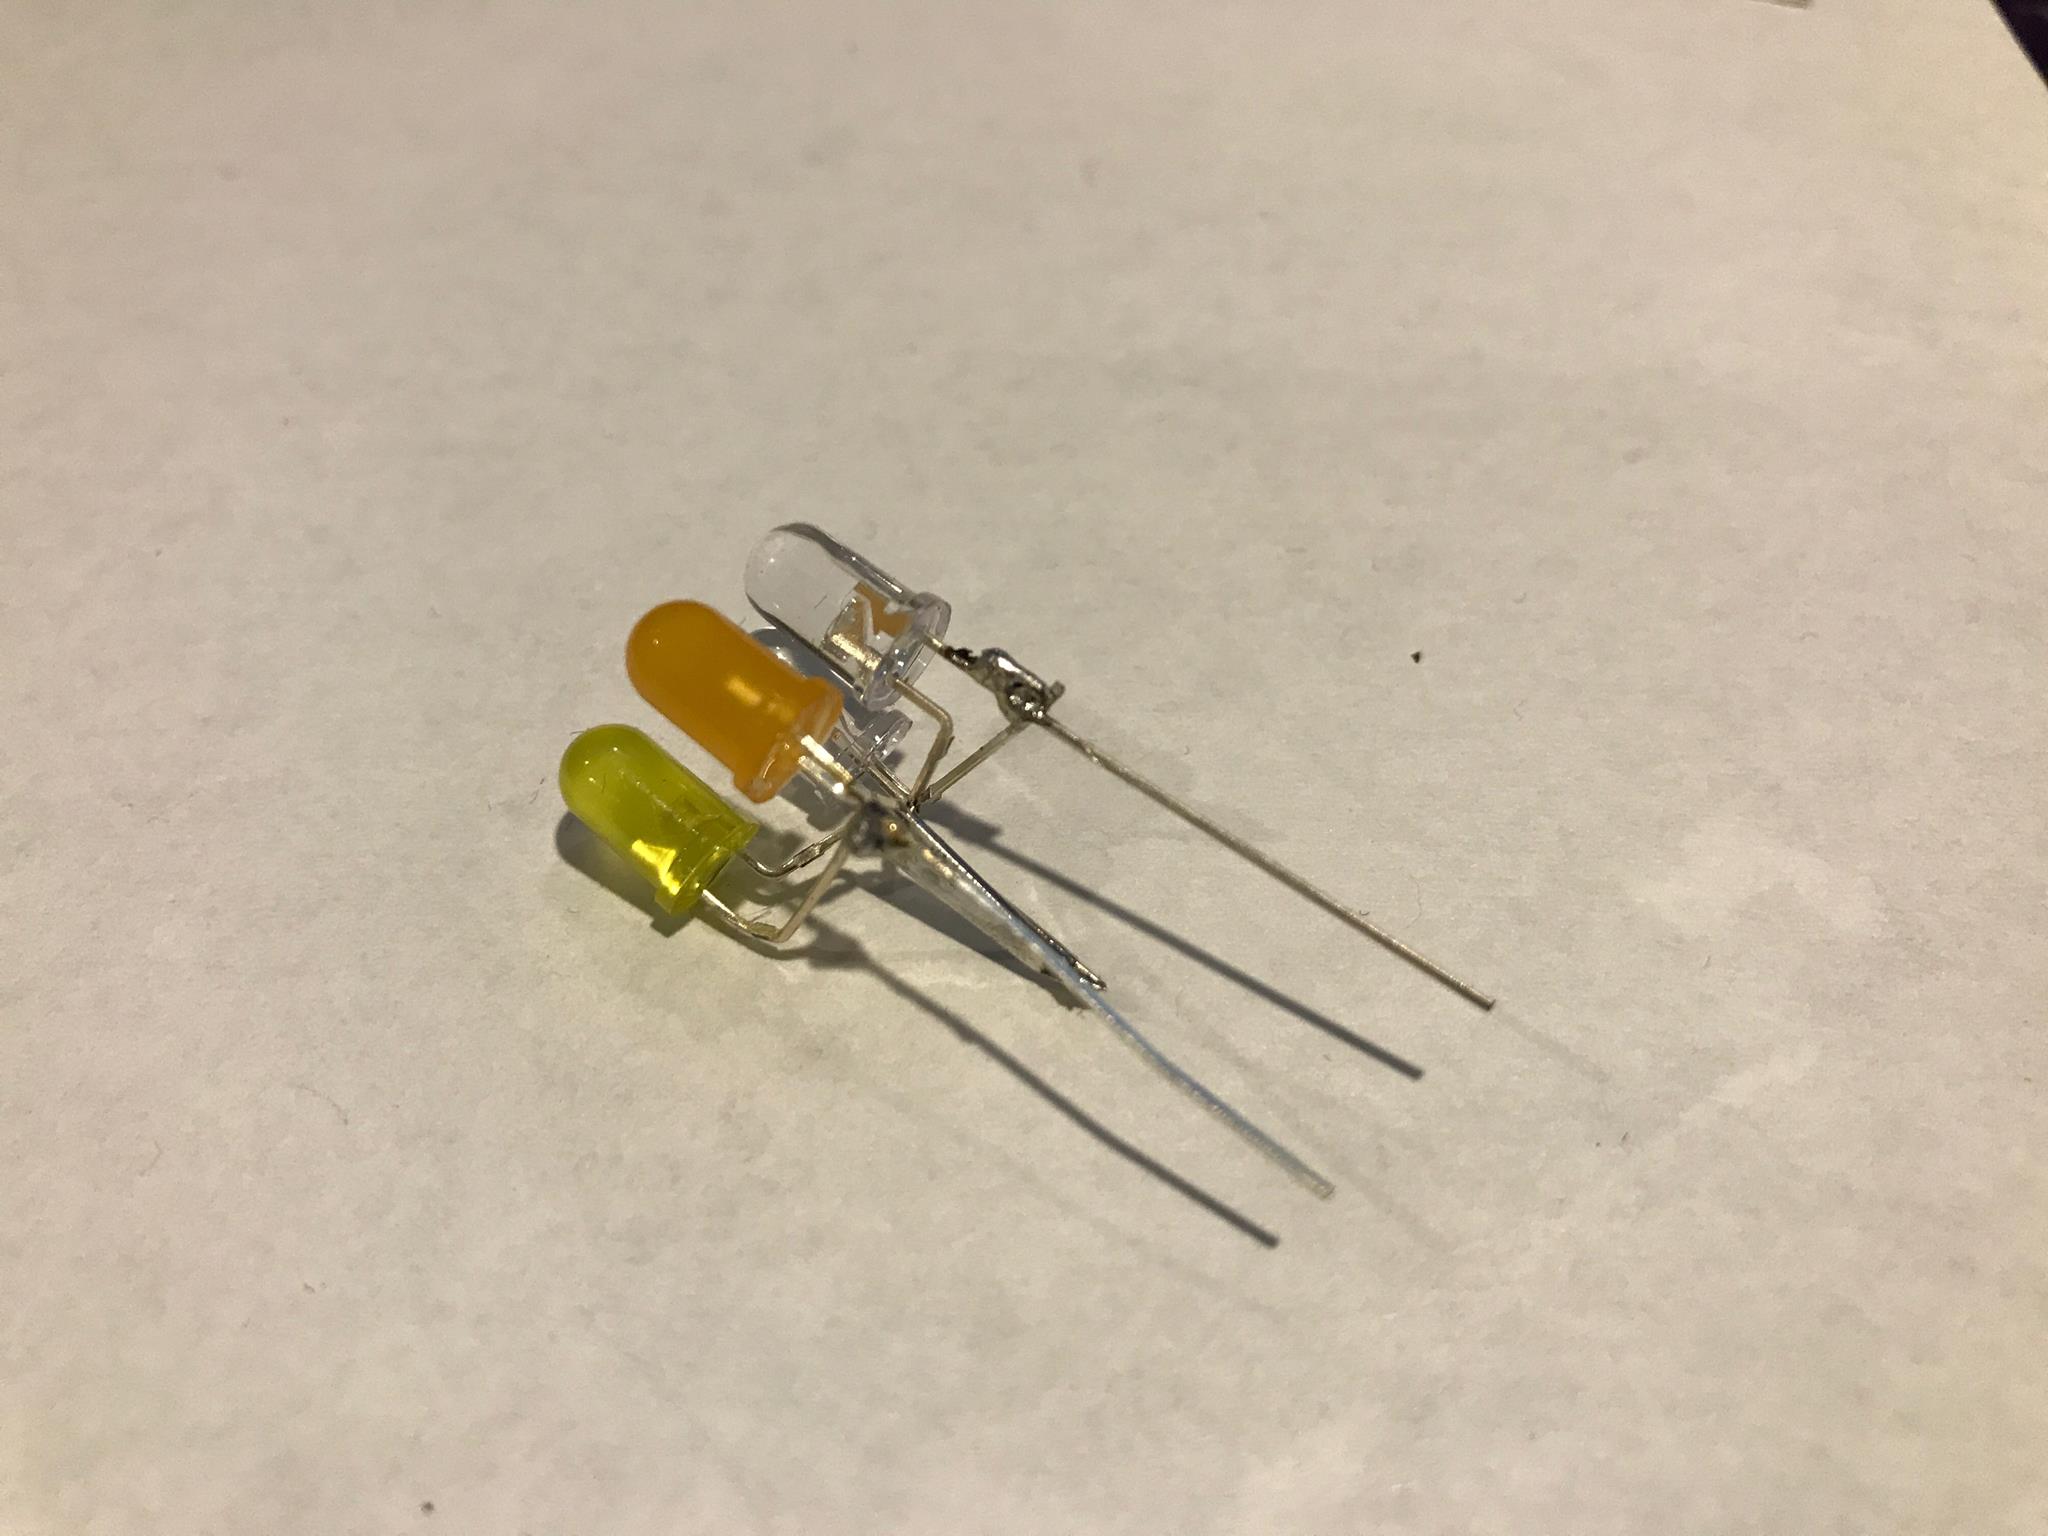
Trim the excess of the anodes that you just bent and soldered. Also trim a little off the center cathode.
Your LED array should look like this.
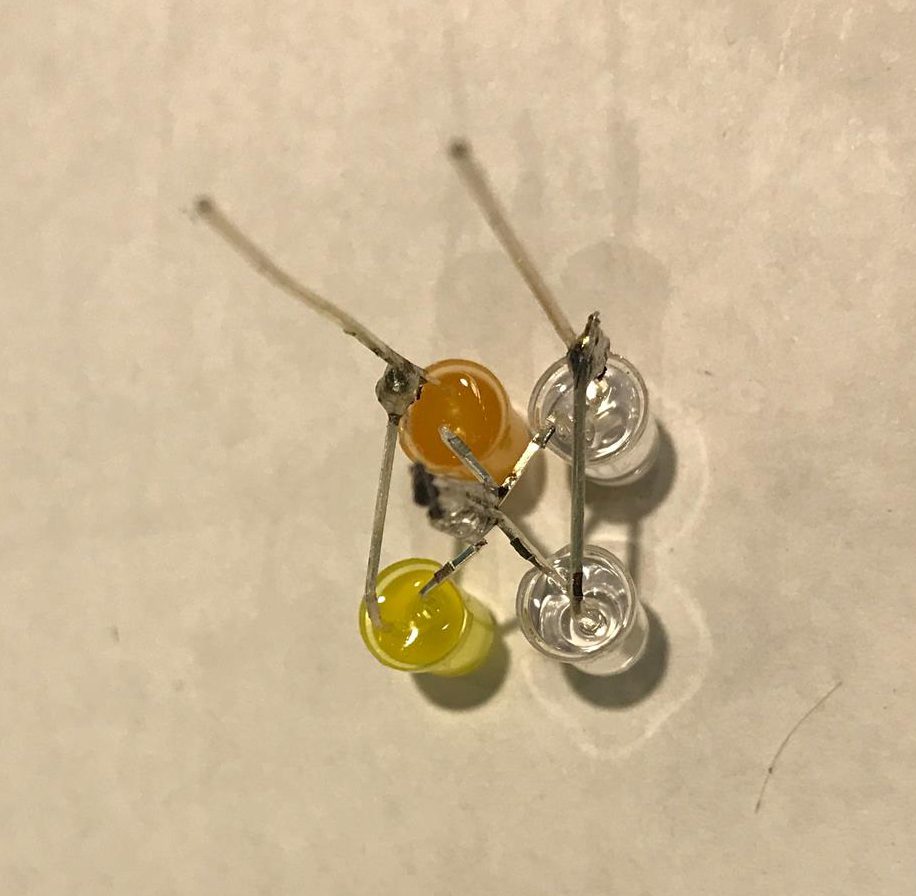
This is a bottom view of the completed array.
To recap: All four cathodes (negative) posts are tied together in the center and each anode is tied together with its respective partner (blue with blue and orange with yellow)
SUN & MOON JAR Step 2 – Prepare the Jar:
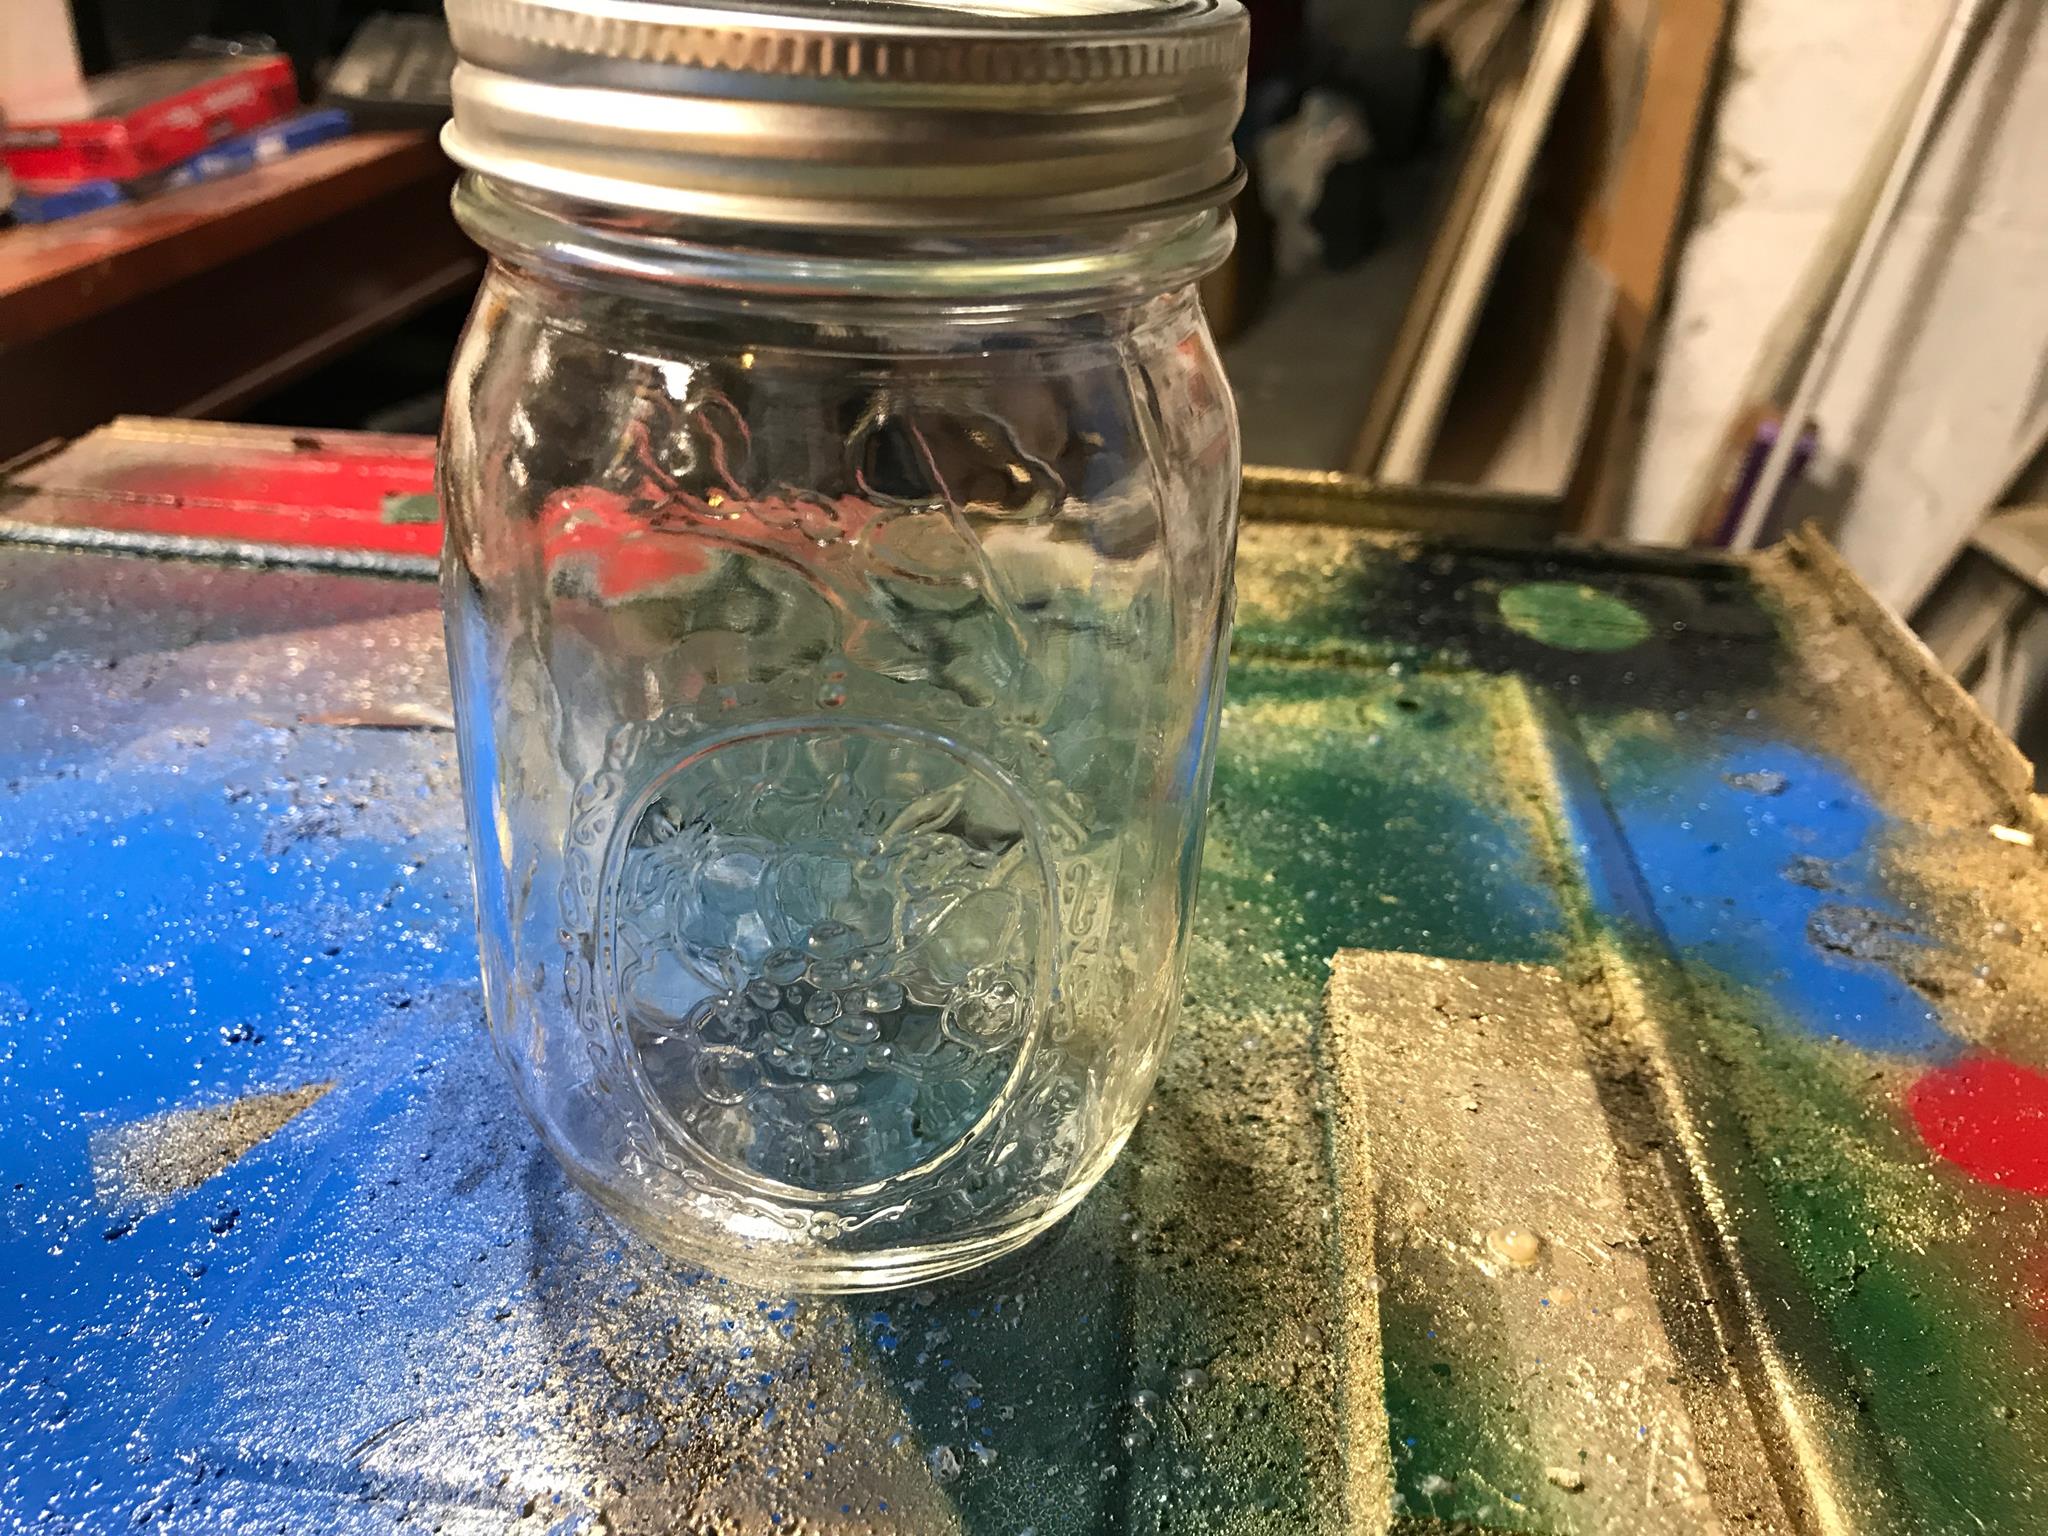 Make sure the jar is clean and dry inside. Use the spray paint to frost the inside of the jar.
It may take a couple of coats to make the jar nice and frosty. Just remember to allow some drying time in between coats.
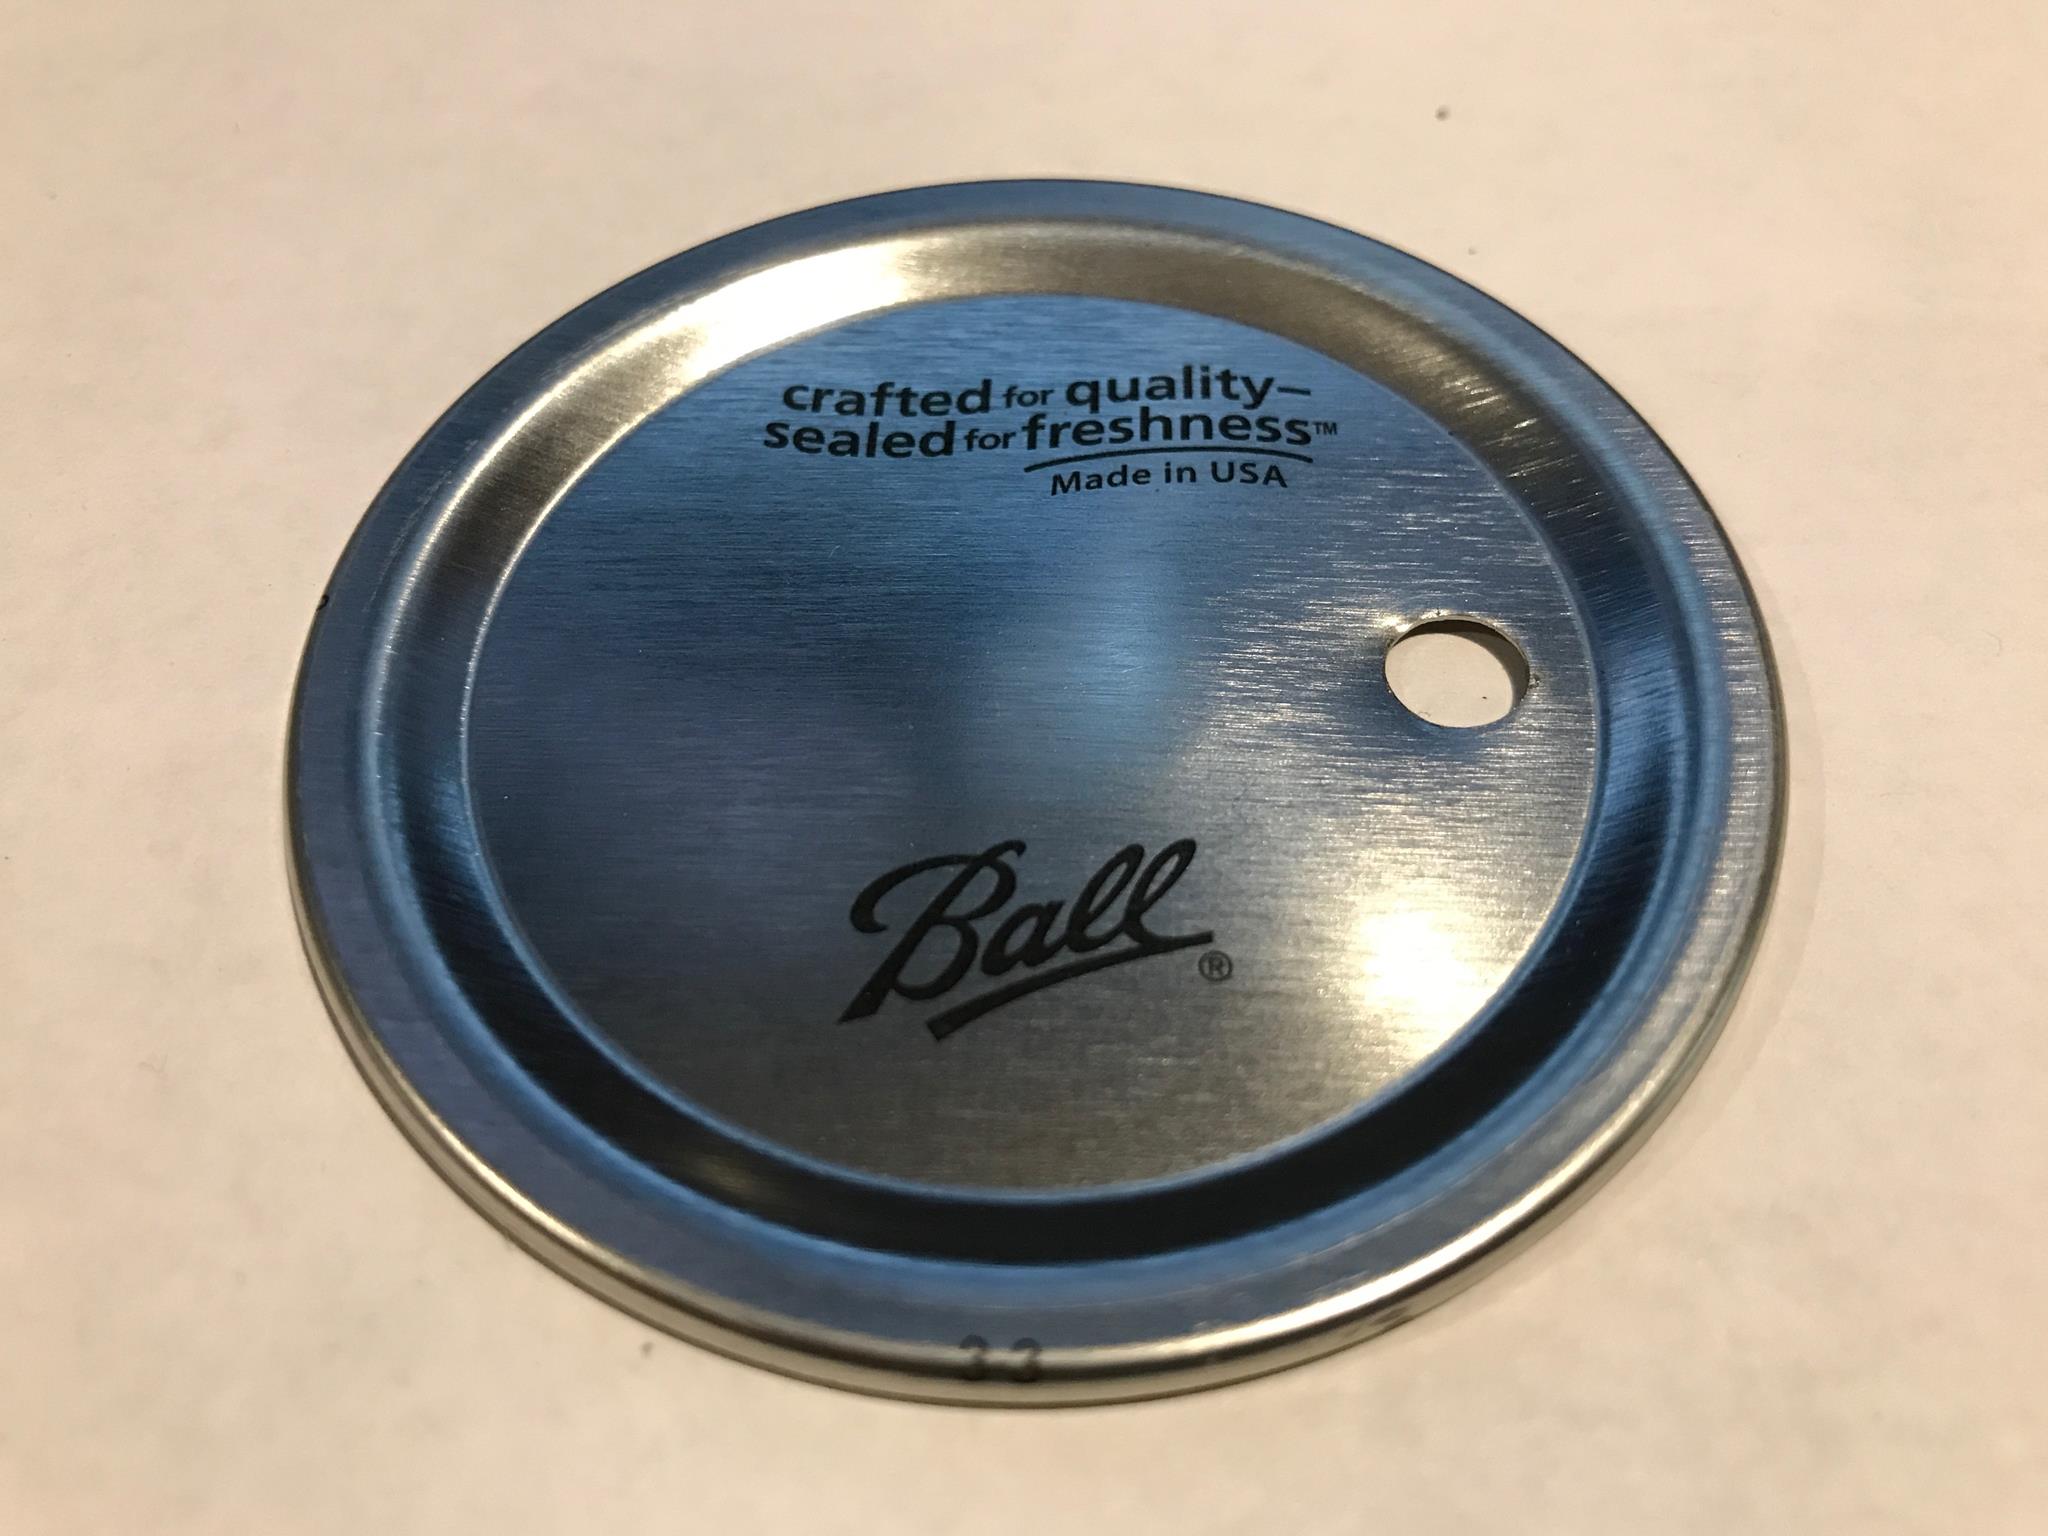 Now its time to work on the lid. We need a 1/4″ hole in the lid as shown to mount the switch.
I used a simple cordless drill to make my hole. Be careful, the lids are quite thin and will bend easily.
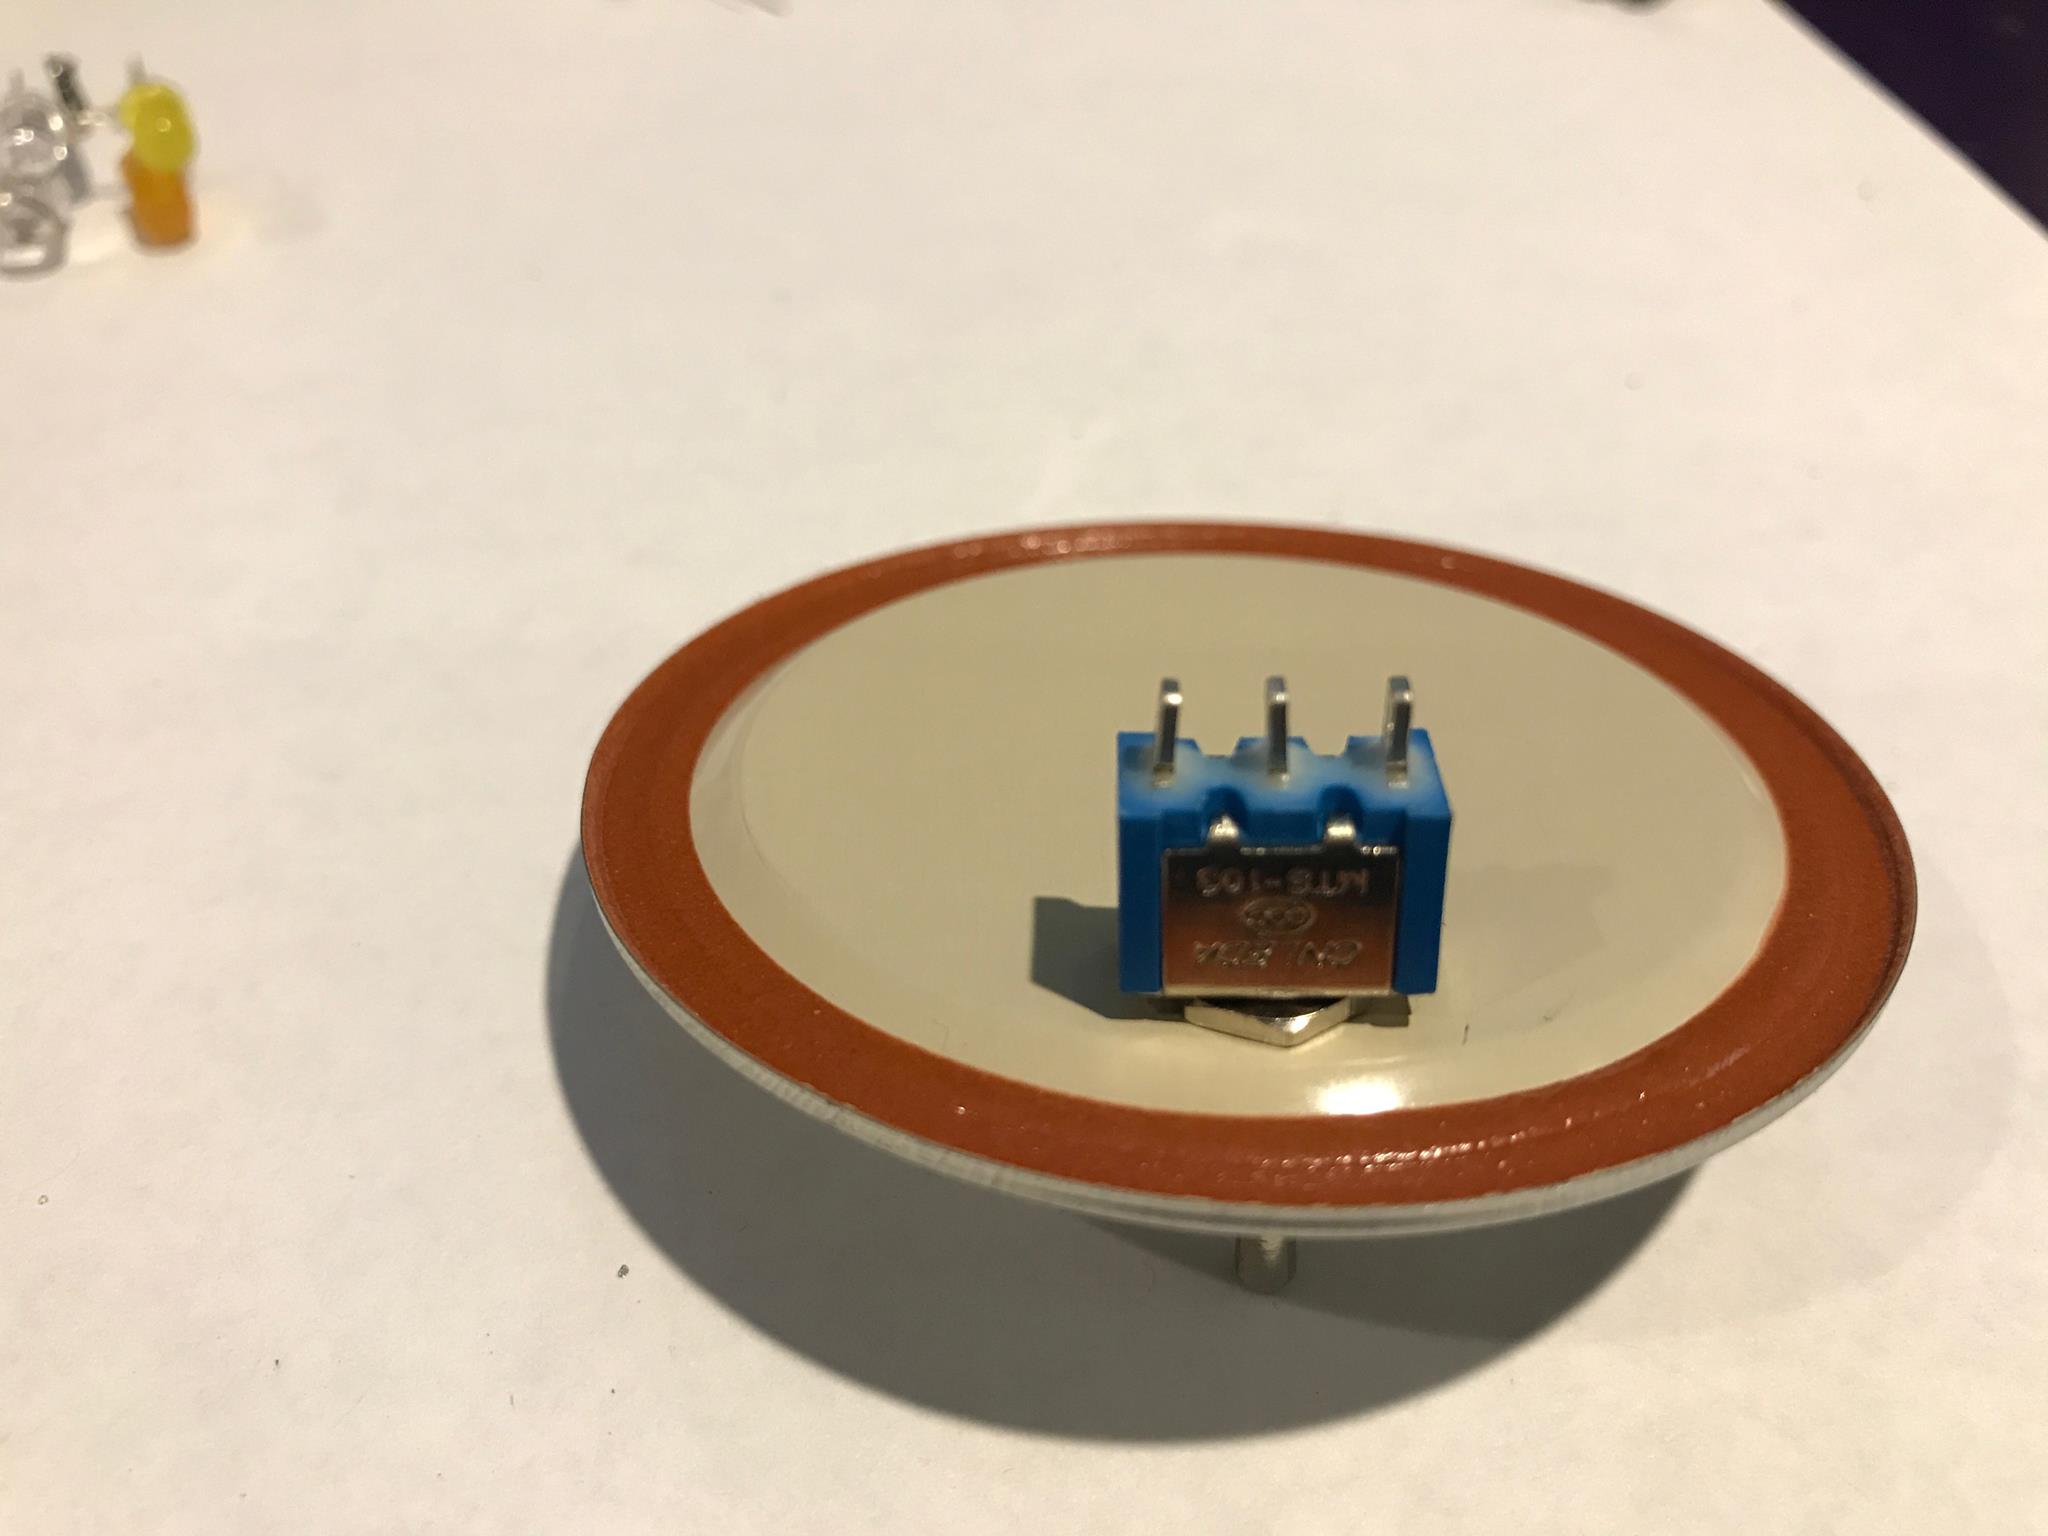 Mount the switch as show. I used a SPDT Center Off switch . This switch will allow power to flow between the center pole and each of the side poles depending on which way you
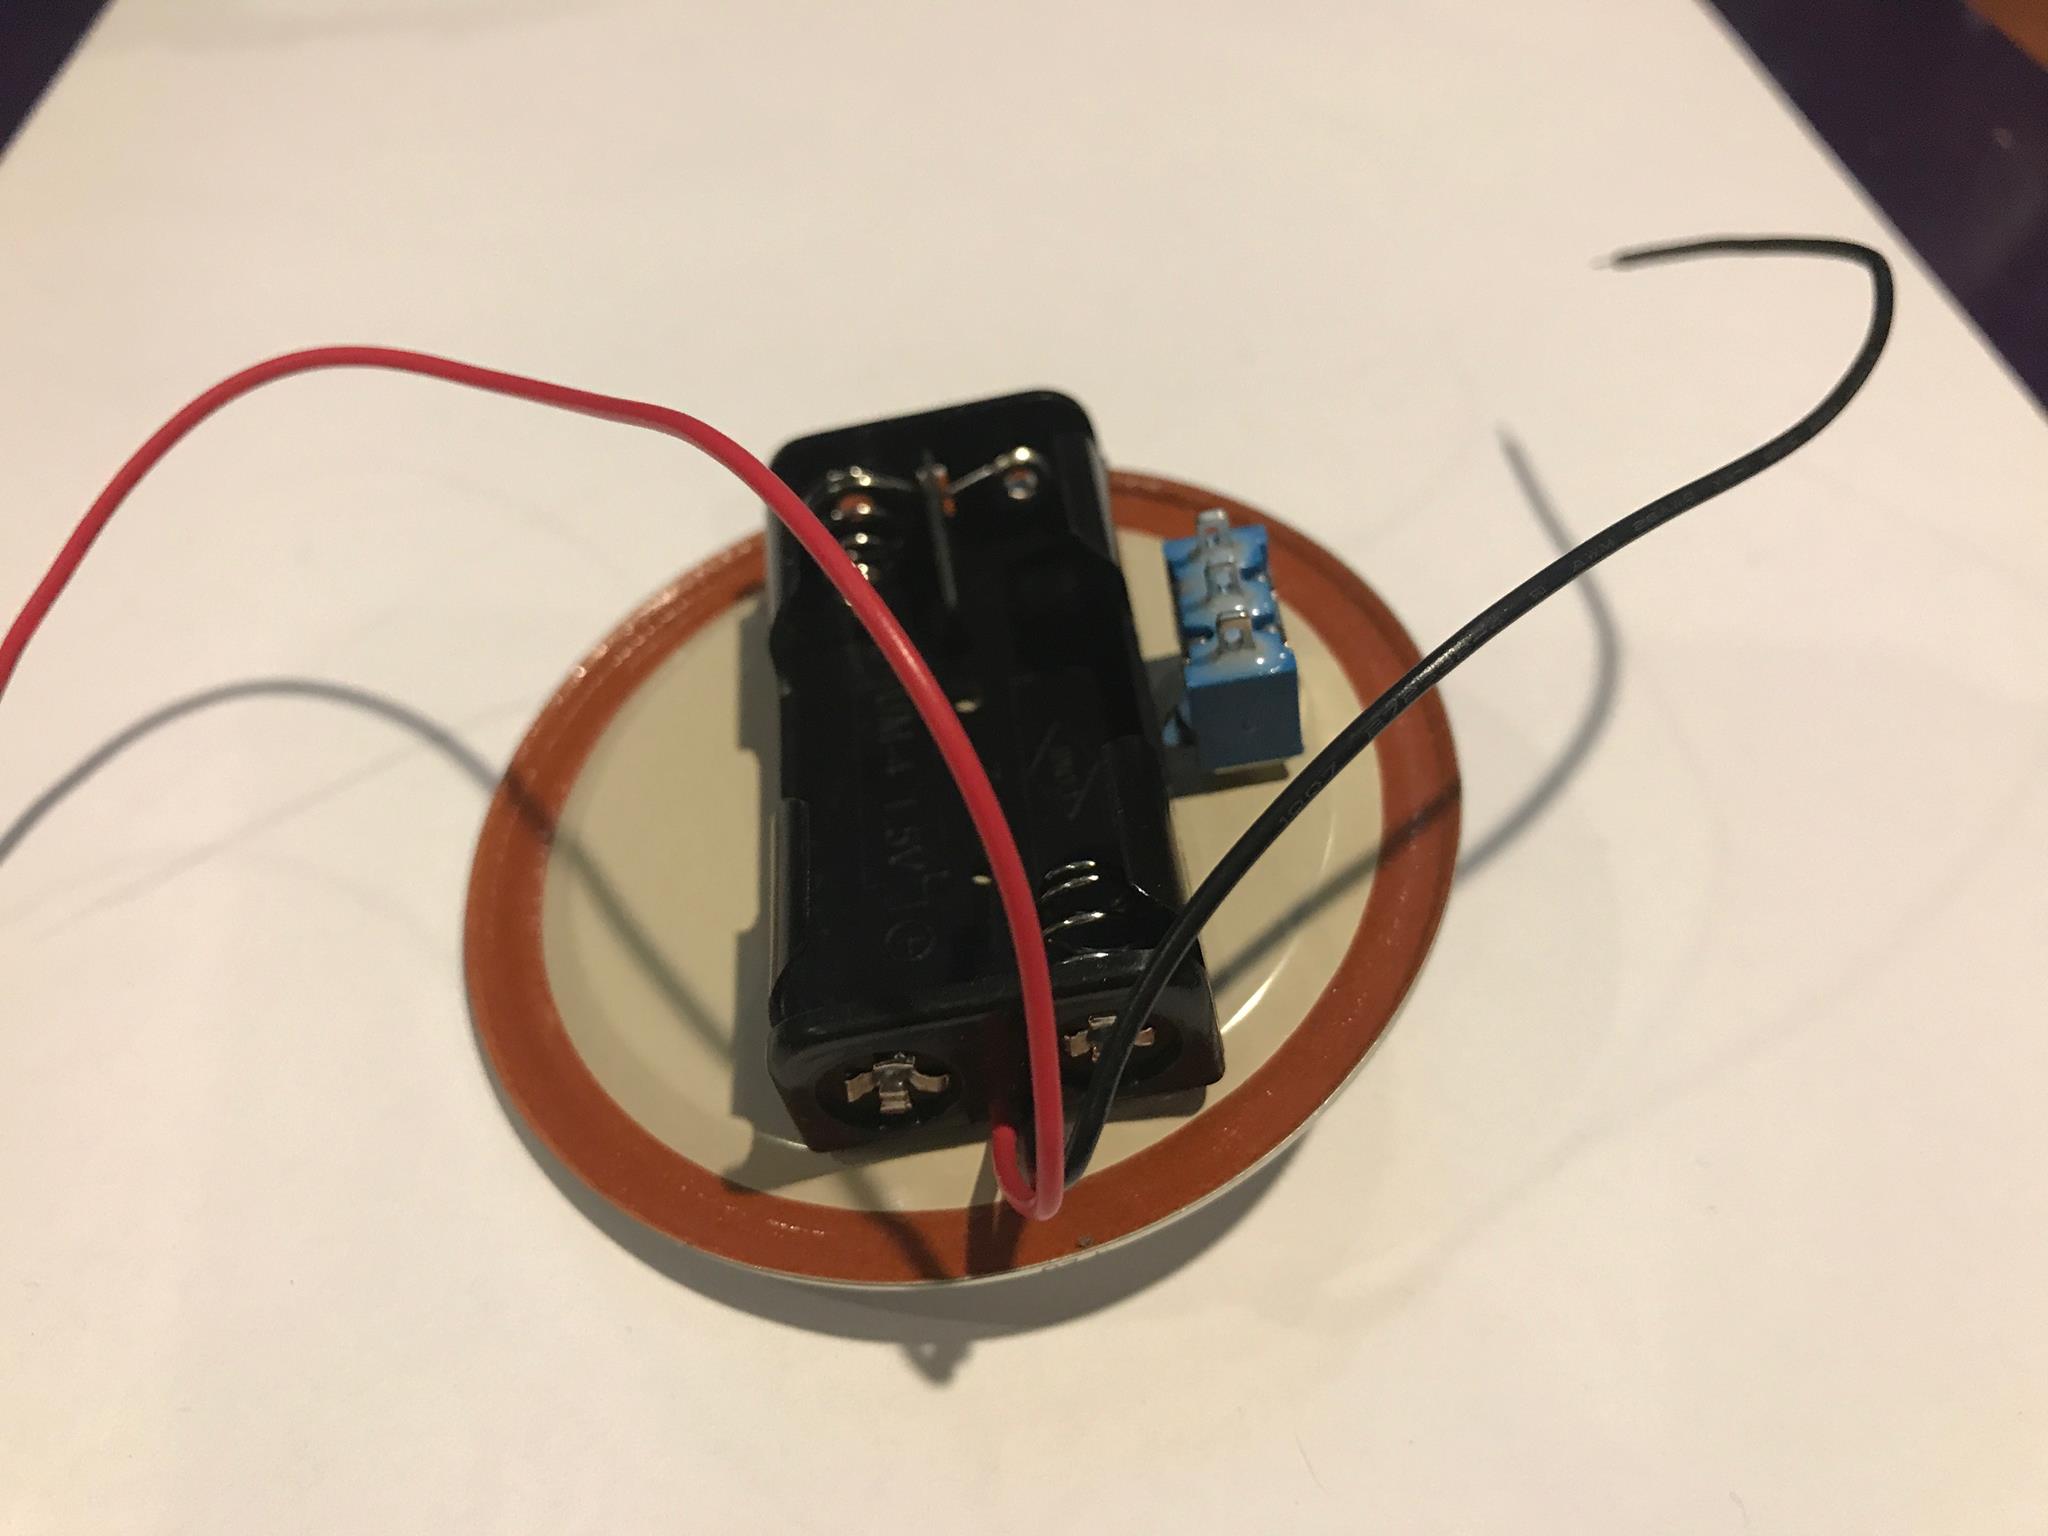 Next, glue the battery holder to the jar lid.
I like the GOOP but any strong glue will do, you could even try Scotch double sided tape
Remember to let the glue dry!
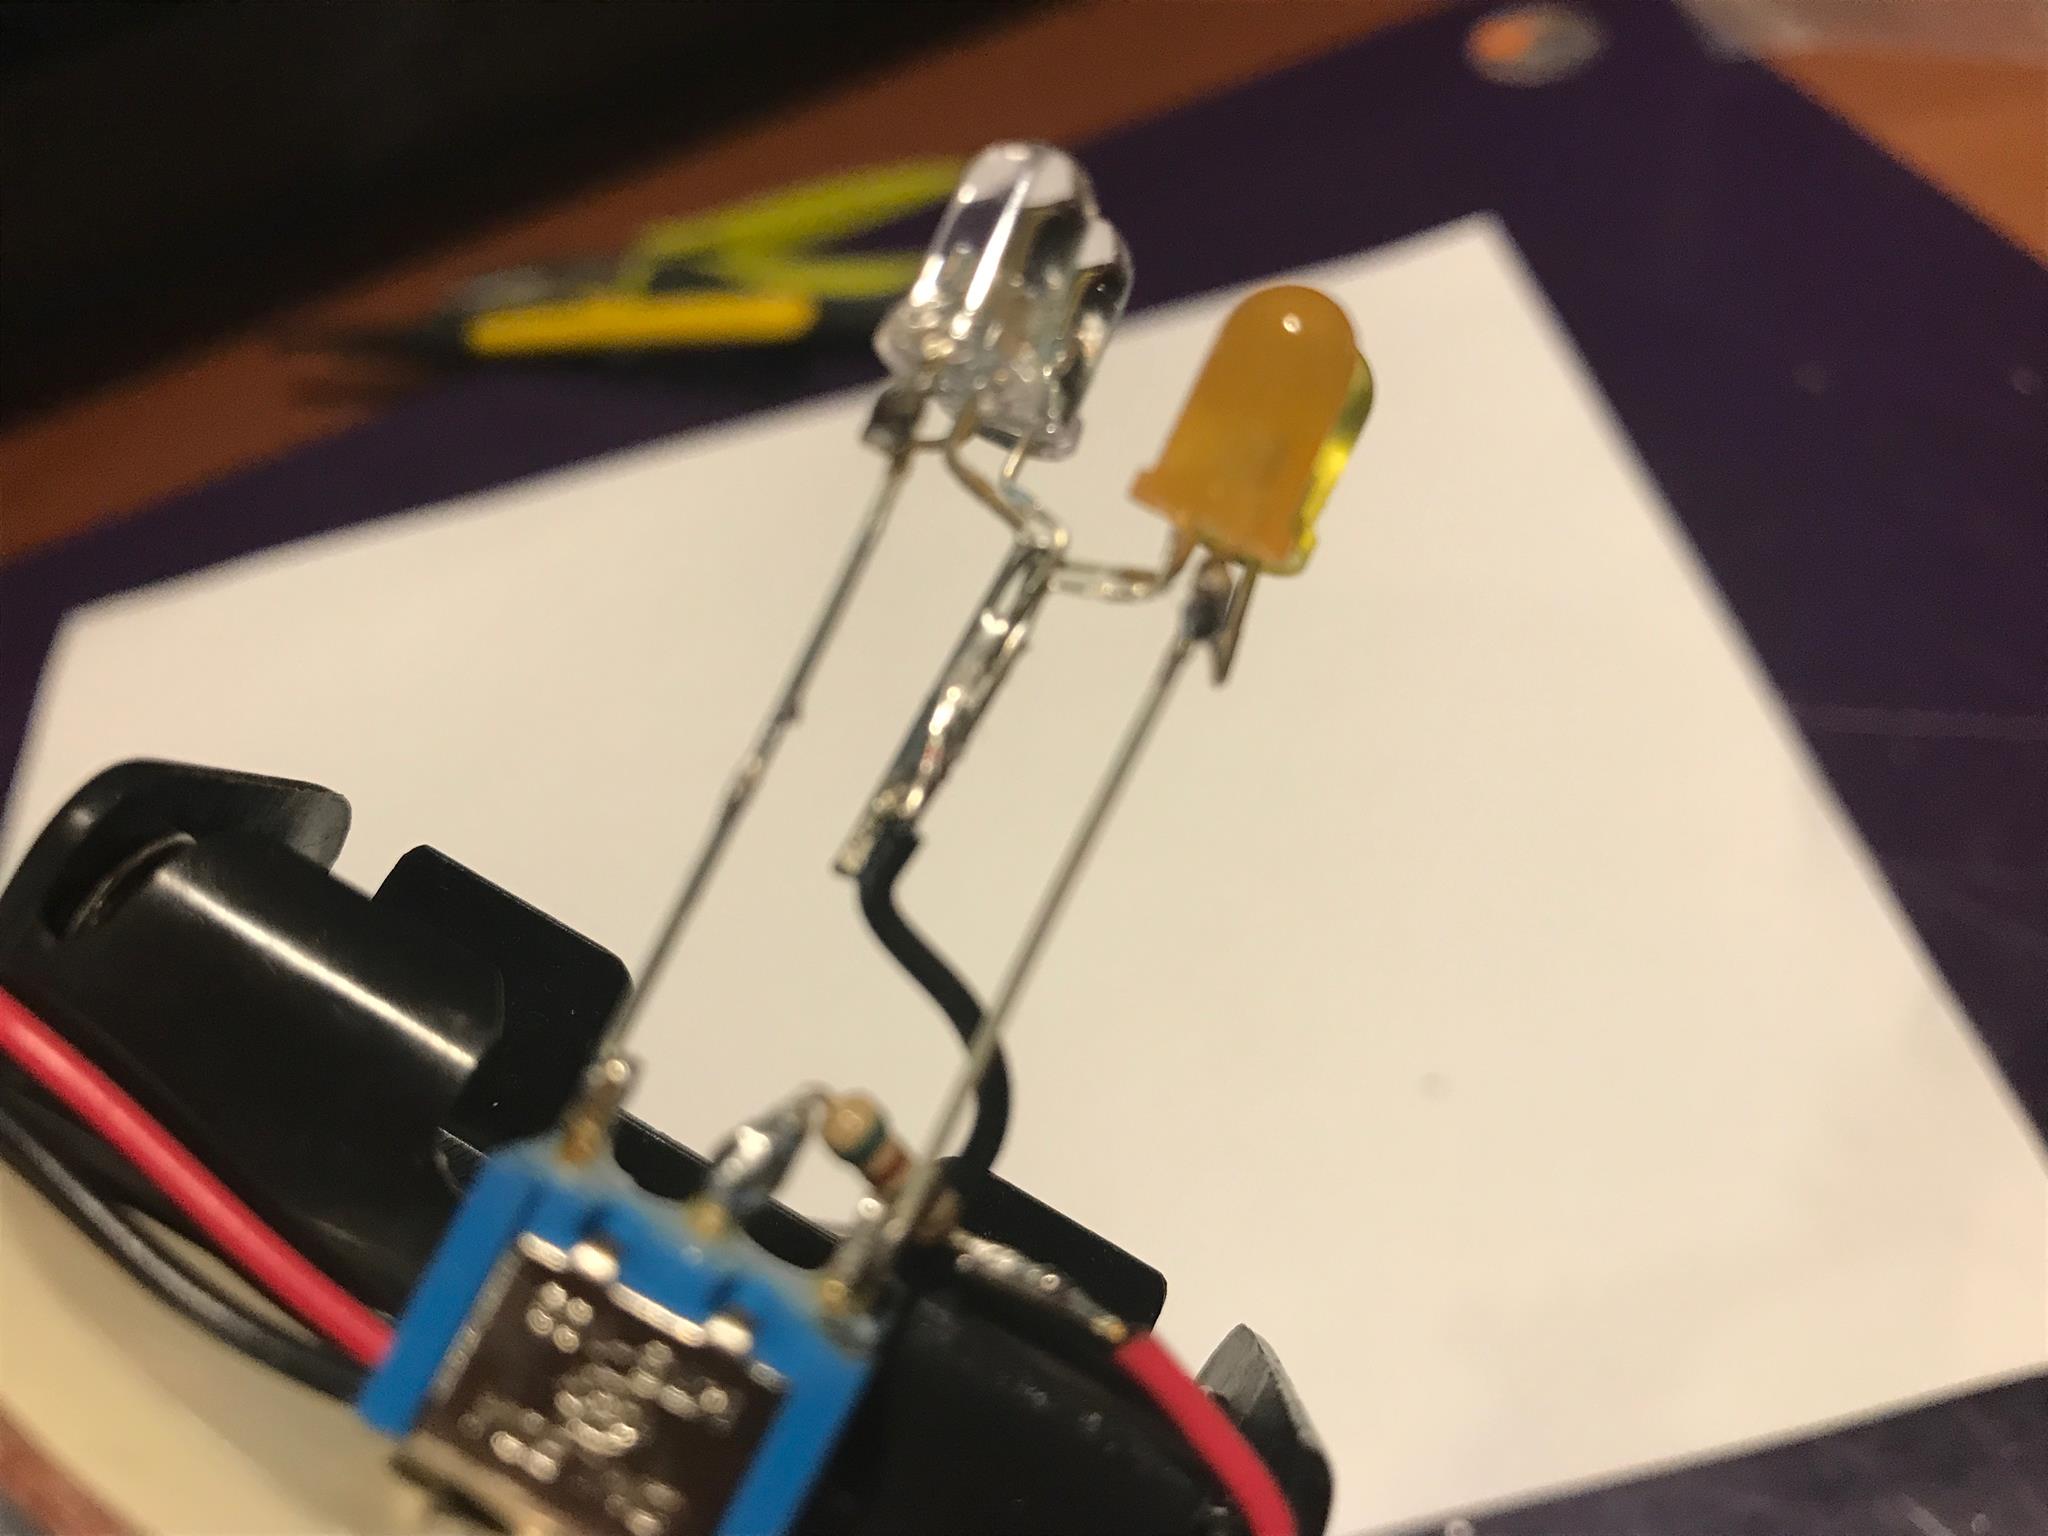
SUN & MOON JAR Step 3 – Time to Solder
 Trim the leads on the resistor and solder one end to the center post of the switch.
Trim the RED wire from the battery holder and solder to the other end of the resistor.The resistor will limit the current from battery and protect the LED’s from burning out.
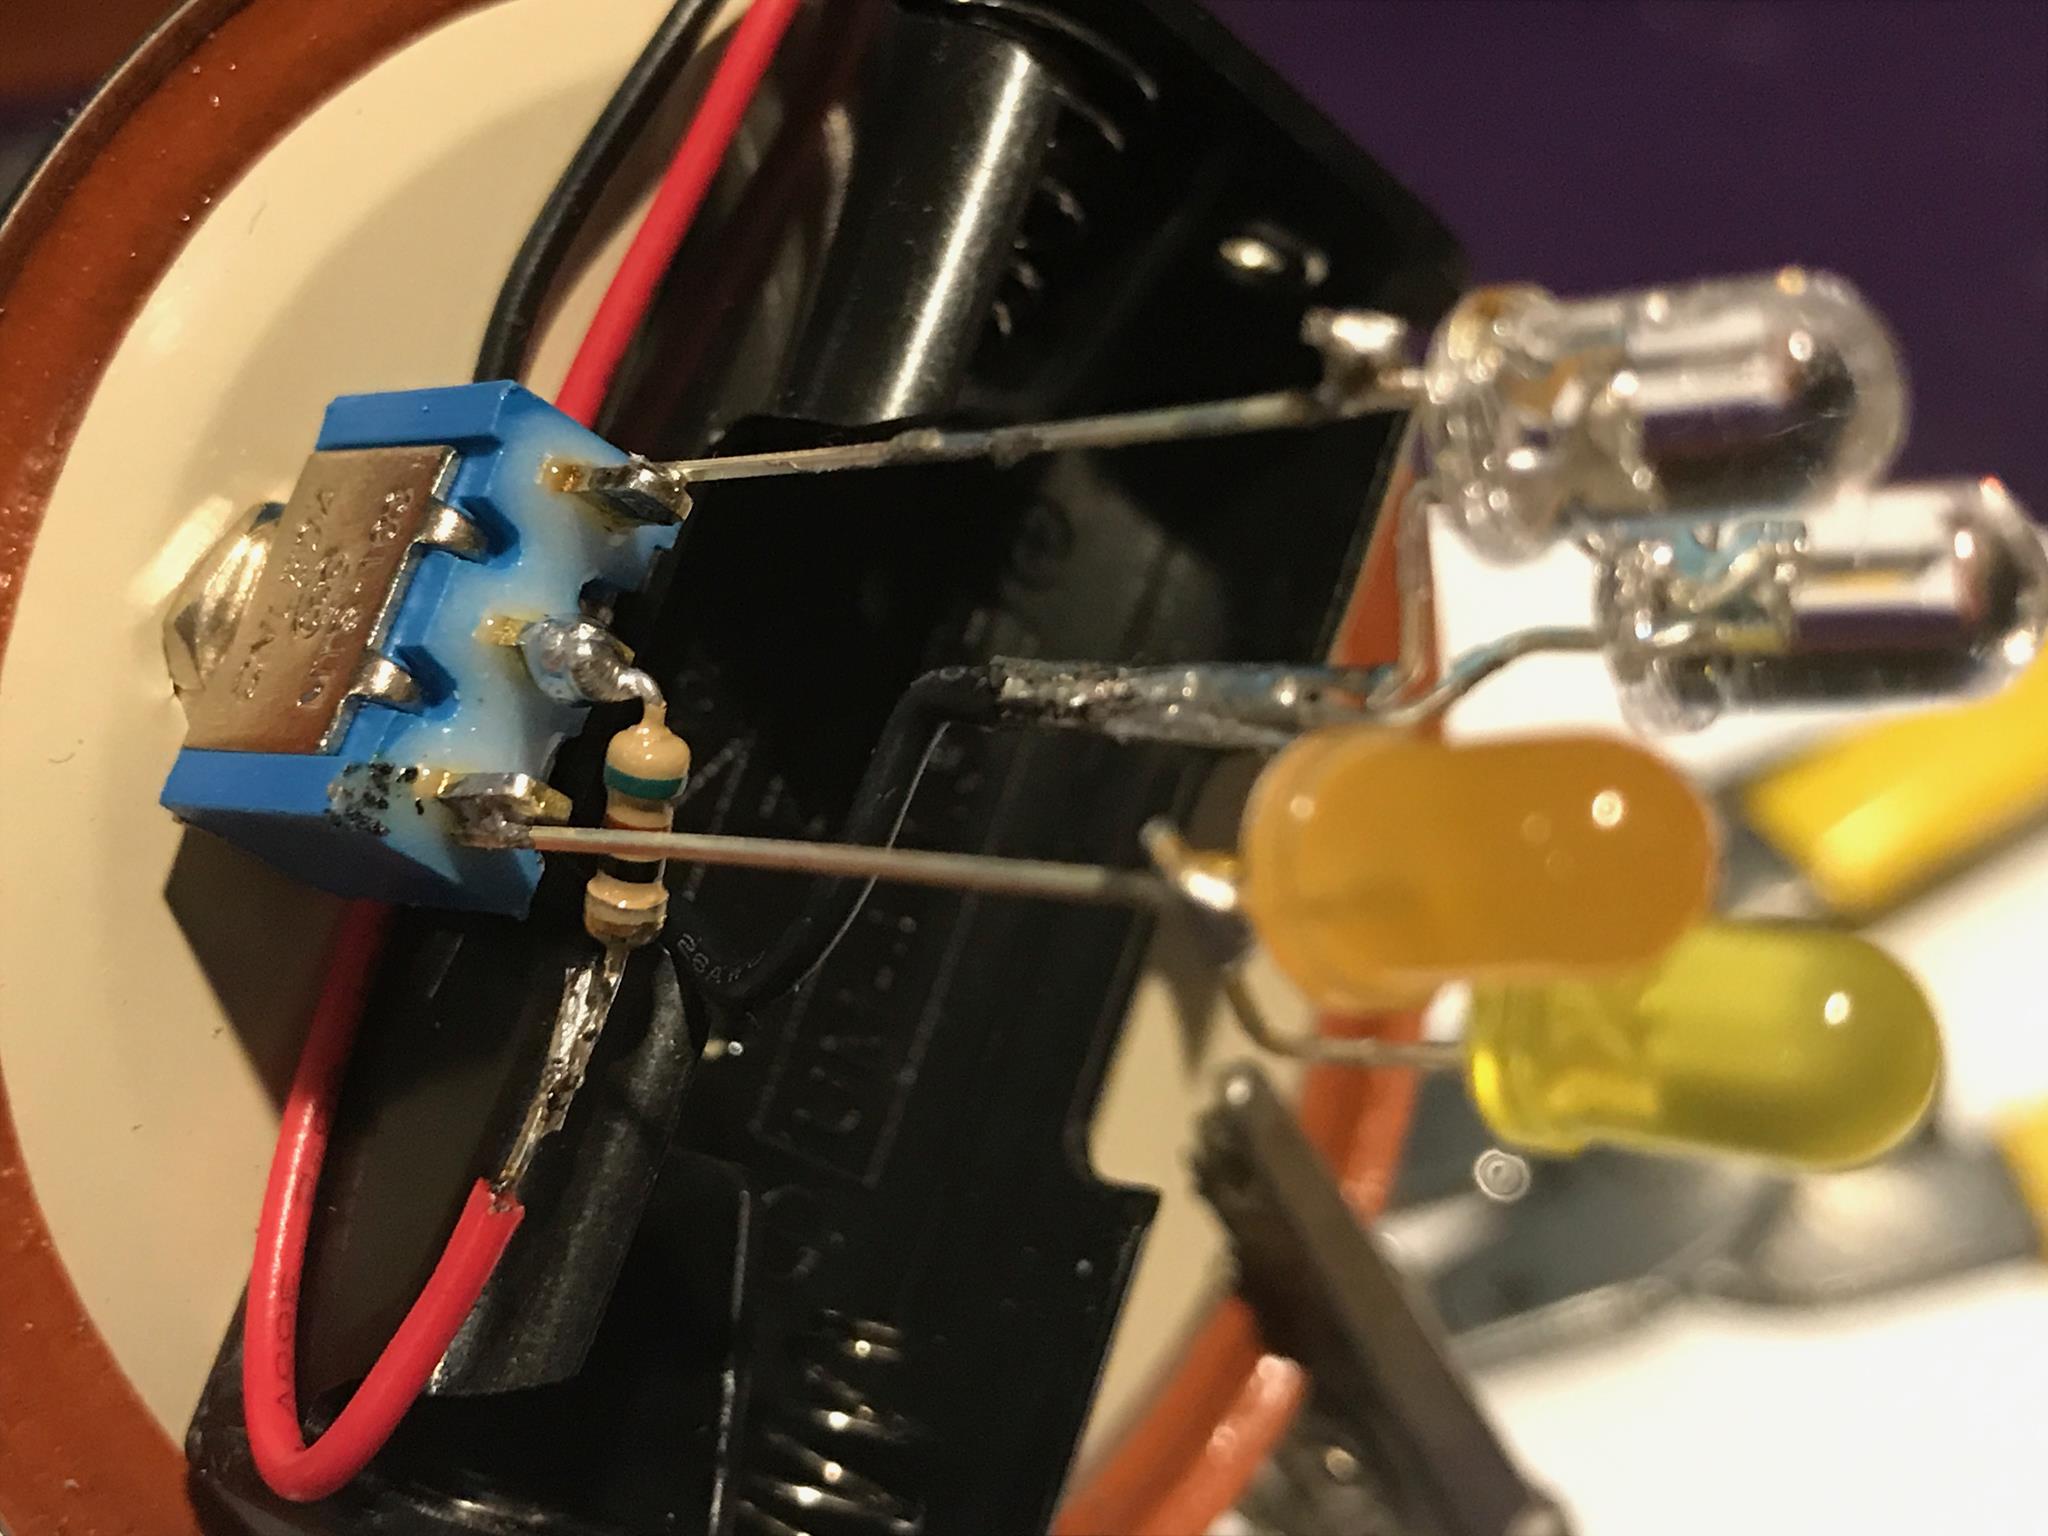 Take the LED array you made in step one and solder the two leads onto the switch as shown.
Do NOT use excessive heat on the switch. The switch will melt and fail to function properly.
Finally trim the black wire so that it can reach the center post (four cathodes) on the LED array.
Solder it in place as shown.
DONE! – Just add a pair of AAA batteries and test out your work
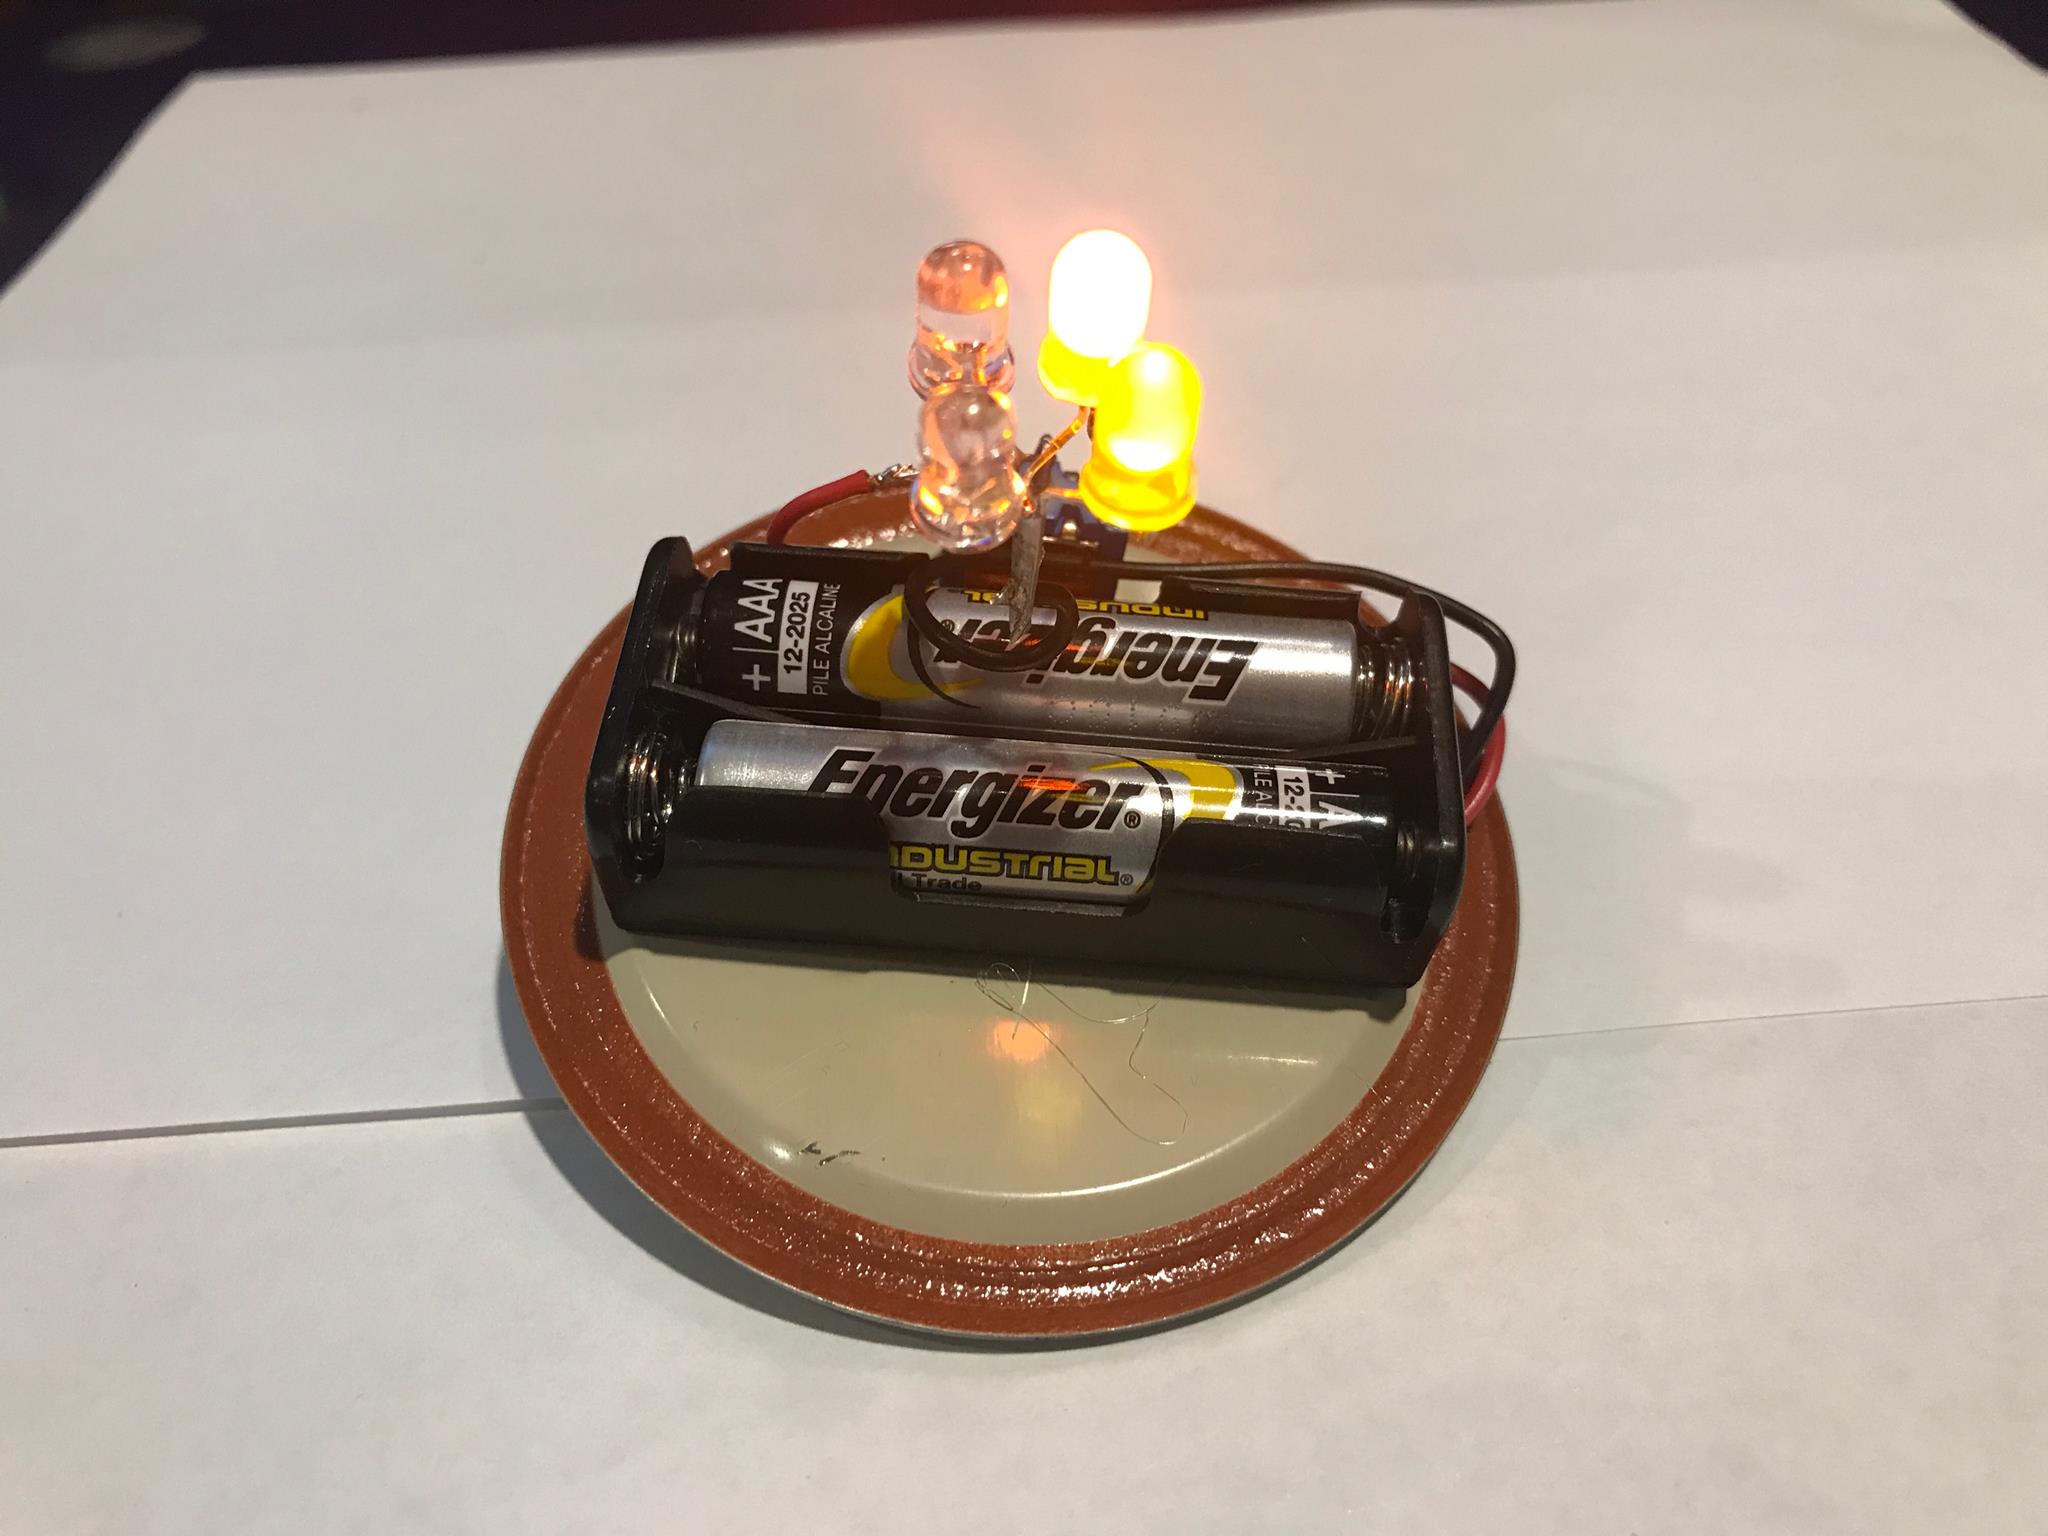
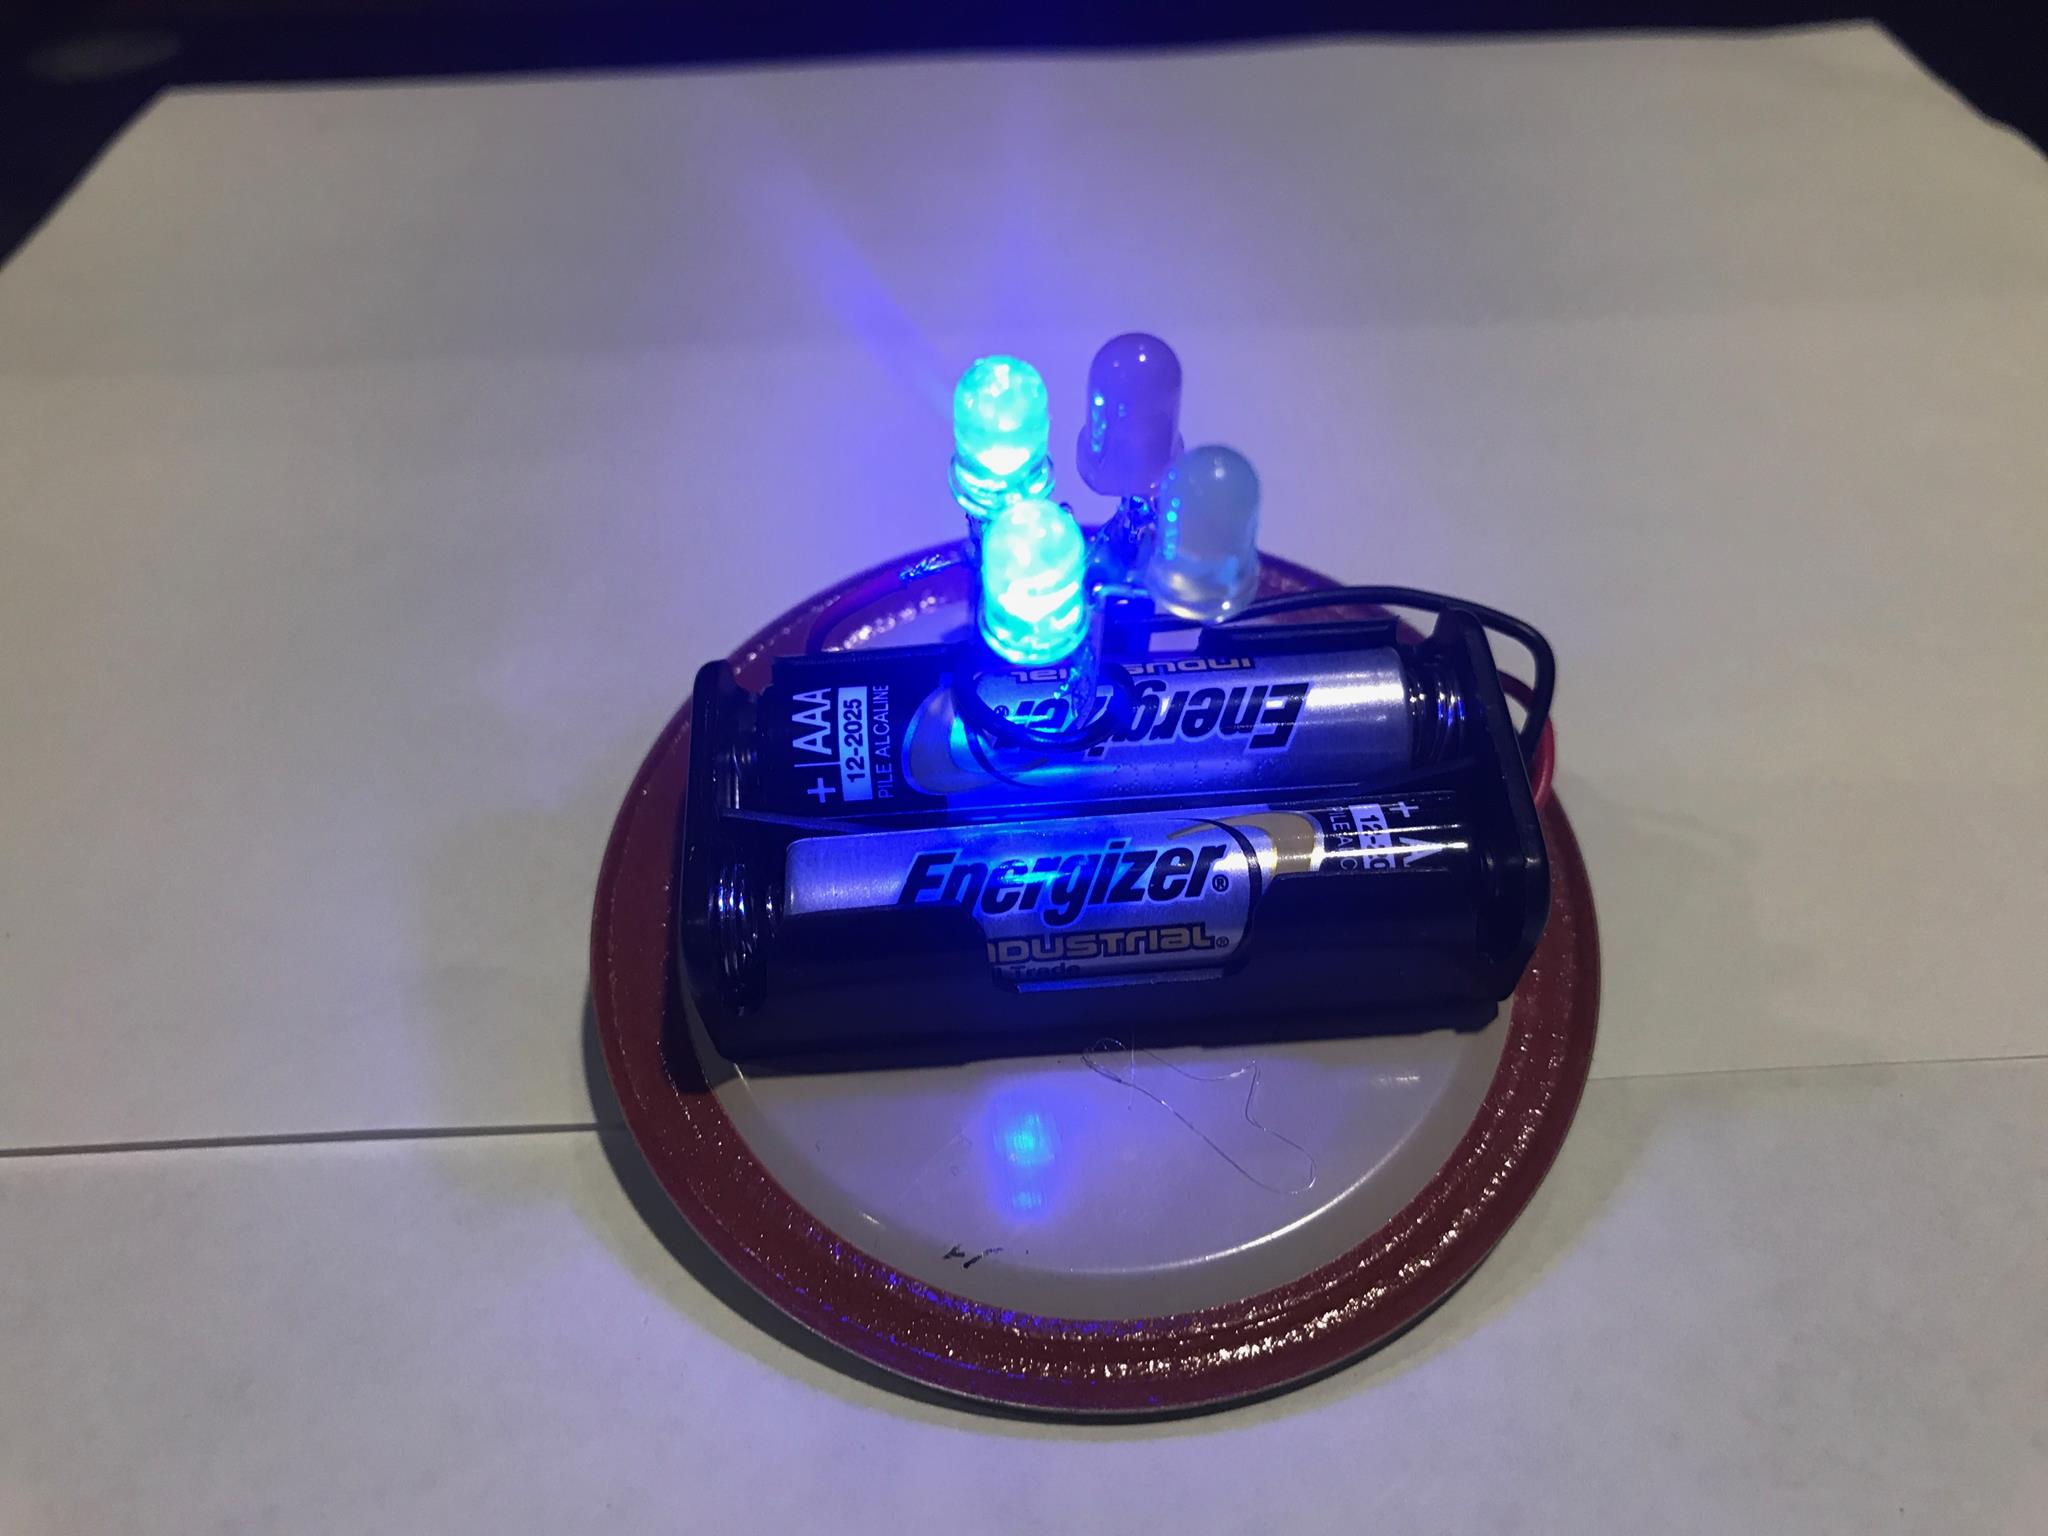 Looks Great! You can use your imagination and vary this project with different color LED.
FINISHED PROJECT
DON’T HAVE TIME TO MAKE YOUR OWN SUN & MOON JAR? STOP BY MY ETSY STORE FOR ONE THAT HAS ALREADY BEEN COMPLETED.
 Visit www.GeekGearStore.com to pick up yours today!
Thank you for reading my blog,
-Joe