

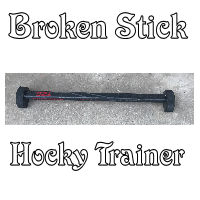
My children love Ice Hockey! Basically in my house its all hockey all the time. When they are not on the ice for games or practice, street hockey in front of my house will do. On many occasions we have had sticks break under the stress of vigorous play and we tend to keep broken sticks around and re purpose them for other fun projects.
Today I will show you how to make this cool stick handling trainer out of a few scrap parts you may have laying around.
Materials:
![]() Broken WOODEN street hockey stick
Broken WOODEN street hockey stick

Tools you can use:
Let’s Get Building!
Step 1 – Trim down the stick
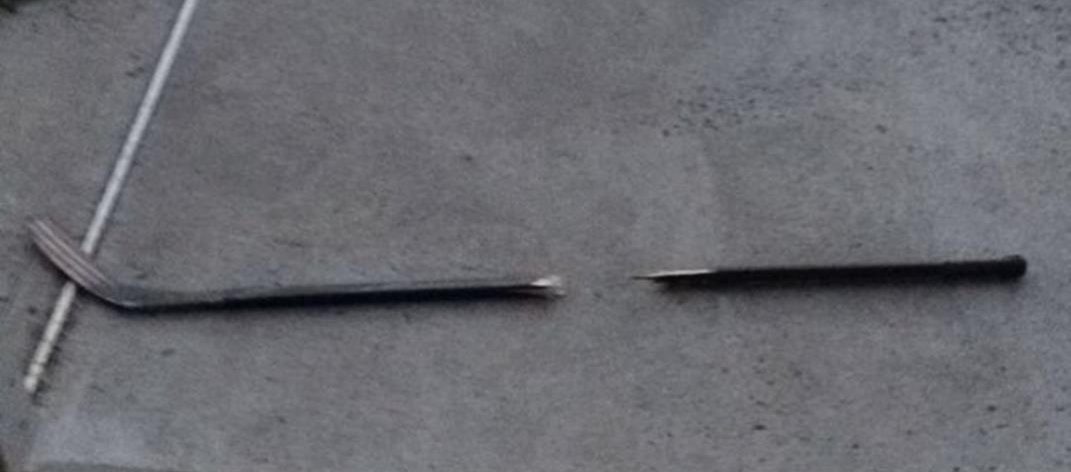 When wooden hockey sticks break they usually split and splinter. When choosing which part of the stick to use for your trainer, try to locate a piece that is not split, warped or too severely damaged. Trim the stick down to about 18″ to 24″ inches.
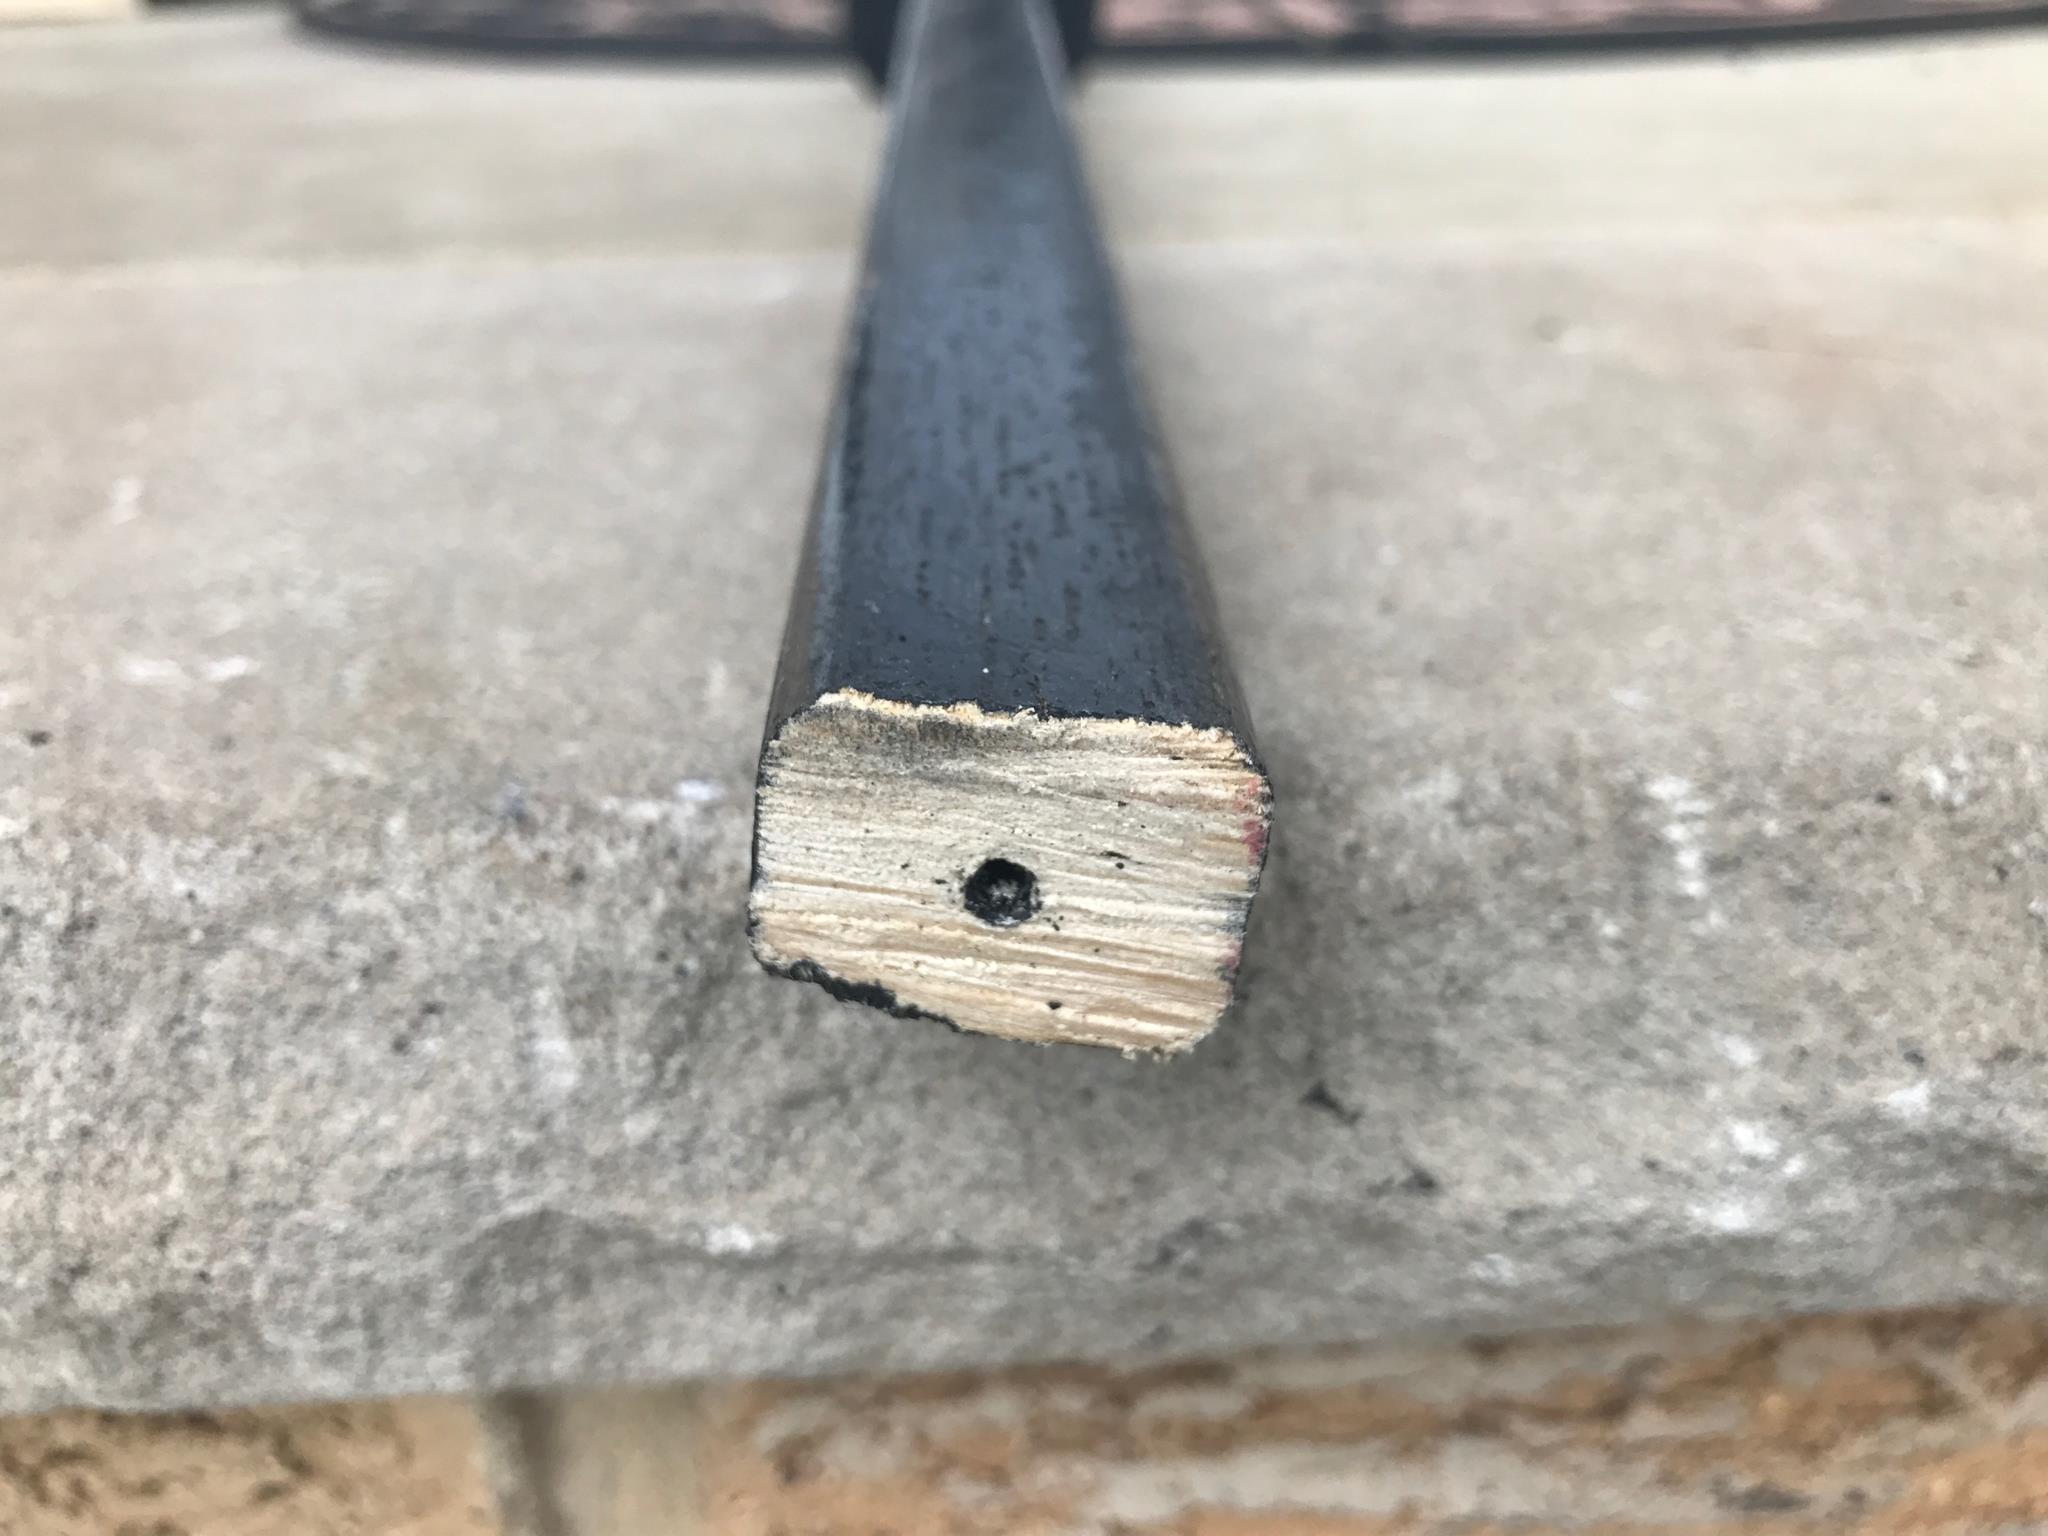
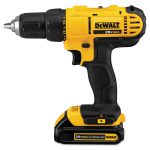
Drill two small pilot holes in the center of the trimmed edges. The pilot holes will help prevent the wood from splitting when we attach the legs. (pucks)
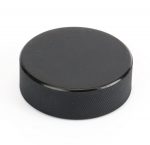
Step 2 – Prepare the Leg (pucks)
Hockey pucks are made out of vulcanized rubber which is not very difficult to cut. To prevent our trainer from rolling away I trimmed about 1/4 inch off the bottom of each puck using my hand saw.
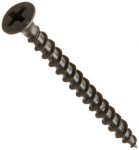
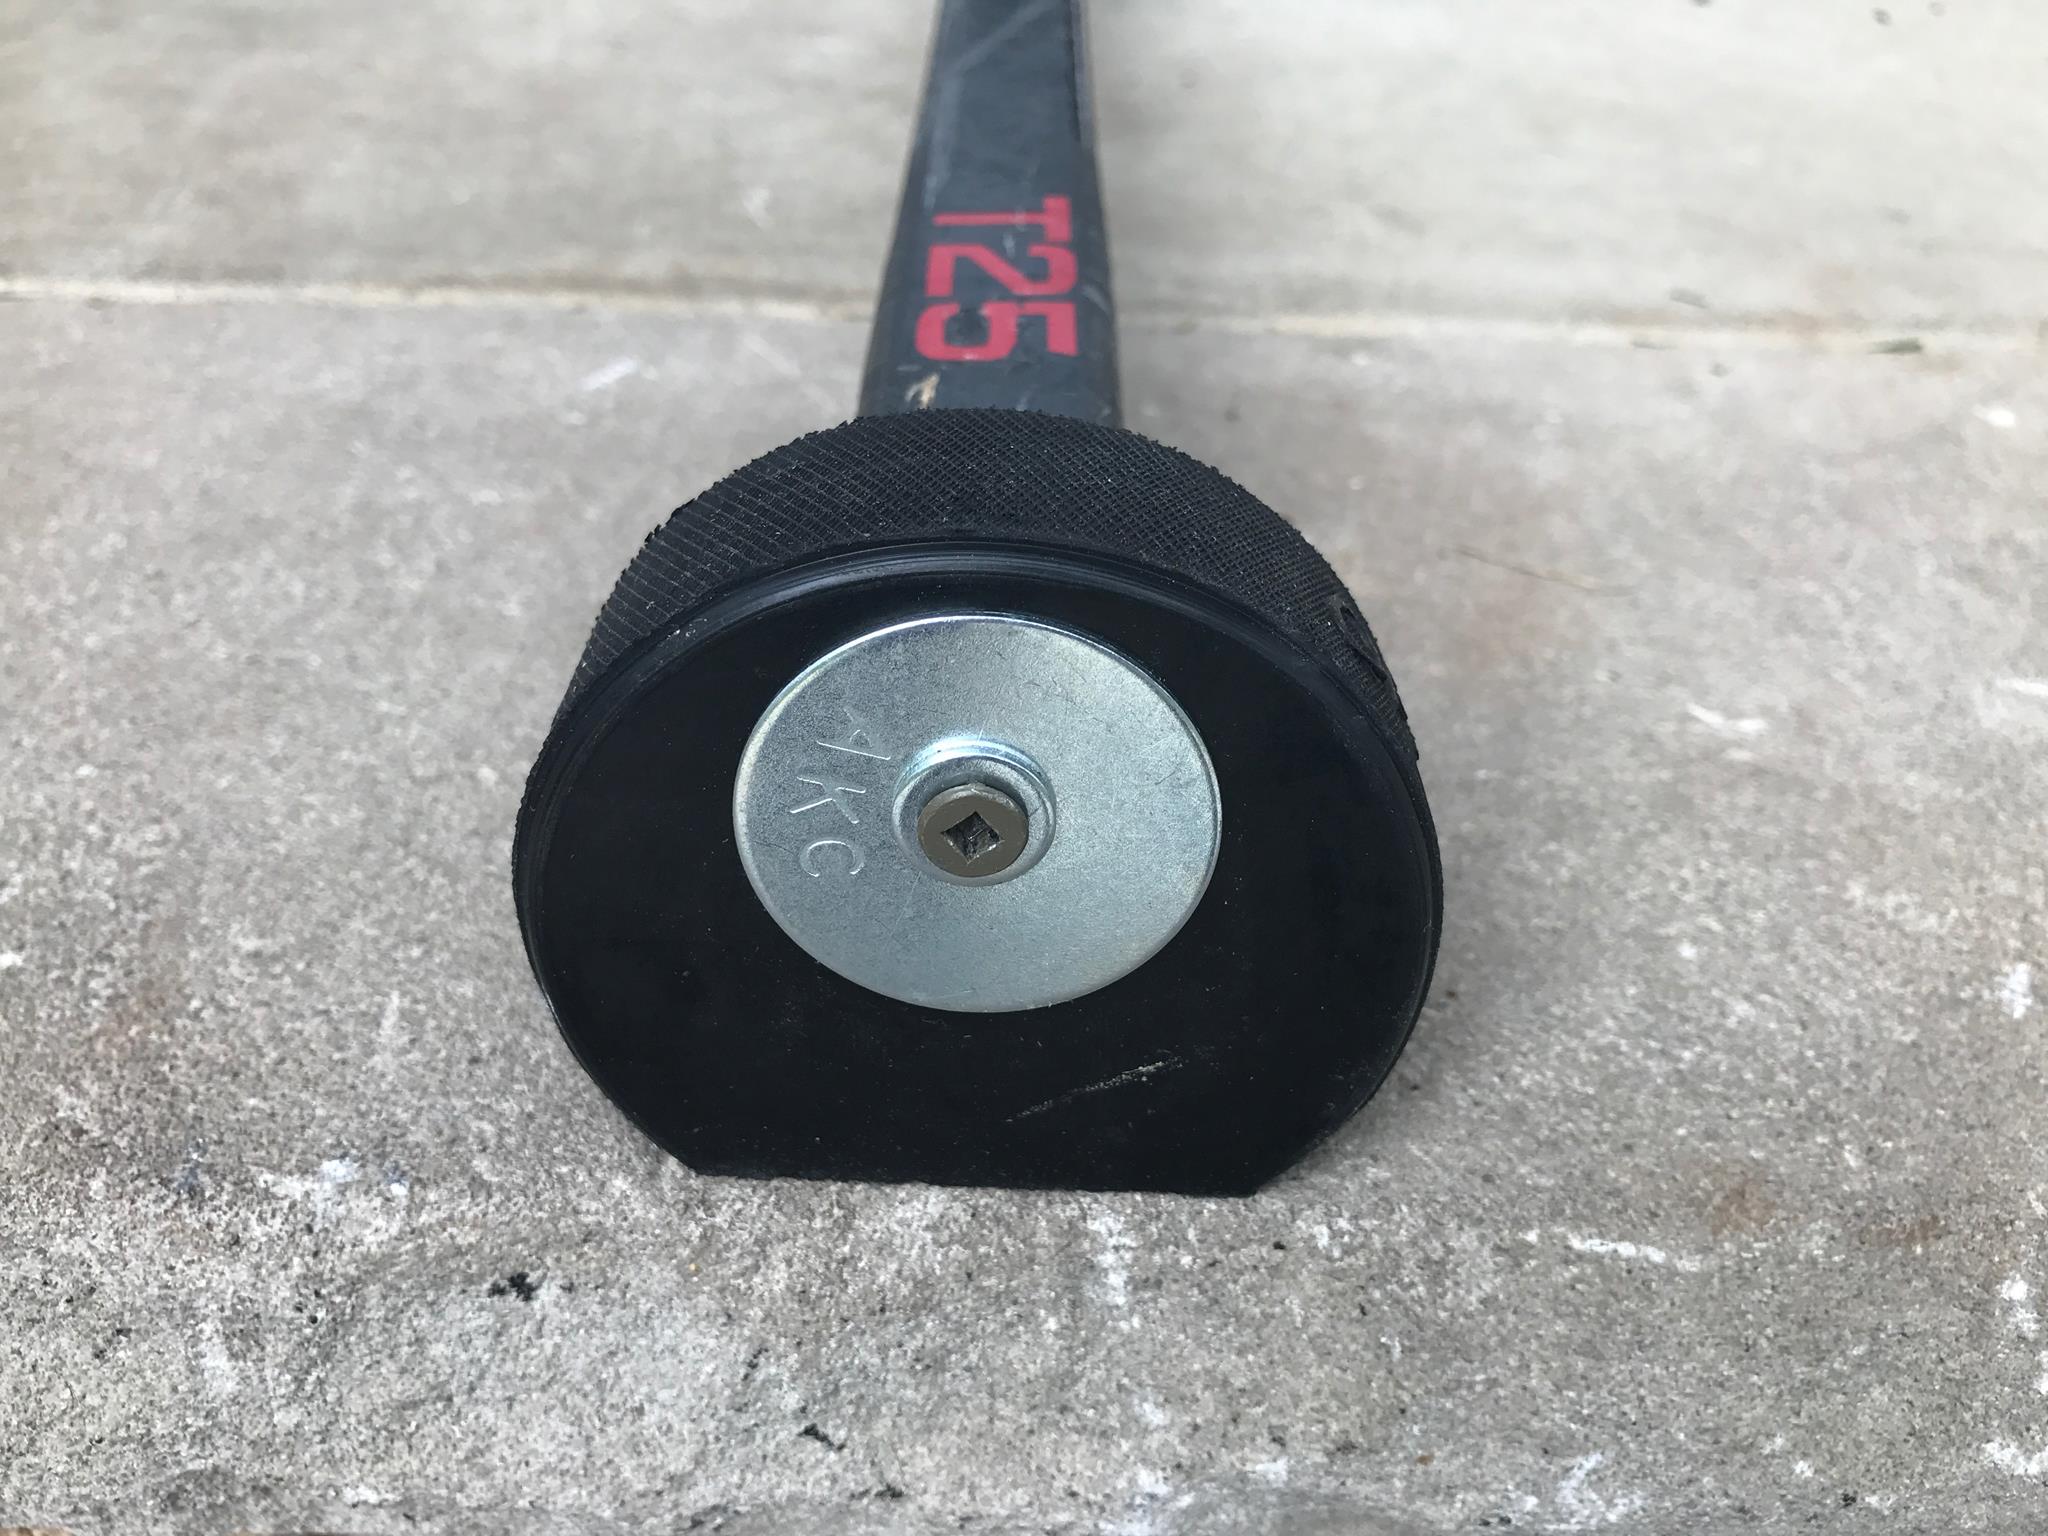
To fasten the puck legs to the stick I used 2″ galvanized deck screws. Why? Because I have a box of them 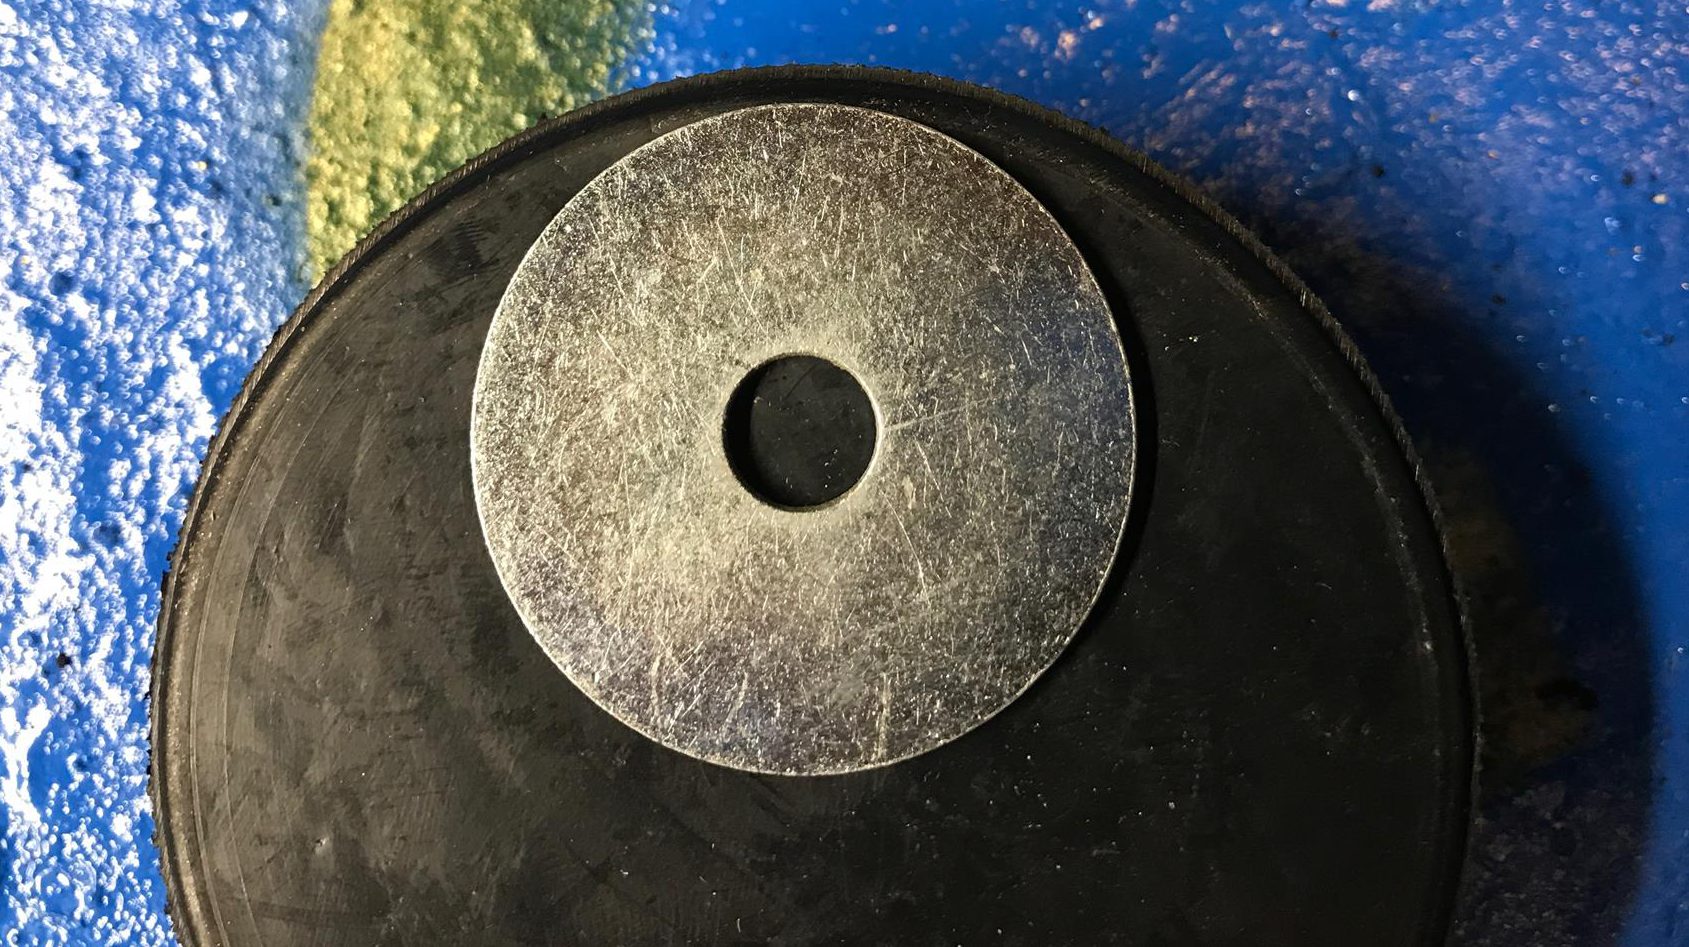 on hand, you can use any 2″ screw you wish. In order to prevent the screw head from pulling through the puck I used fender washers. To make life easier drill a pilot hole through the puck.
You may be tempted to drill through the pucks 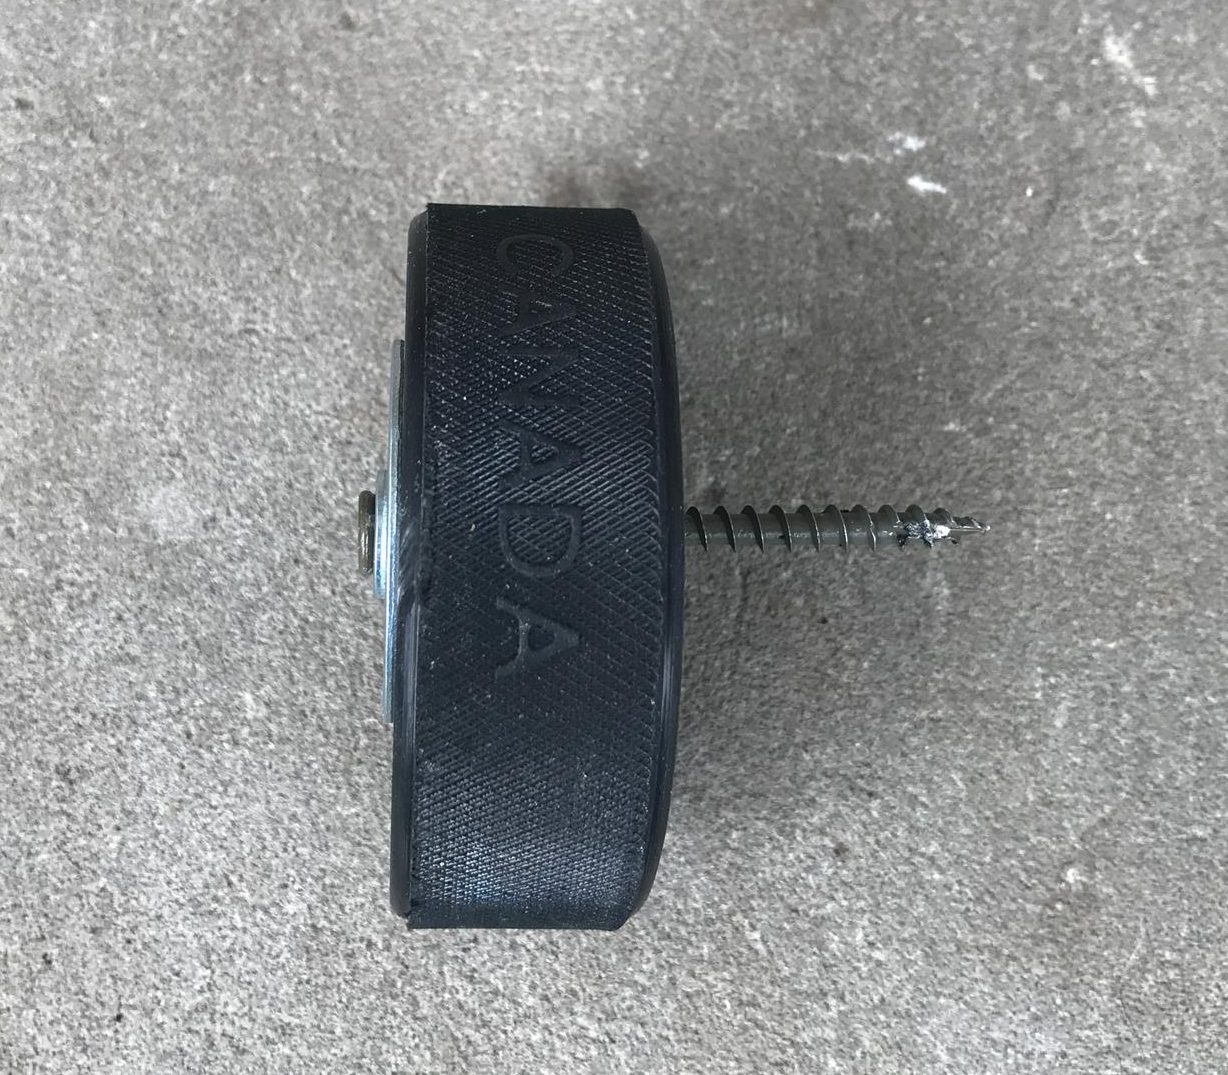 center, don’t do it! The trainer would be too low to the ground and the pucks will not be able to slide under them. Take the fender (as shown in the image) and line it up with the top of the puck. Drill the pilot hole, then insert the screw.
Step 3 – Put it all together
 This is the easy part, simply take the leg assembly made in step two and screw it into the sides of the stick.
Use the pilot hole made in step one and screw slowly so you don’t split the wood.
Make sure both legs are aligned and your stick handler lays flat on the ground. Color or paint if you wish.
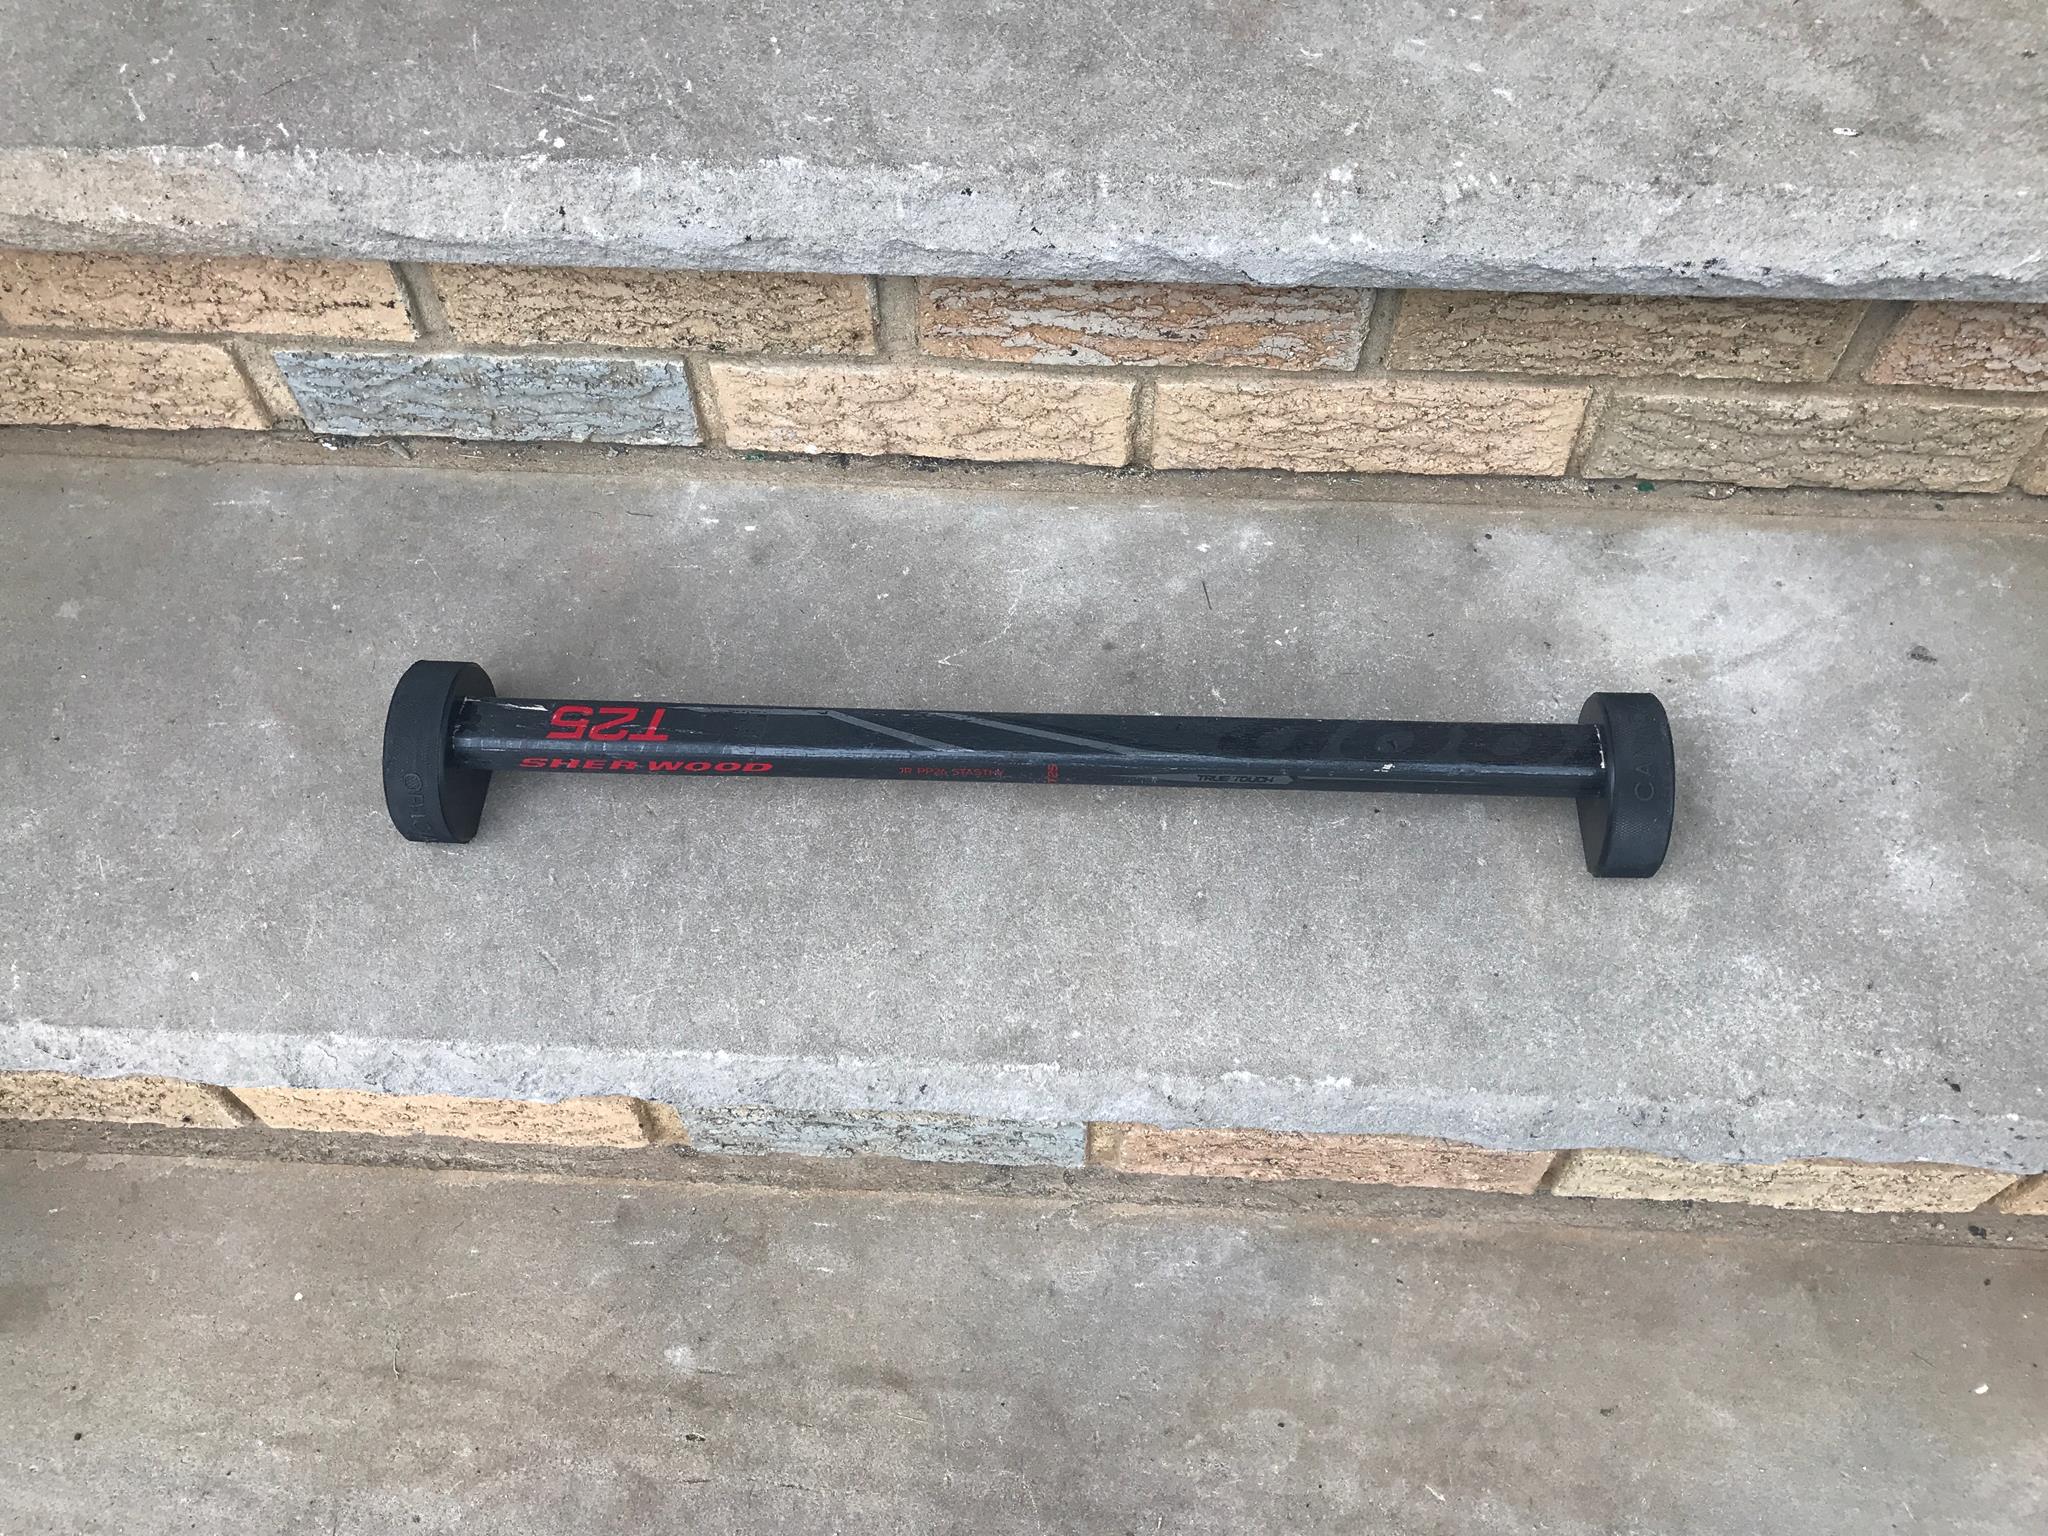 DONE!
DONE!
Total cost to build $5.00
(not including the cost of the broken stick)
Cost to buy commercially $64.95 on Amazon!
Stick handler trainer – In Action!
https://youtu.be/PqlPlrH3K50
Thank you for reading my blog,
-Joe