


This is a fun project that takes an old Nintendo NES controller and converts it into a cool USB drive that your friends will envy.
Time to build: 1 hours
Skill Level: Easy
Supplies:

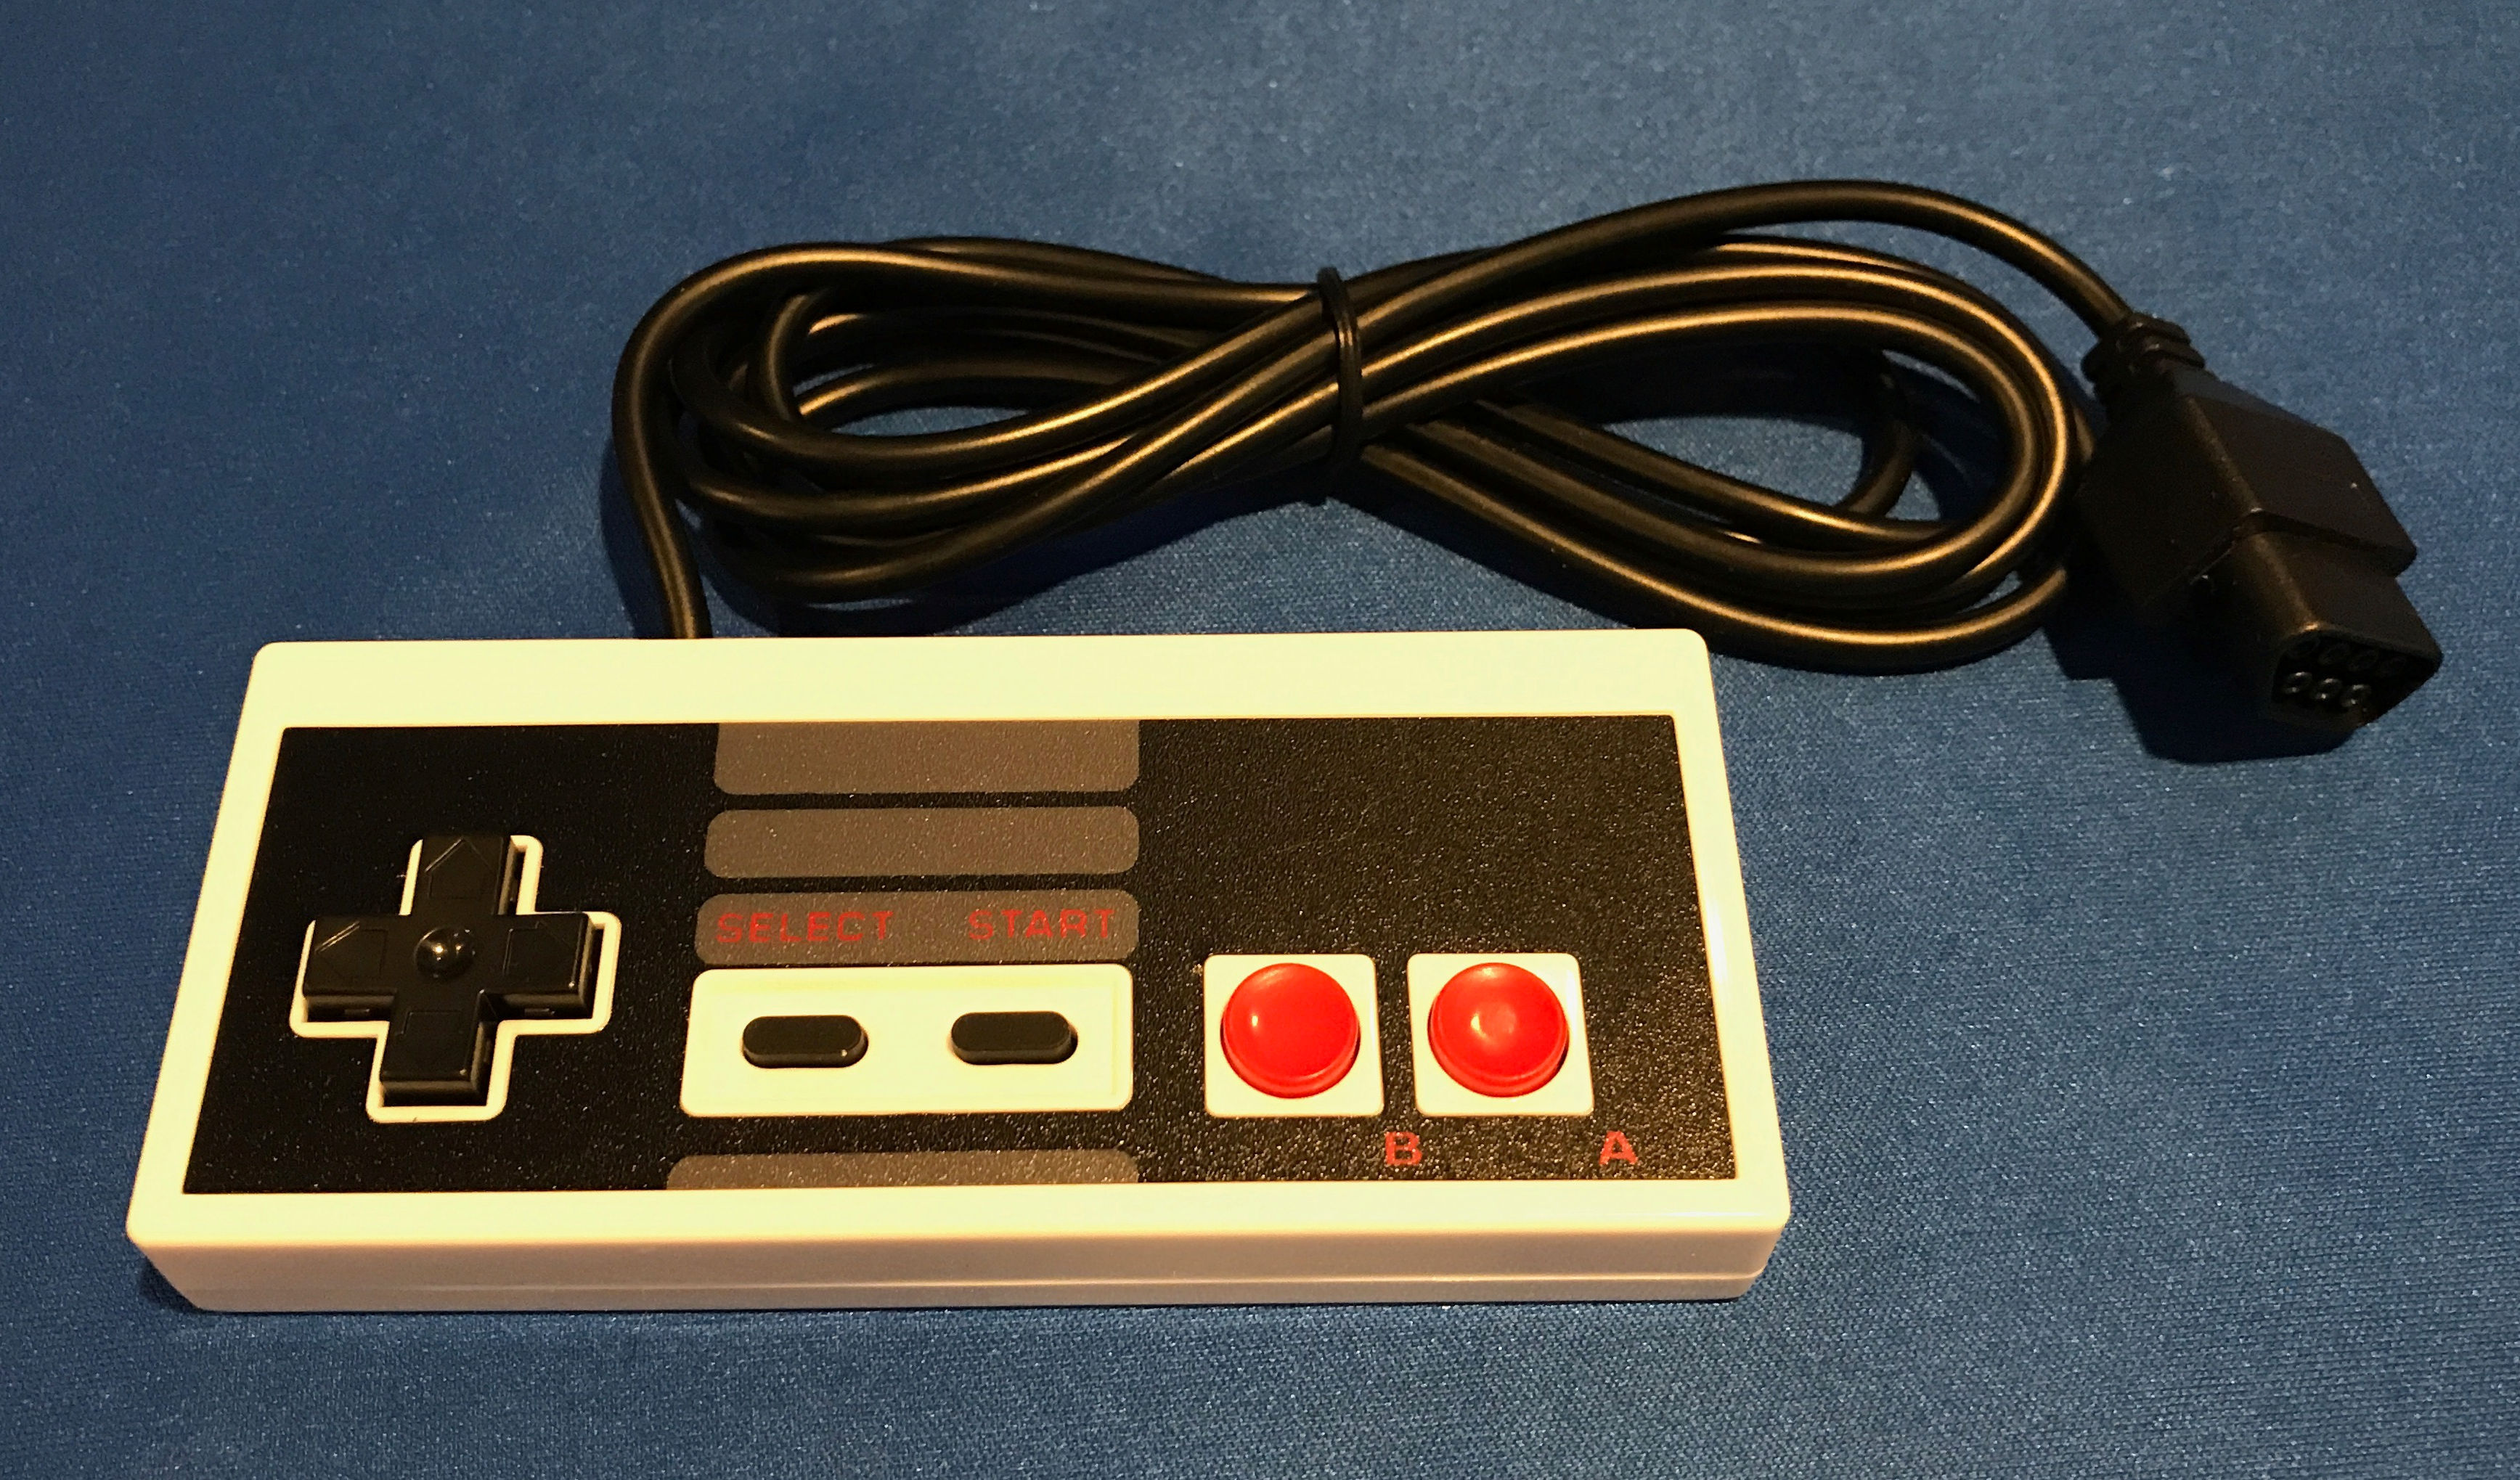
A classic NES controller. Can be found on EBAY or at the bottom of your closet or in the basement.
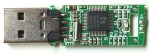 Any USB drive extracted from its case. I used a 16gb drive for this project.
A USB extension cable. I found this one laying around the shop.
Let’s get building.
Step 1 – Remove the back cover
Turn the controller over and remove the six phillips screws from the back of the unit.
Step 2 – Remove the circuit board and buttons
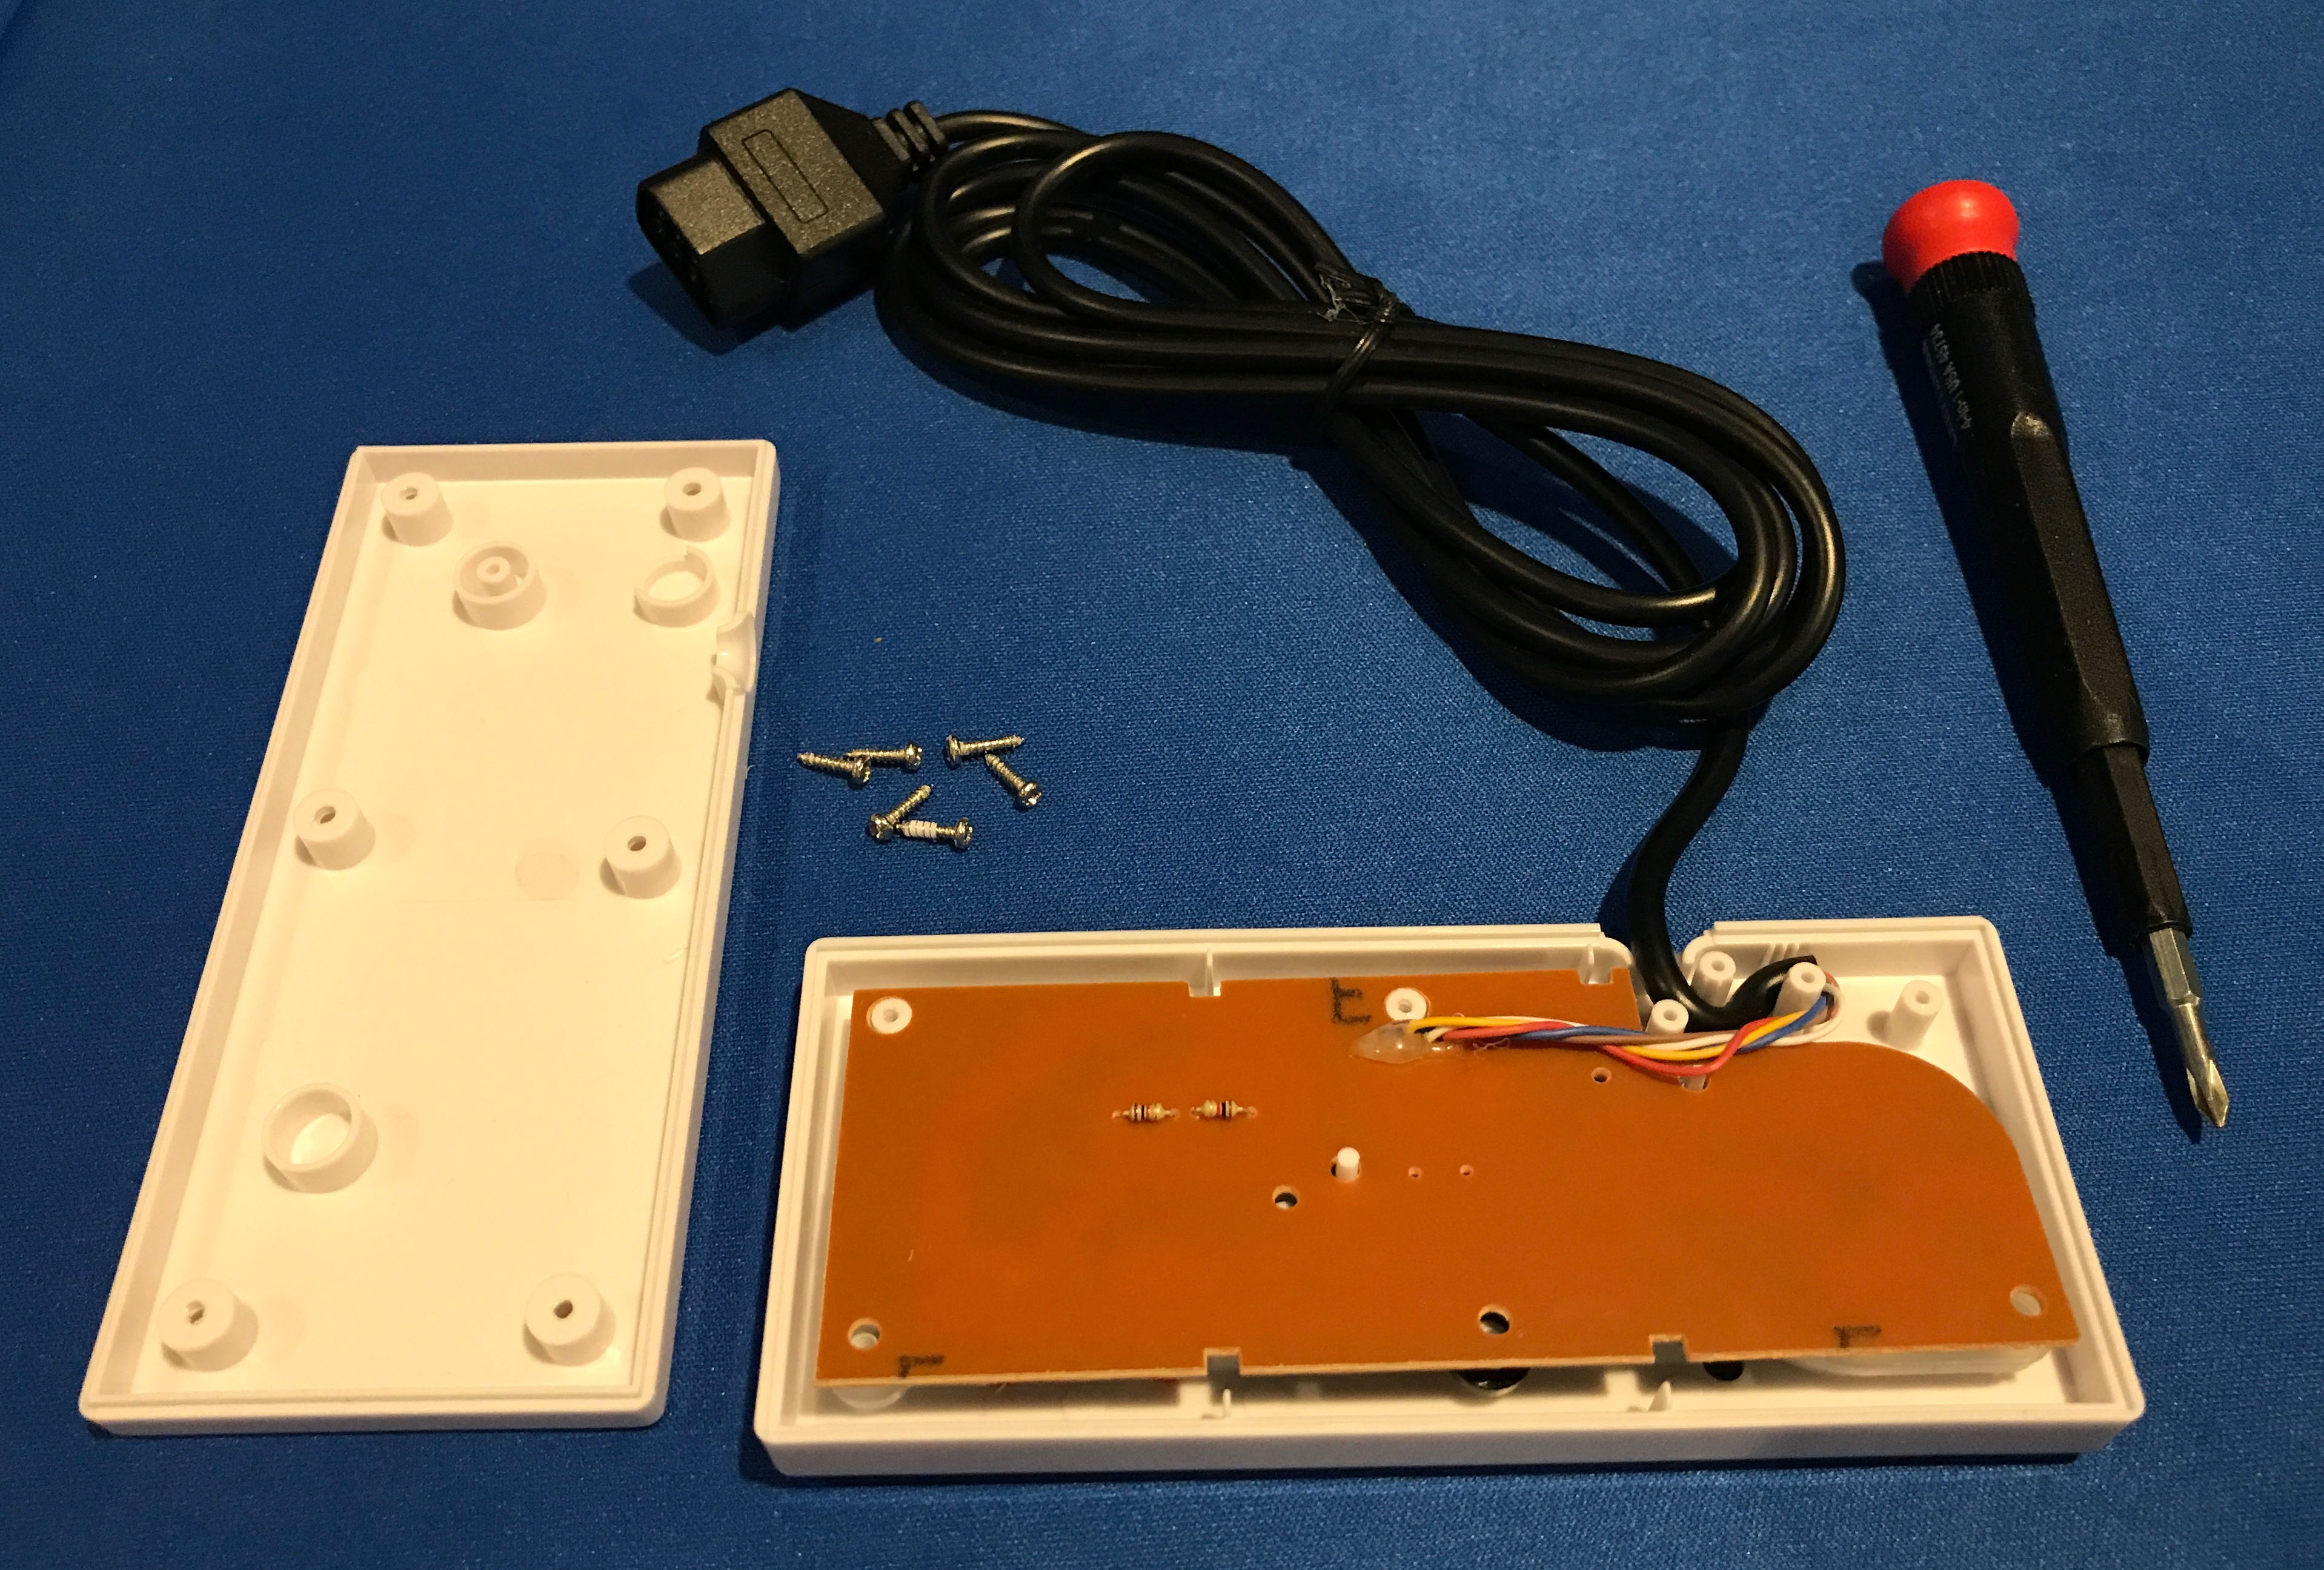
Remove the controller circuit board and black wire, you can discard this since will will not need it for the project.
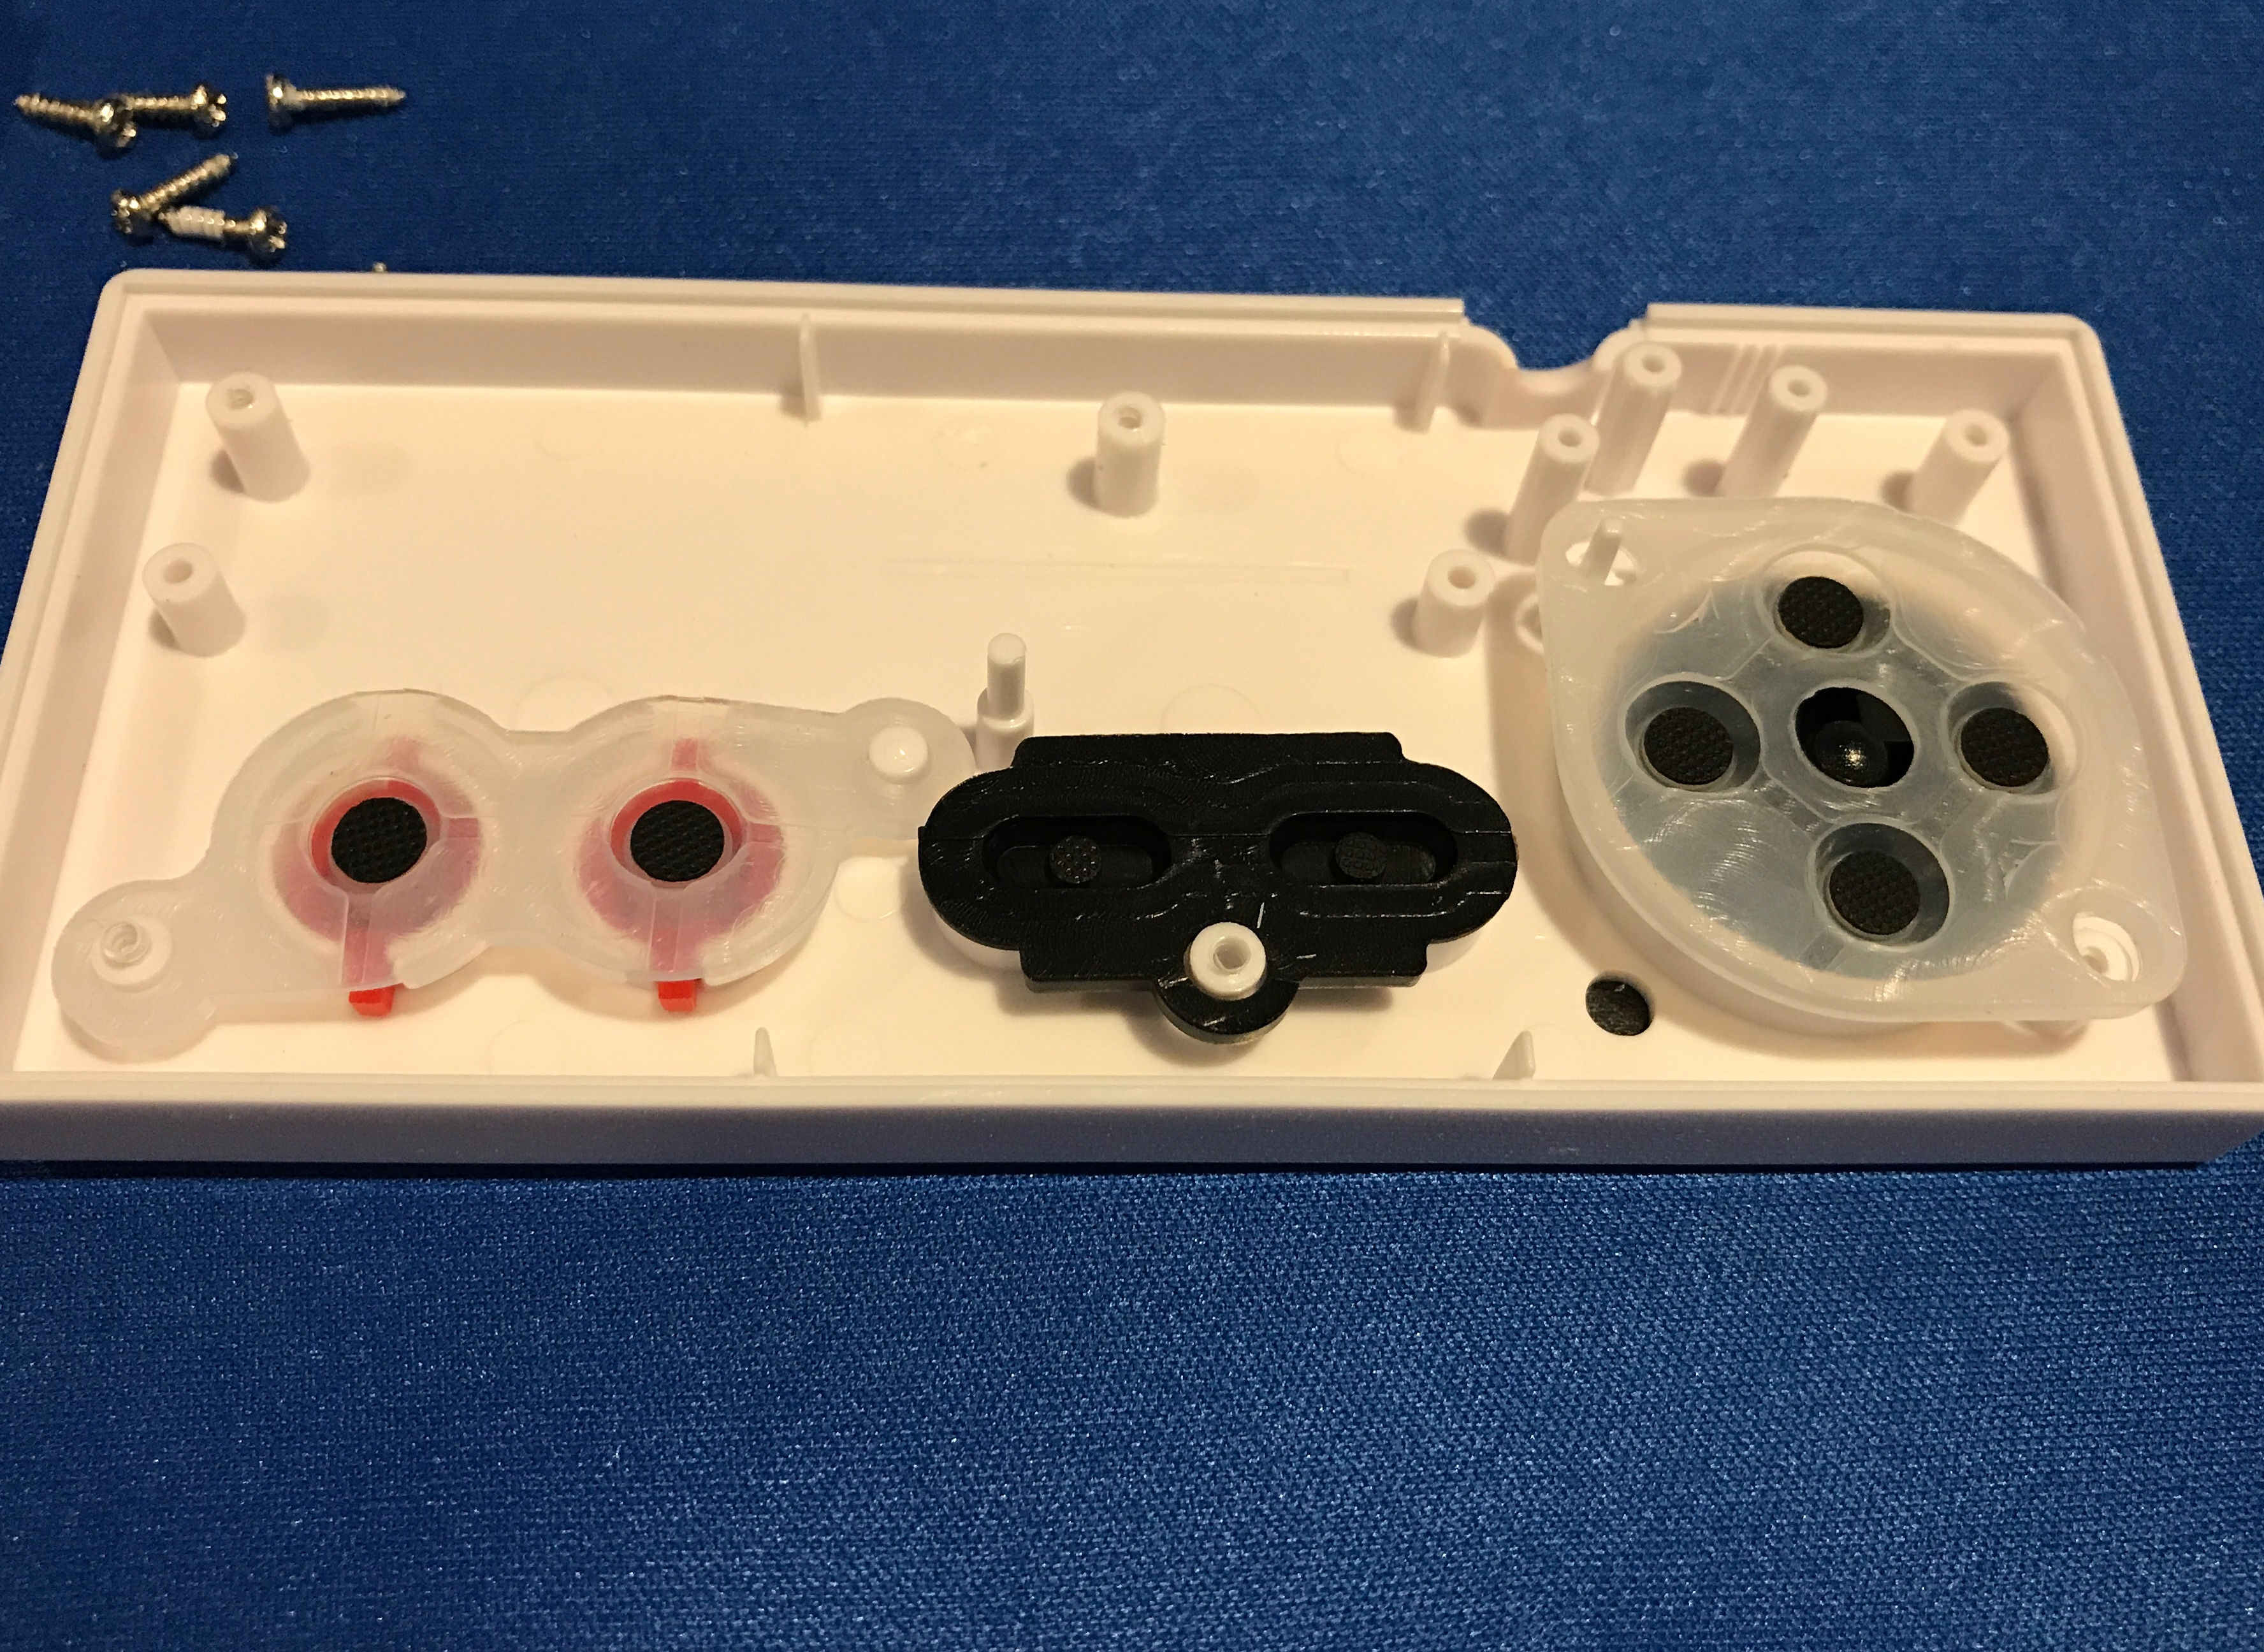
Remove all the buttons and D pad
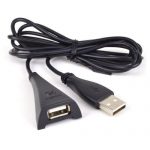
Step 3 – Prepare the USB extension cable
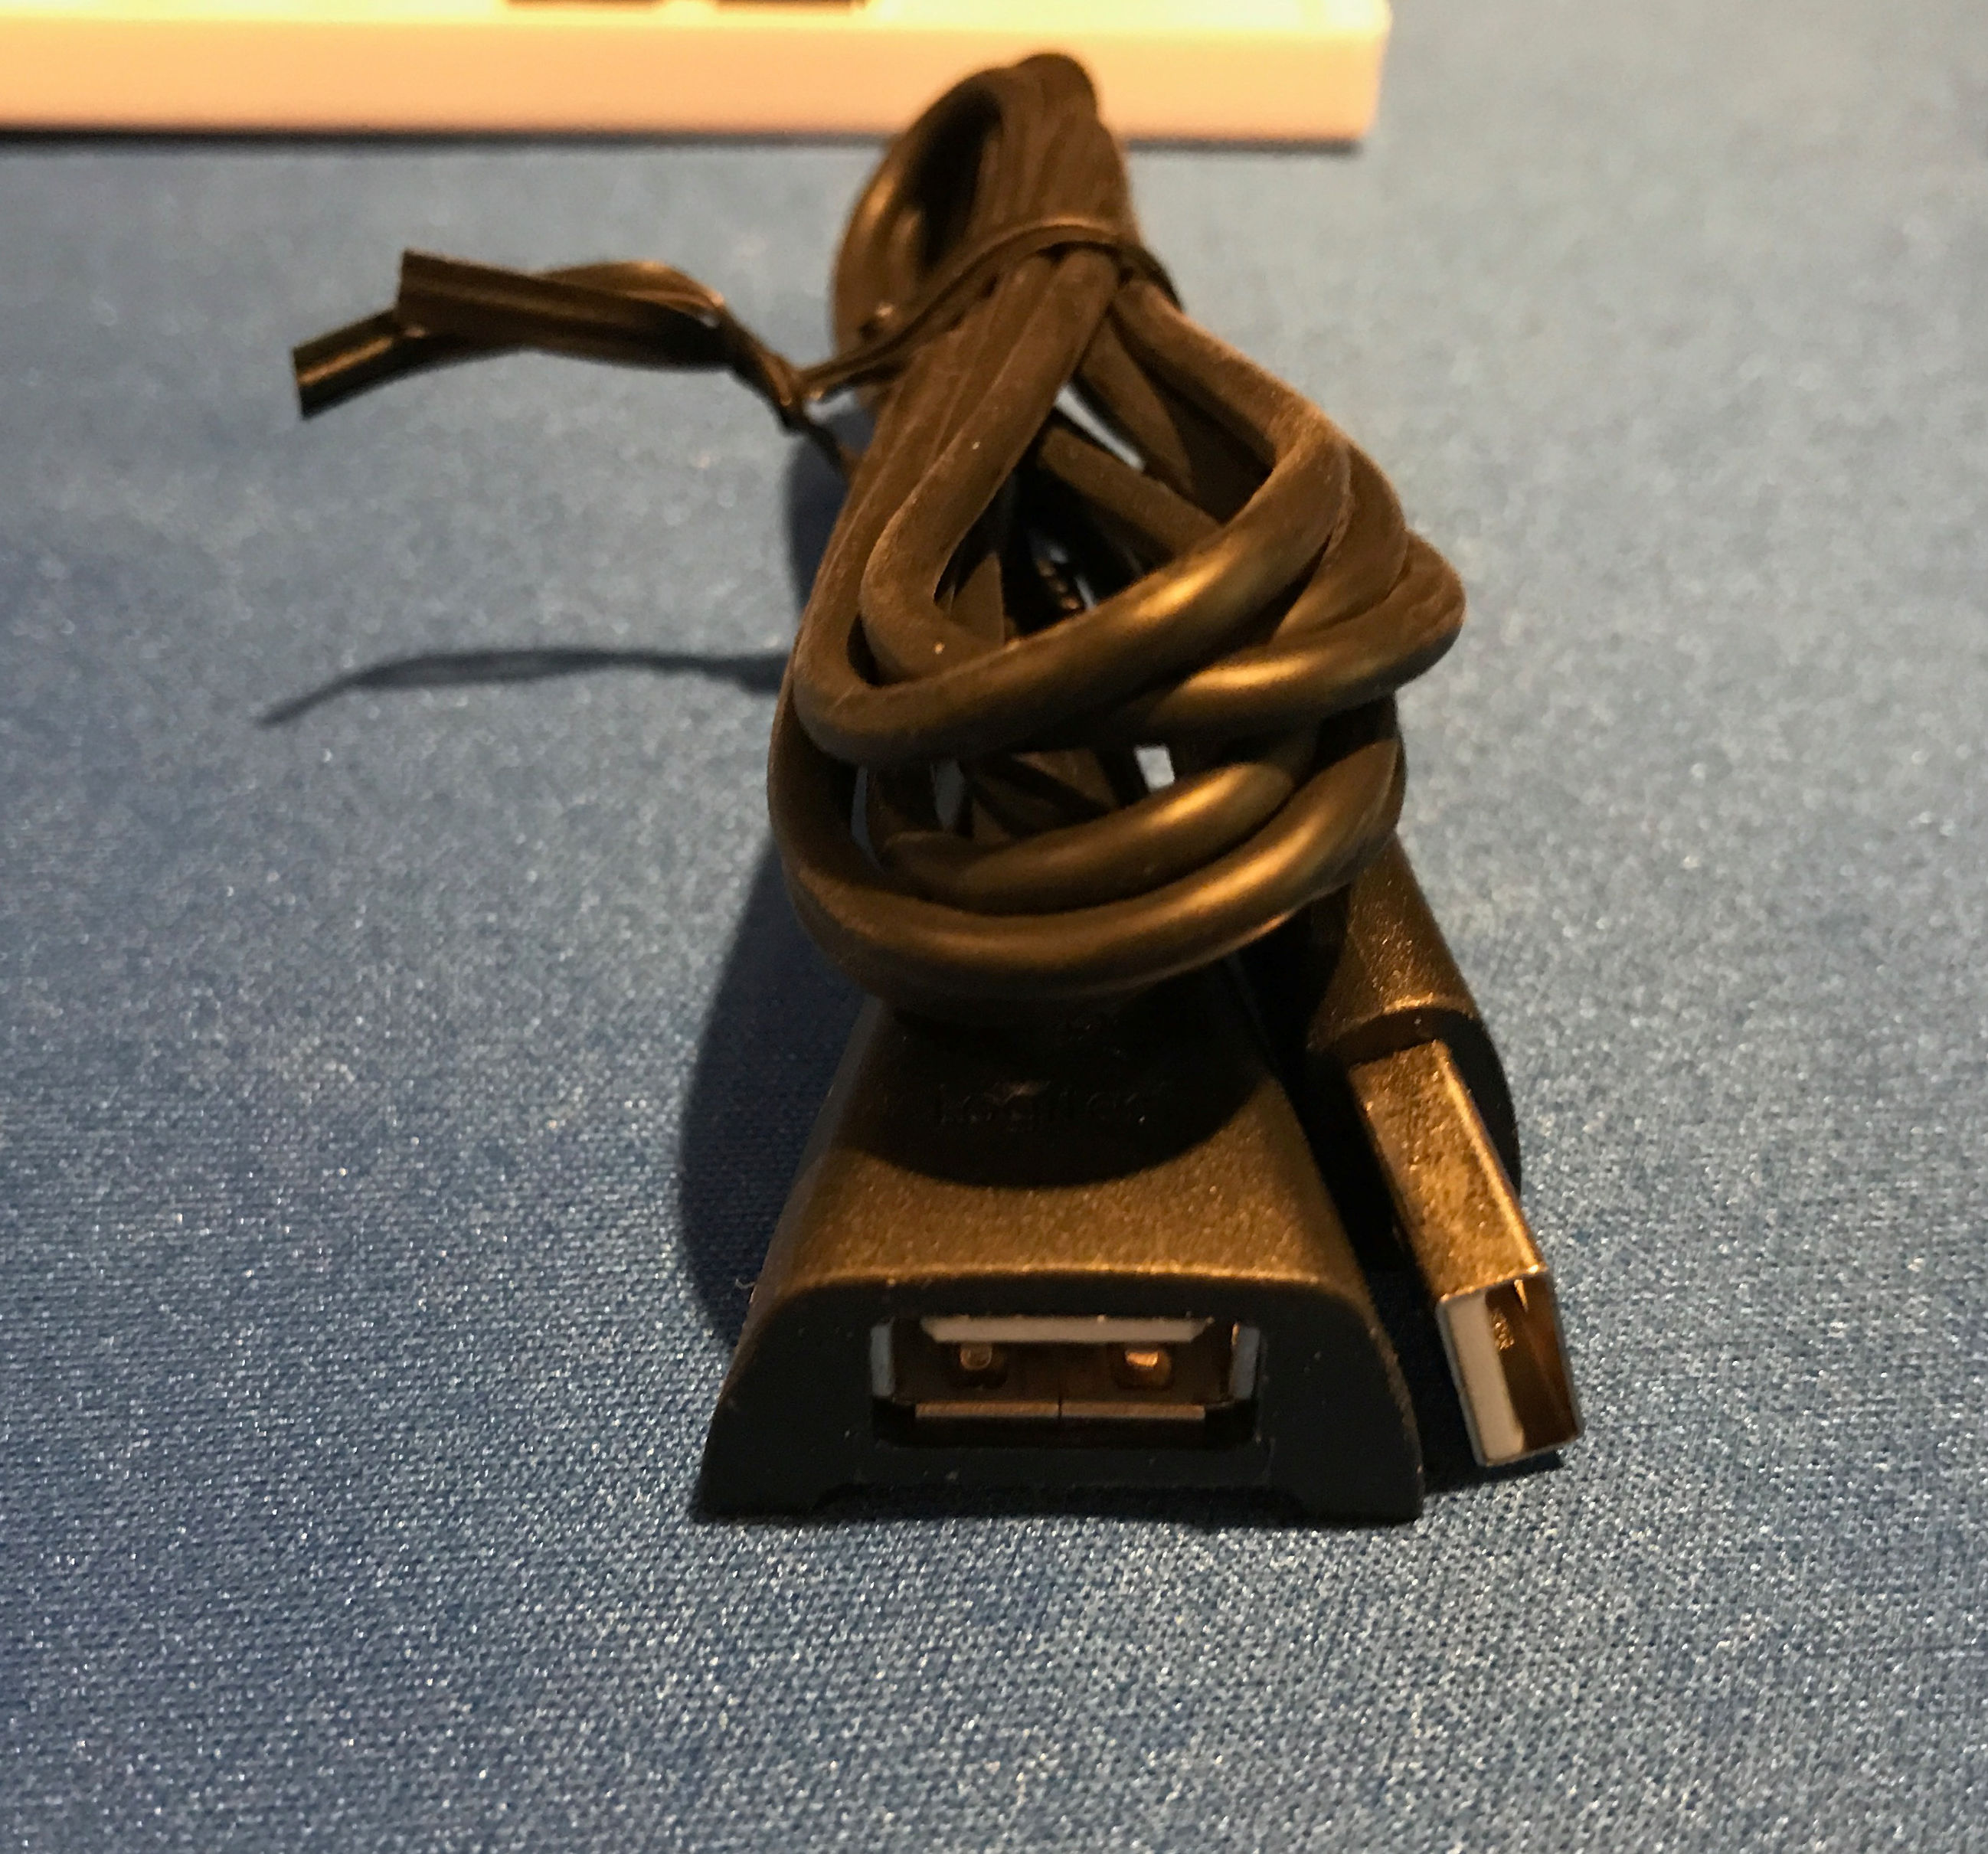
The Logitech USB extension I found around the house was a desktop version that had a large plastic holder on the end. In order to fit the extension end in the case the holder needed to be removed.
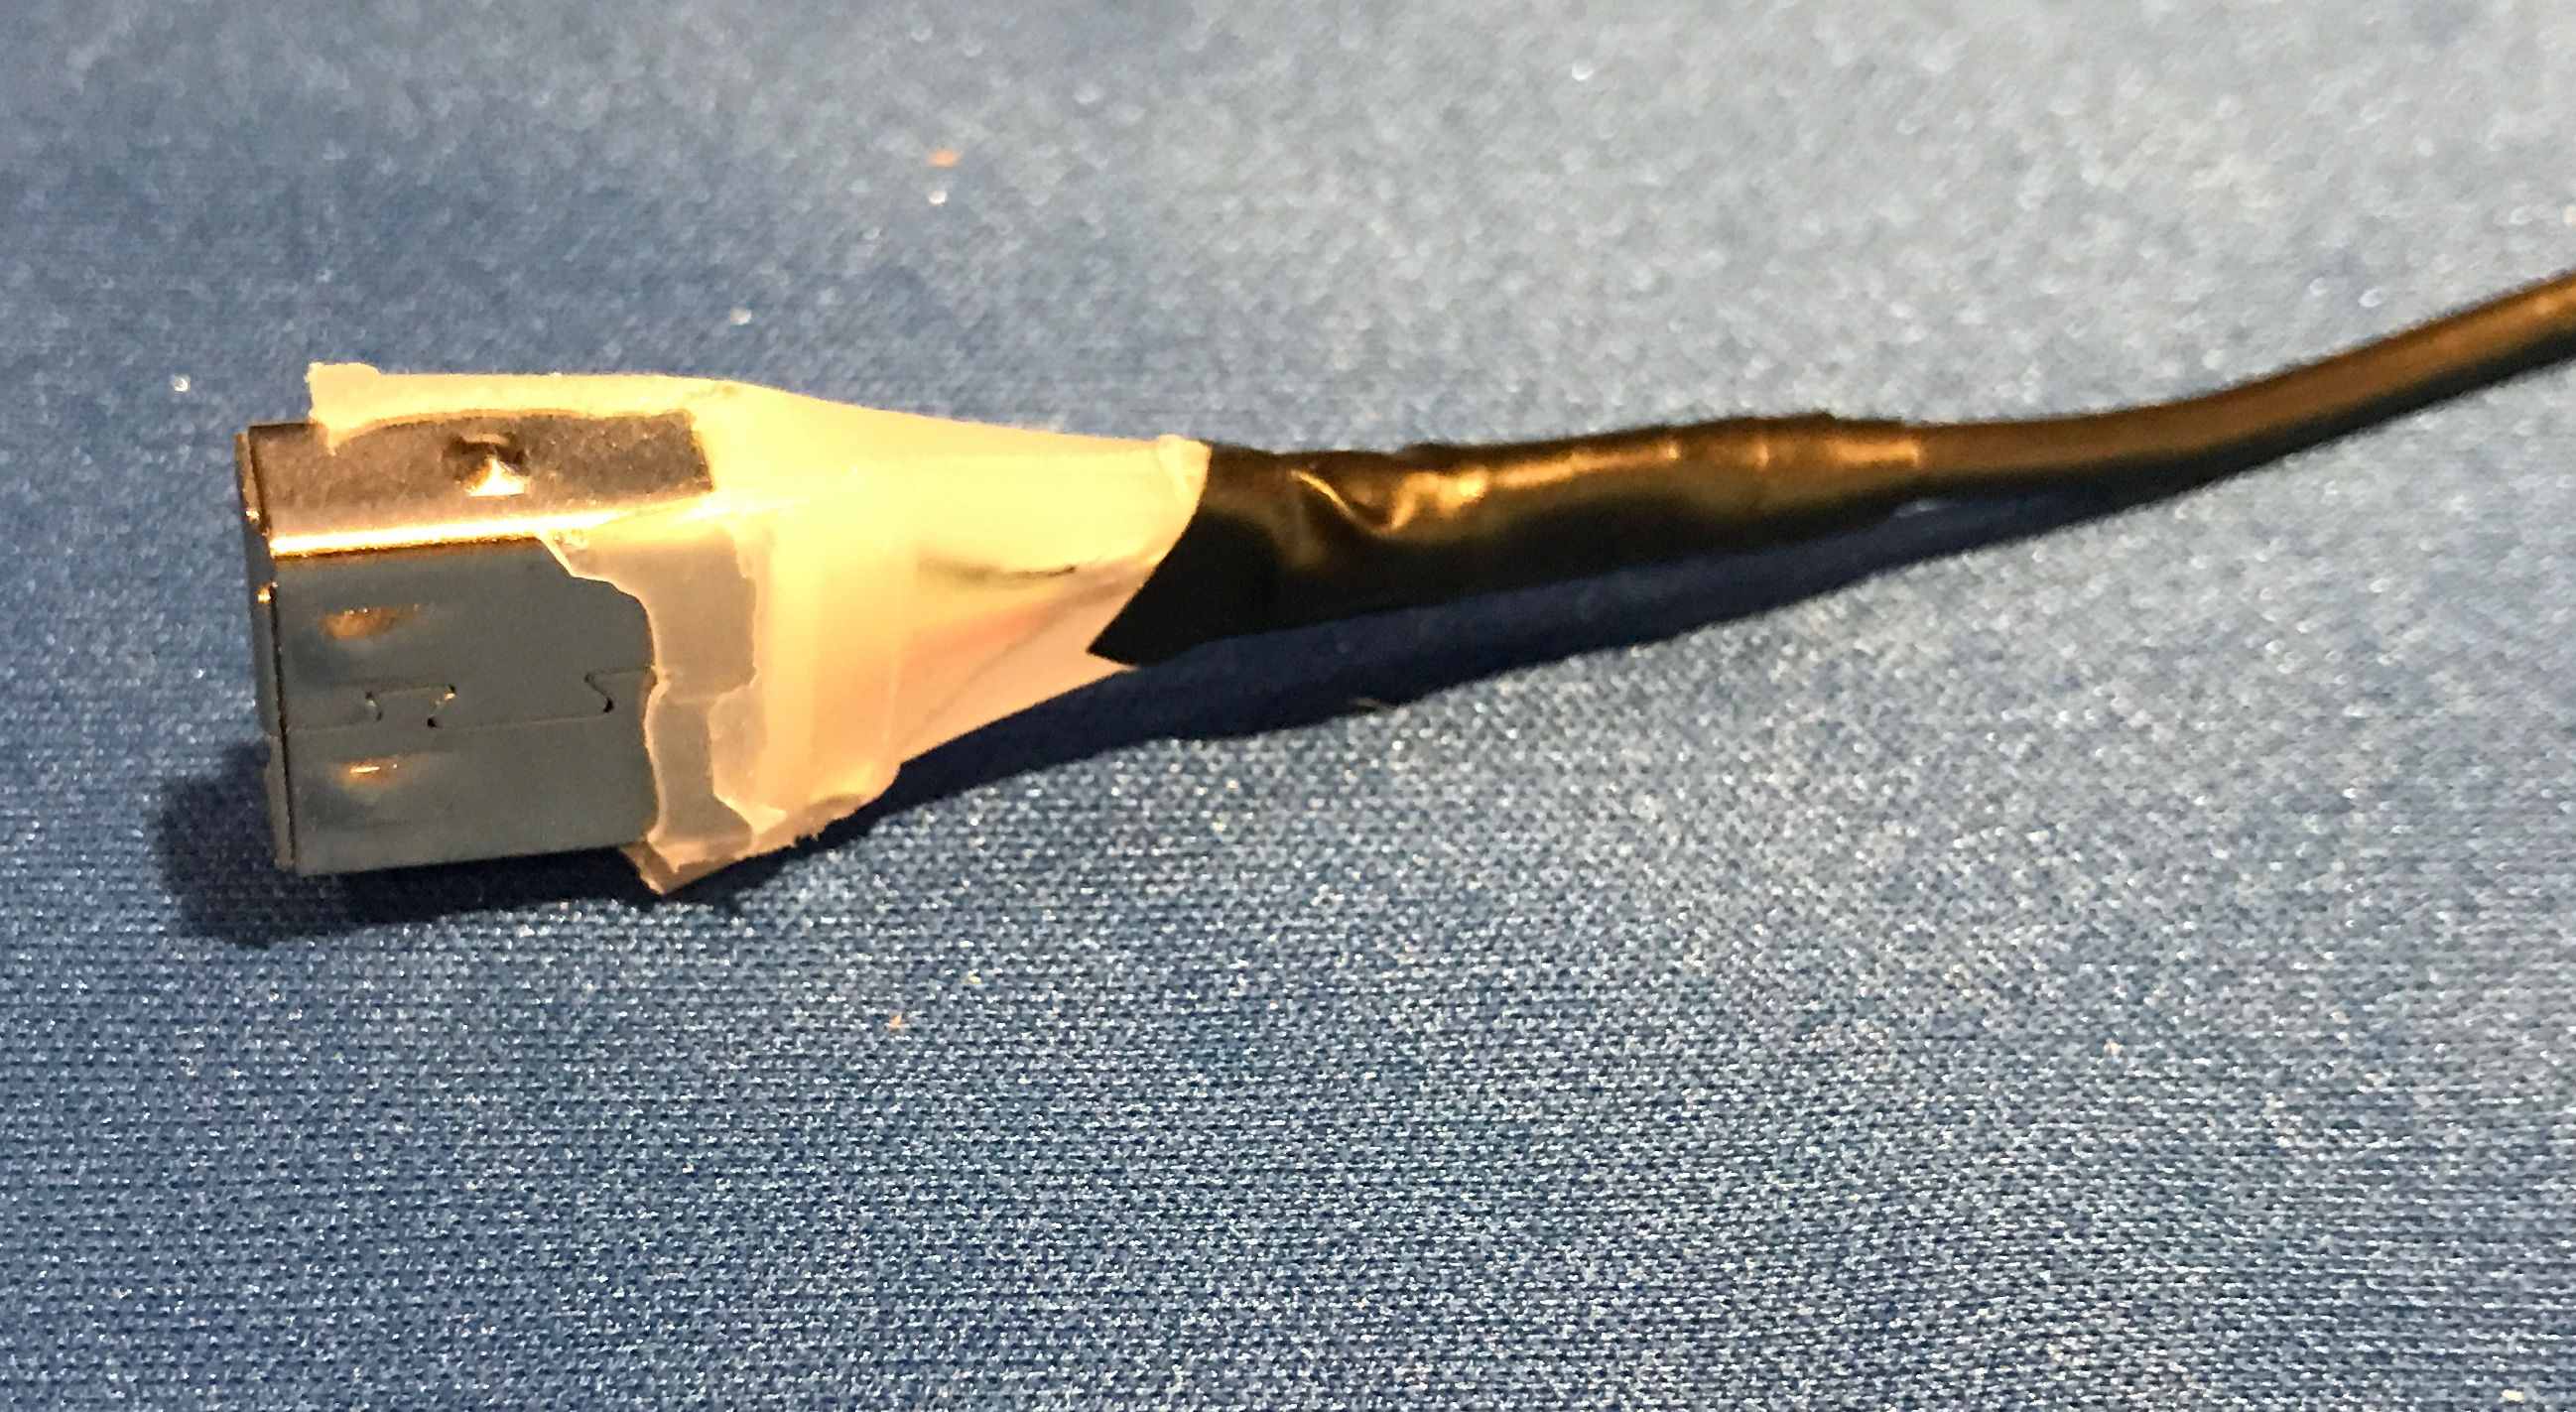
Using a pair of cutting shears I carefully cut the plastic housing off to expose the USB port.
Step 4 – Installing the USB drive and cables
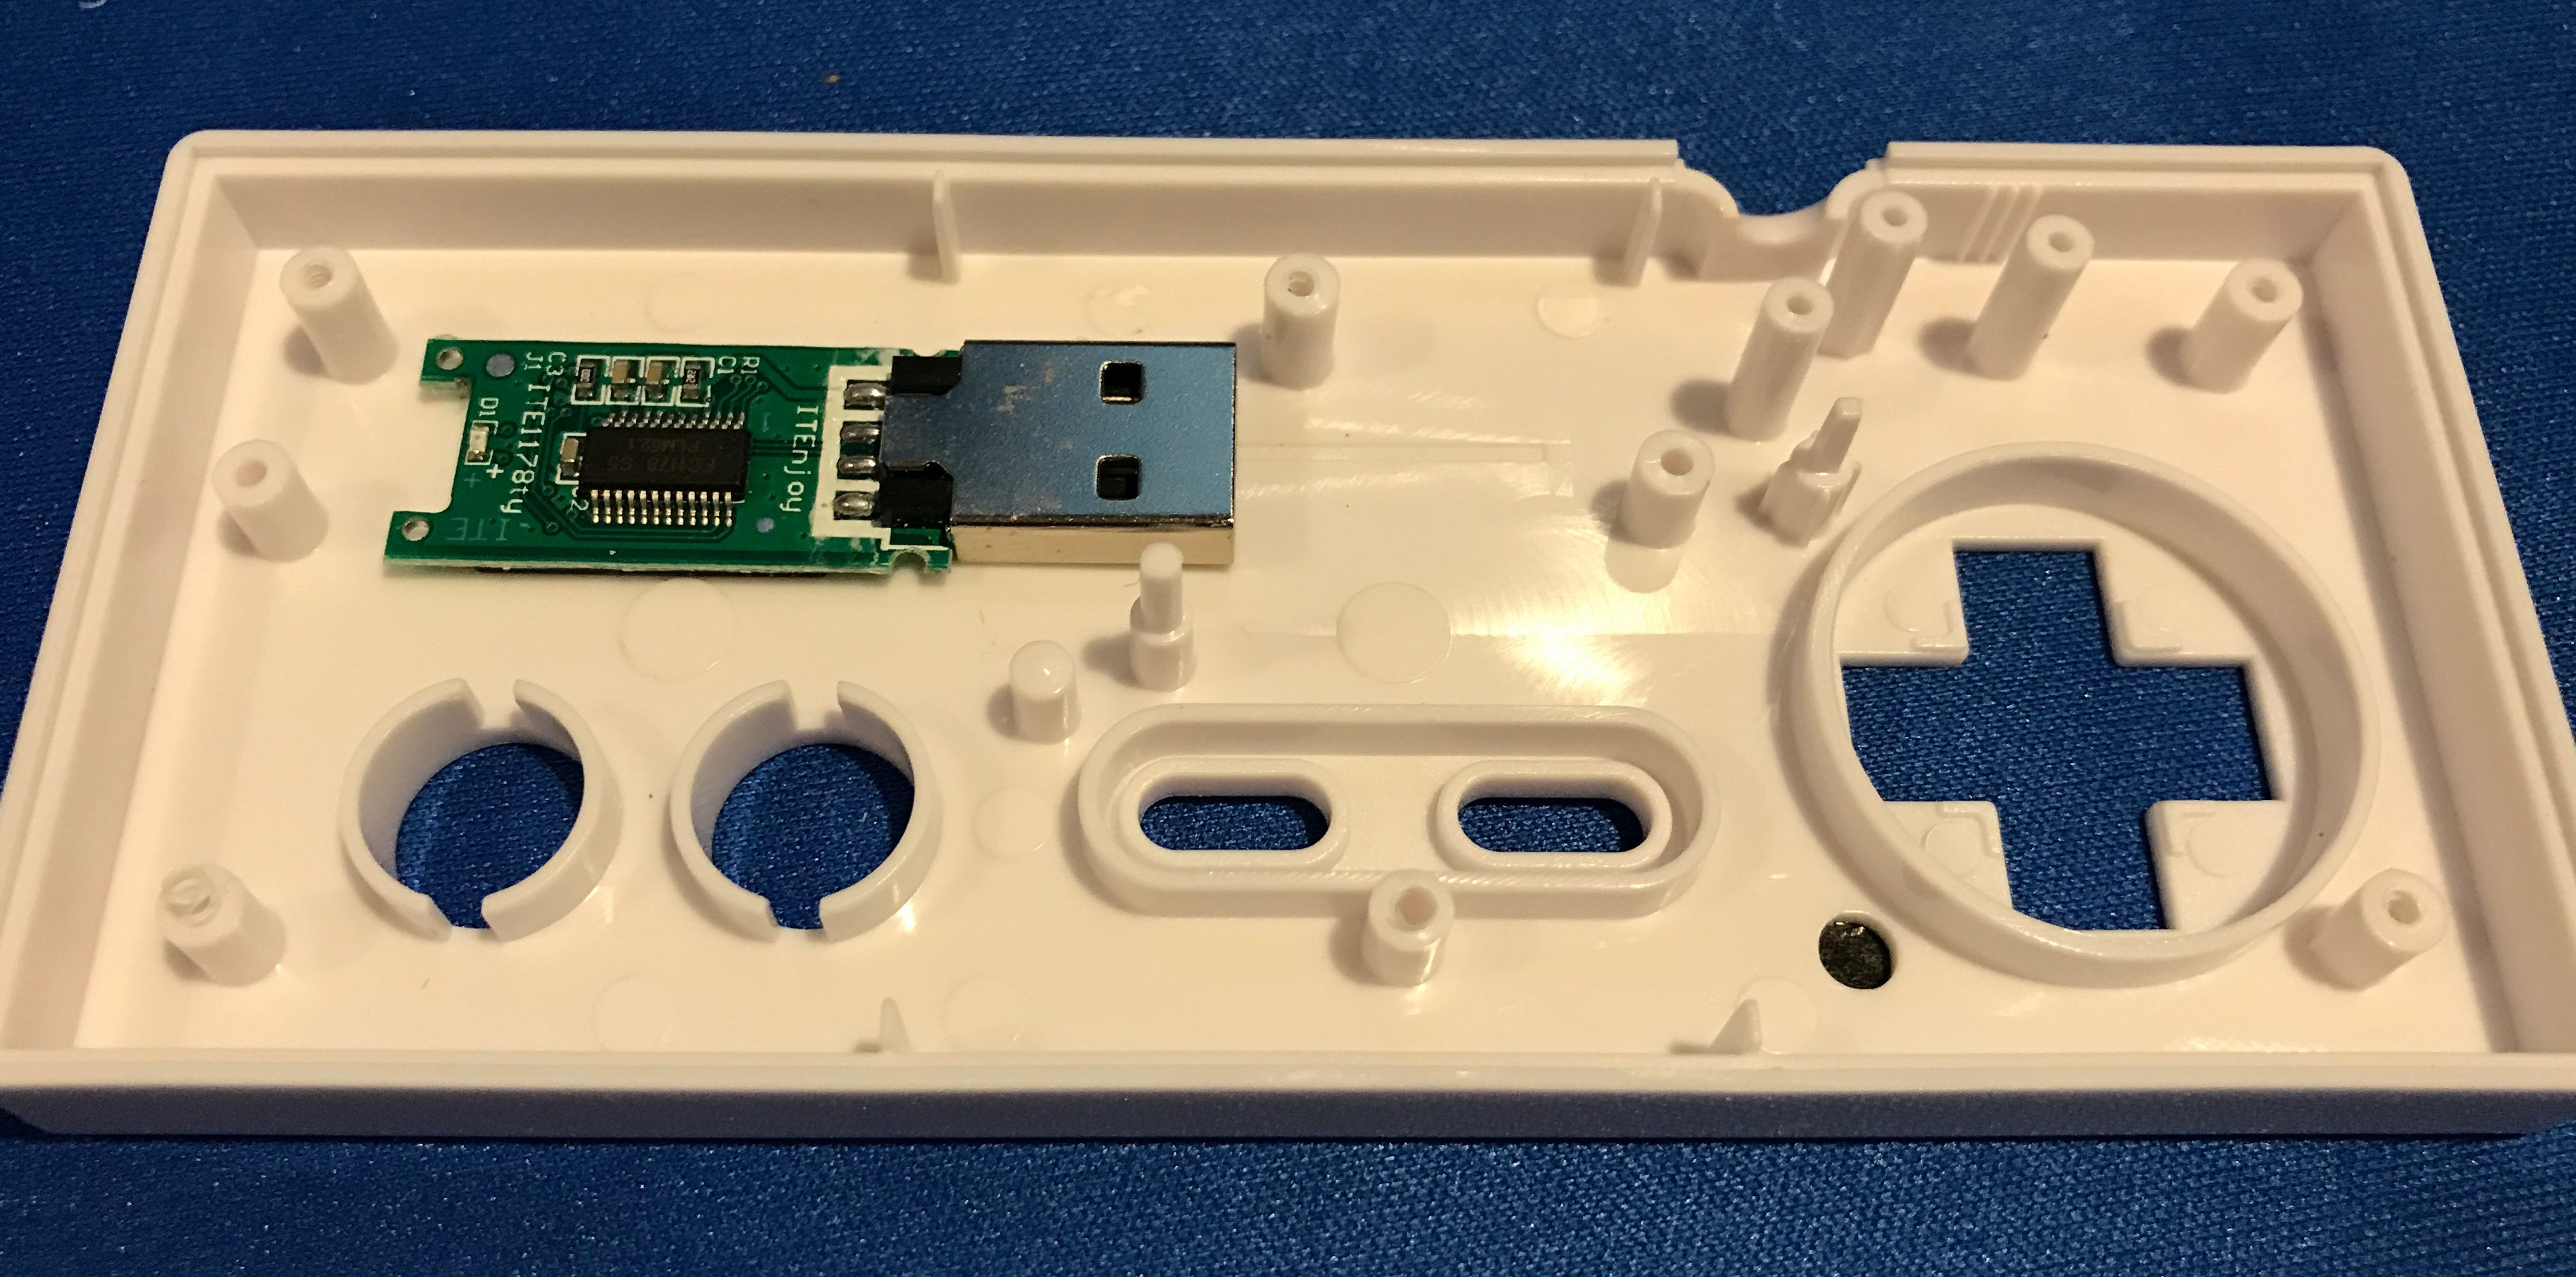 First test fit the USB drive and cable to make sure you have good positioning. Then with some hot glue tack down the USB drive and cable. Be sure to route the USB cable to maximize strain relief. This way if the cable is accidentally
 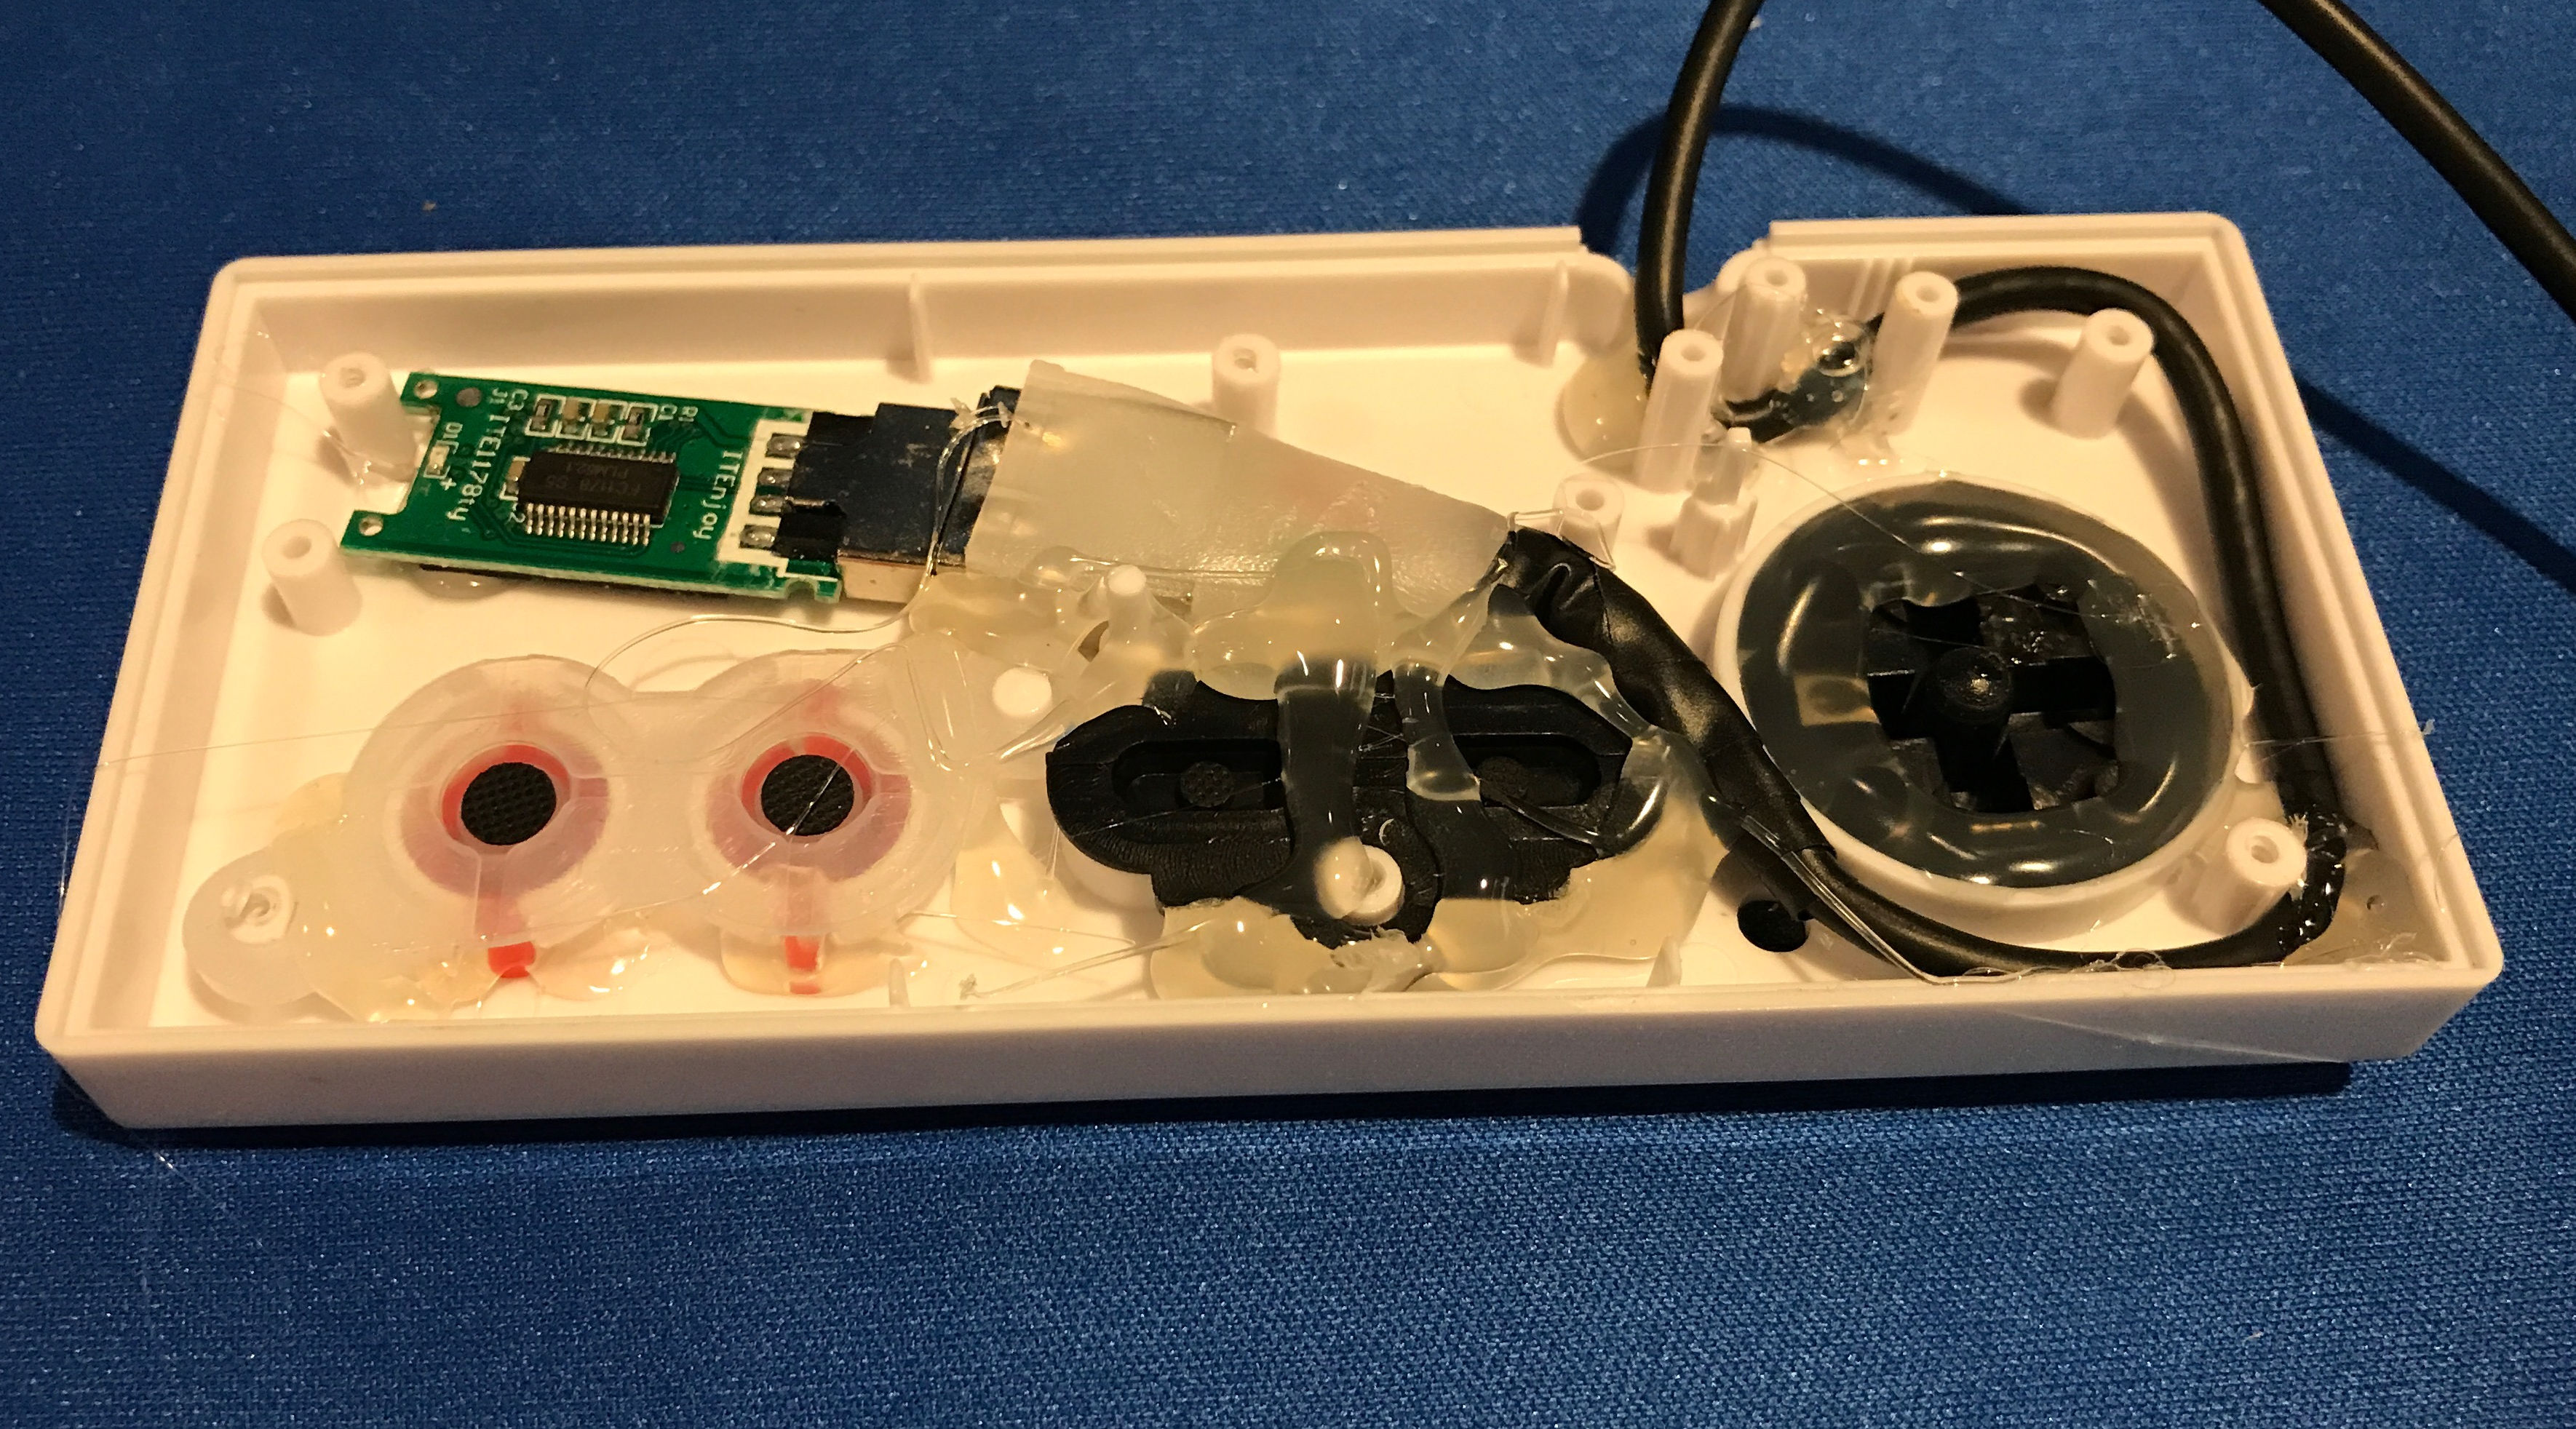 tugged on it will not disconnect from the drive.
Reinstall the buttons and glue into place.
Step 5 – Close up the drive and install the icon
Once all the components are in place and securely hot glued, replace the back cover and screw closed.
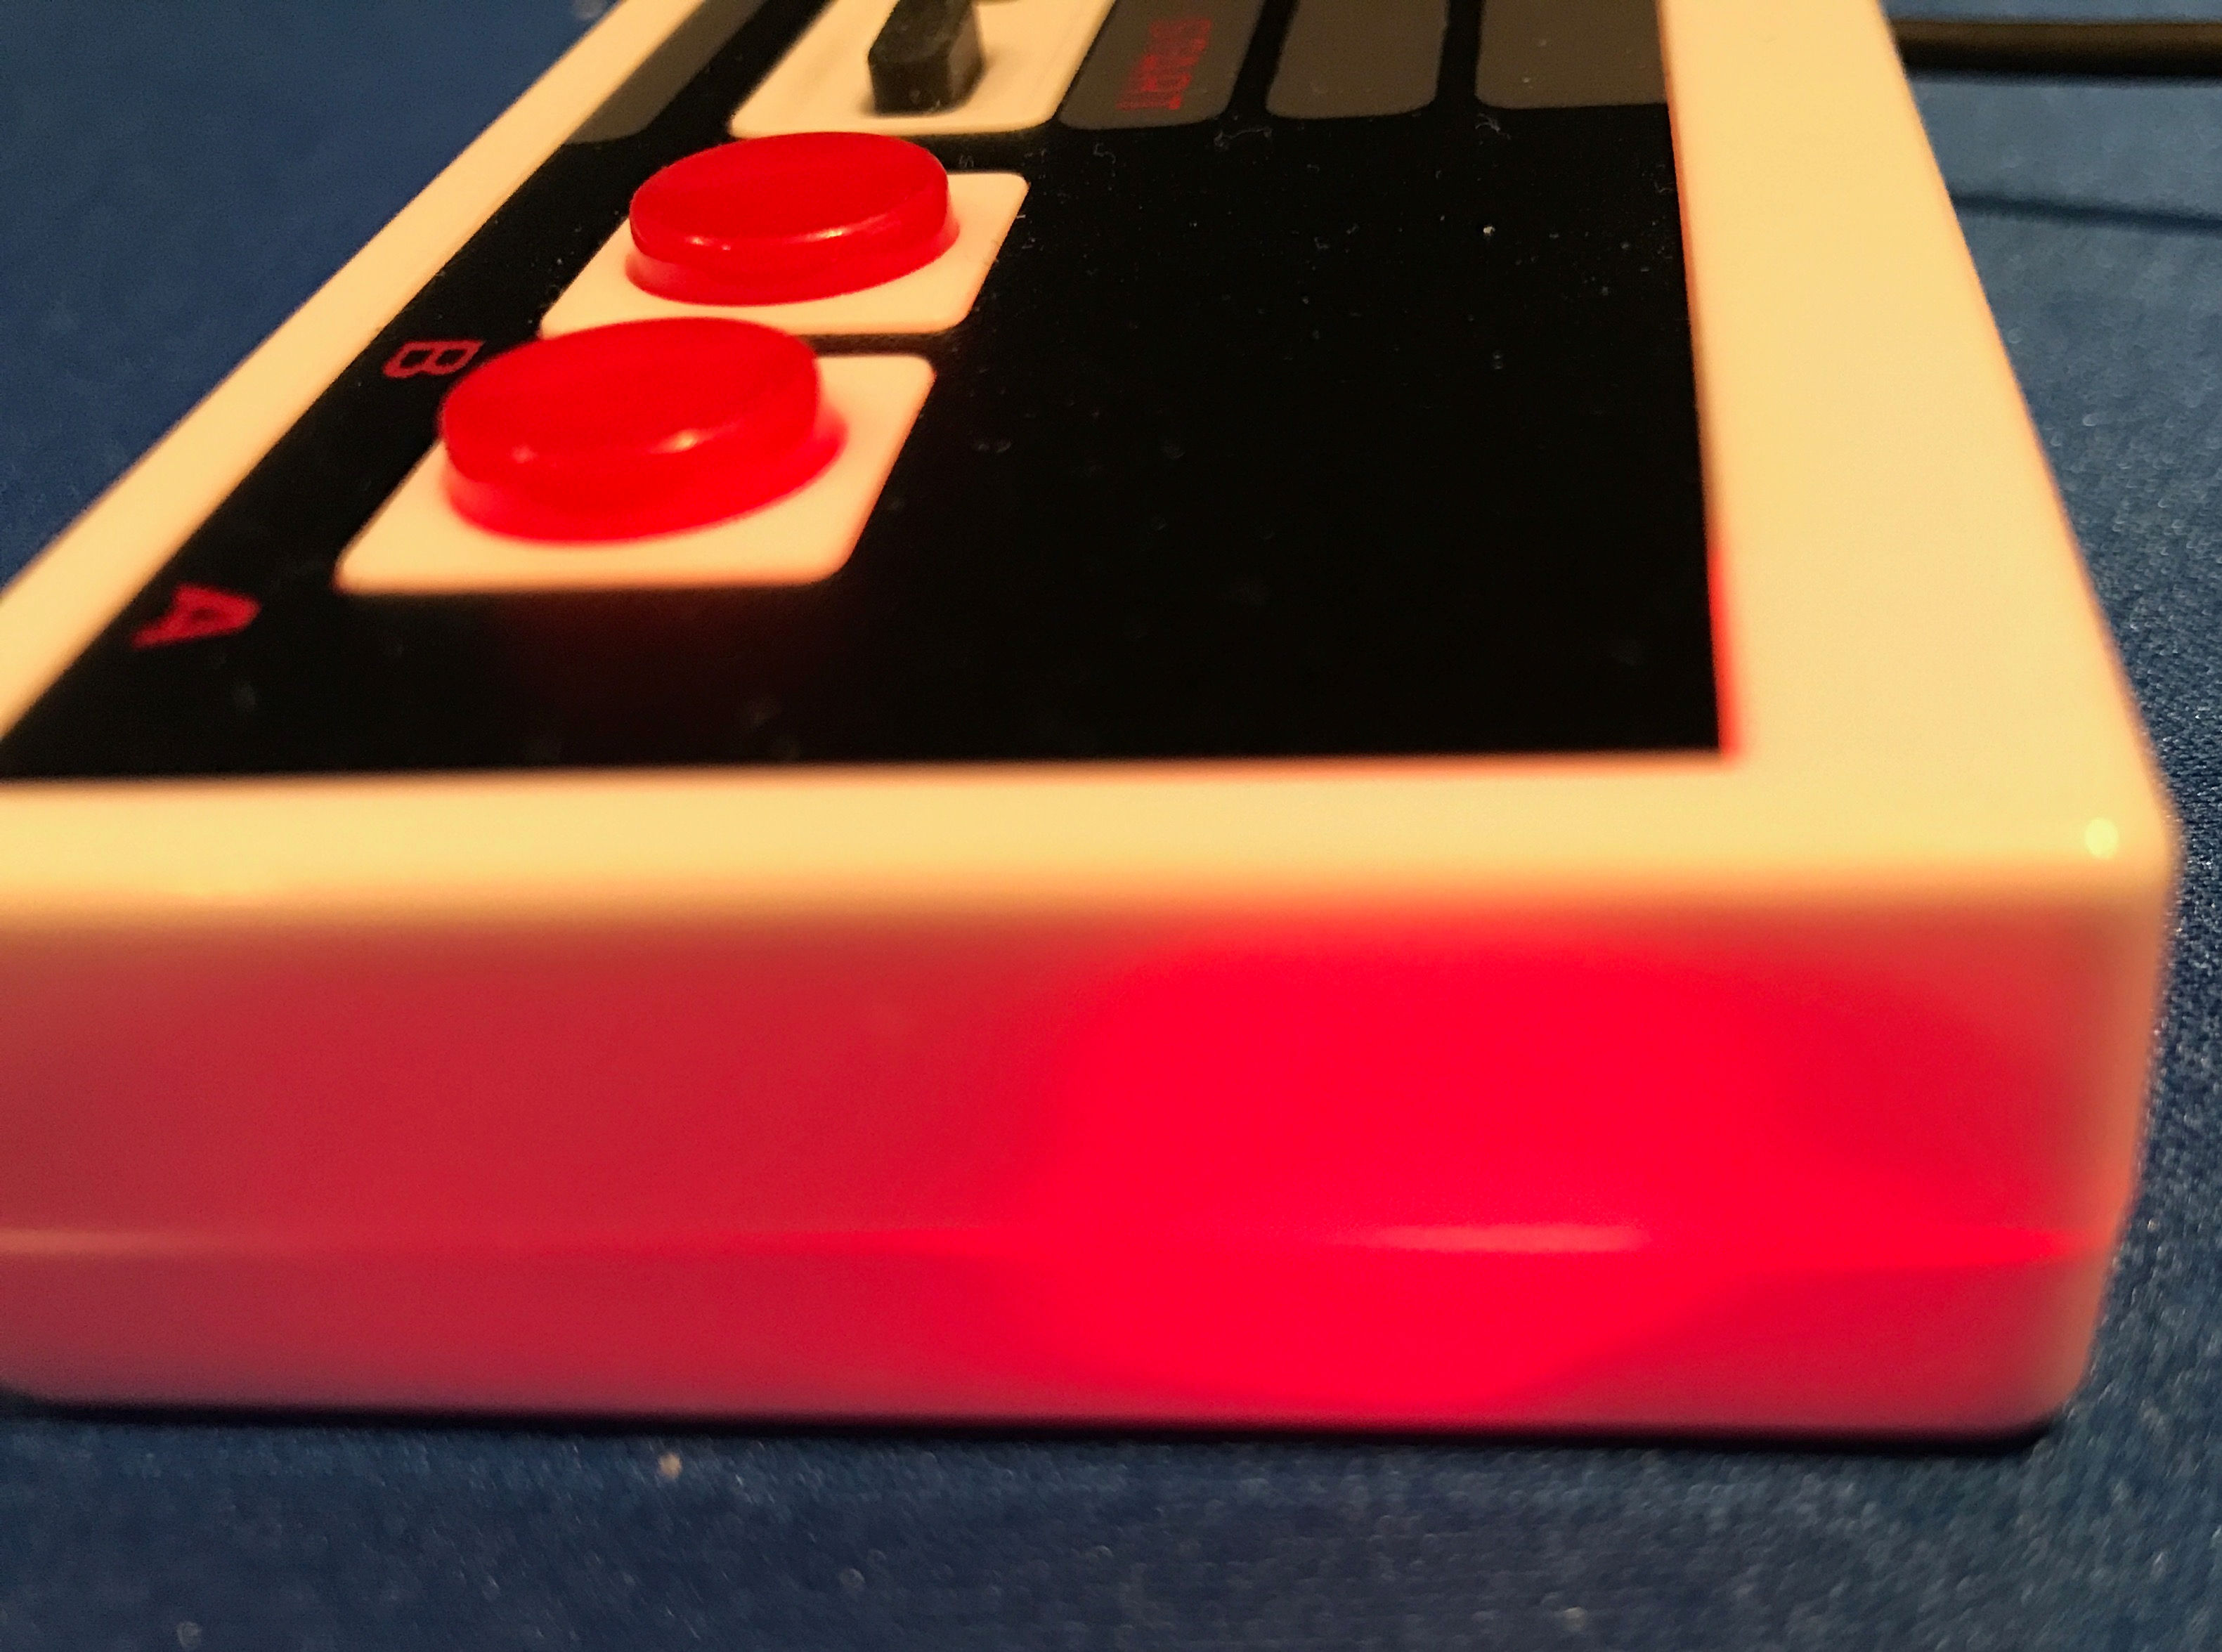 Now is the moment of truth. Plug the drive into your workstation and you should see some signs of life. My 16GB USB drive had a red LED indicator and it can be seen glowing through the case. Adds to the cool factor.
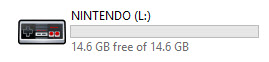 Lastly if you want the drives icon to show up in Windows as an NES controller, don’t forget to copy the autorun.inf and autorun.ico file to the root of the drive. Give the drive a name too while you’re at it. Remember the autorun,inf only contains two lines which instruct the PC to make the controller icon image.
[autorun]
icon=autorun.ico
Well there you have it! A NES Controller USB Flash Drive!
Don’t have the time to build it yourself? You can buy this at my Etsy store – Click Here
Thank you for reading my blog
-Joe