


We are bombarded with Internet advertisements all day long. They have become such a part of the landscape most of us don’t even notice them anymore, let alone click on them. Marketers have become ever more clever to get noticed on both our desktops and mobile devices. This is when the advertisements become obnoxious! Pop-ups, video ads with auto-play, even adds on our mobile devices that are ridiculously intrusive and hide the “X” to exit.
Enough is enough already!
 This is where Pi Hole fits in! What is a Pi Hole you say? Think of the Pi Hole as an open source advertisement blocking network appliance for your entire home. The developers of the Pi Hole software found an easy way to block most advertisements from displaying on all your devices. When you boil it down the Pi Hole is simply a DNS black list joined with the inexpensive Raspberry Pi computer.
For the less technical, here’s how it works.
All websites are IP addressed based. If you watch any of the prime time tech dramas I’m sure you have heard them say.. “I’m tracking his IP” or “He’s masking his IP through 5 countries” ETC.. ETC.. Most of the time this stuff is 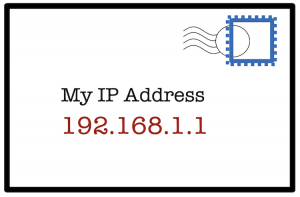 bogus. The only real truth is that every device that wants to connect to the internet must have some underlying IP address. This allows the computers to connect, talk and get to be friends. Humans are not very good at memorizing long strings of numbers so DNS (Domain Naming System) is where the magic happens. Domain names like Google.com or Facebook.com are matched to their IP address counter parts so your browser can figure out where to go. Think of DNS as a yellow pages / phone book for the Internet.
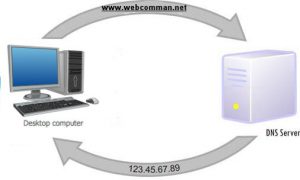 In a standard home network set up your ISP provides you with the DNS server settings for your home router. When you make an outbound request for a web page like google.com the ISP’s DNS server matches the name to the IP and returns the result to the browser. In addition while that page loads DNS requests are made to load advertisement that may be embedded on that page. This is where the Pi Hole comes in.
The Pi Hole becomes you DNS server or maybe I should say DNS filter. On most home networks the main internet router is designed to give all your devices IP addresses using a process called DHCP. When using the Pi Hole you need to change your router DHCP settings to set the DNS server address to the Pi Hole for all devices. This way all DNS requests go through the Pi Hole.

In the diagram above our home Wifi router is 192.168.1.1, and the Pi Hole is 192.168.1.2. When DHCP issues addresses on this network it should look like this
Computer IP: 192.168.1.X  <- X= to next available address
Subnet Mask: 255.255.255.0
Gateway:     192.168.1.1 <- Your router
DNS Server:  192.168.1.2 <- The Pi Hole
So what’s going on here?
I will try to walk you through the process
On your workstation you type a web address “www.cnn.com” into a browser. The computer needs to convert that name into an IP address, so it contacts the DNS server. The DNS server is your Pi Hole and begins the process of converting names to numbers and instructs the browser where to fetch the page. At the same time the page begins to load the browser makes additional DNS queries to locate the IP’s of advertisements on the page. This time the Pi Hole sees that the requested domains are on its black list, and returns a predefined IP address, one with a small white dot. The main content of the page loads just fine, but the advertisements are never shown.
I hope that explanation was not too confusing. The important part to remember is that the devices on your network MUST use the Pi Hole as their DNS server. The Pi Hole in return can use any DNS server such as the one your ISP has provided or even Google’s FREE DNS 8.8.8.8 server.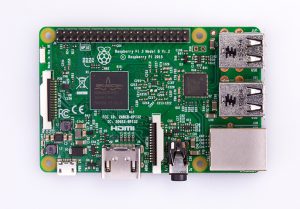
New Features!
When I first started using the Pi Hole software it was very crude and command line based. There was a “cook book” of how to install, but it took time and some basic knowledge of the Raspberry Pi and Linux. Updates were also command line based. In the latest release, the software can be installed on your Pi with a singe command, and administrating the entire system is fully browser based.
Single command install:curl -sSL https://install.pi-hole.net | bash
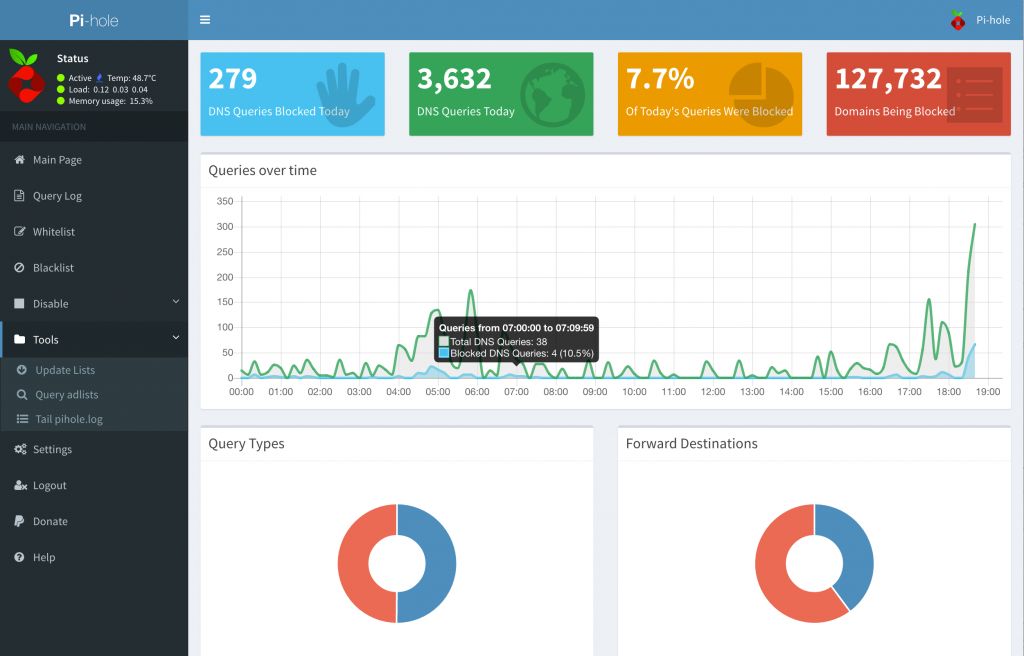
The updated browser interface allows you to see your real time blocking stats, update the black list, add your own URL’s to the list, tells you the health of your Pi and so much more.
This is a relatively easy project to take on. If you have basic network knowledge and feel comfortable working with the Raspberry Pi, you could have your Pi Hole up and running in about an hour or two.
I set my Pi up using NOOBS (New Out Of the Box Software) and used a command line only version of Raspbain. I dedicated one of my older Pi 2’s for the task and its working great.
What you need to make this project a success
- Raspberry Pi 2 or 3 (Kit sells for $50 at Amazon)
- MicroSD card (use an old one) or one like this for $10
- A Linux OS for your Pi – NOOBS is a great place to start
- The Pi Hole software – Make sure you donate to these guys!
If you want a Pi Hole, but don’t want to go through the trouble of building your own, feel free to email me ideas@webcommand.net and I’m sure I could build one for you.
Thanks again for reading my blog!
Don’t forget to signup for the news letter.
-Joe
One Reply to “Turn On Your “Pi Hole” and say hello ad blocking on all your devices!”