


To turn back the hands of time, its something we all wished we could do at some point in our lives. Well this project won’t help you punch a hole in the space-time continuum, but it will help you make a cool desk or wall clock that has a counterclockwise movement.
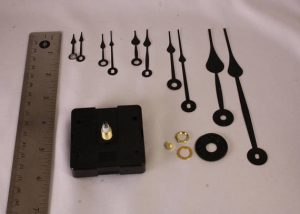
We begin with the Q80 clock movement from Quartex they are readily 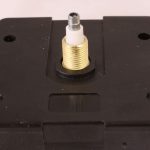 available on the internet and I have a good stock of them if you would like to purchase one. (just email me at ideas@webcommand.net)
STEP 1 – Remove the back cover
- To begin we need to remove the back cover of the movement. There are two
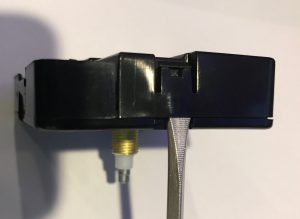 plastic latching clips on each side of the movement. To remove the cover insert a flat small screwdriver, or pocket knife and gently pry the clip up slightly. Then wiggle the back cover off. Repeat this procedure on the other side. At this point the back cover should slide off easily. Don’t worry about any of the internal components as they are all self contained within a clear plastic case. However do note the battery terminals can fall out. They are easy to reinsert so just put them on the side for now.

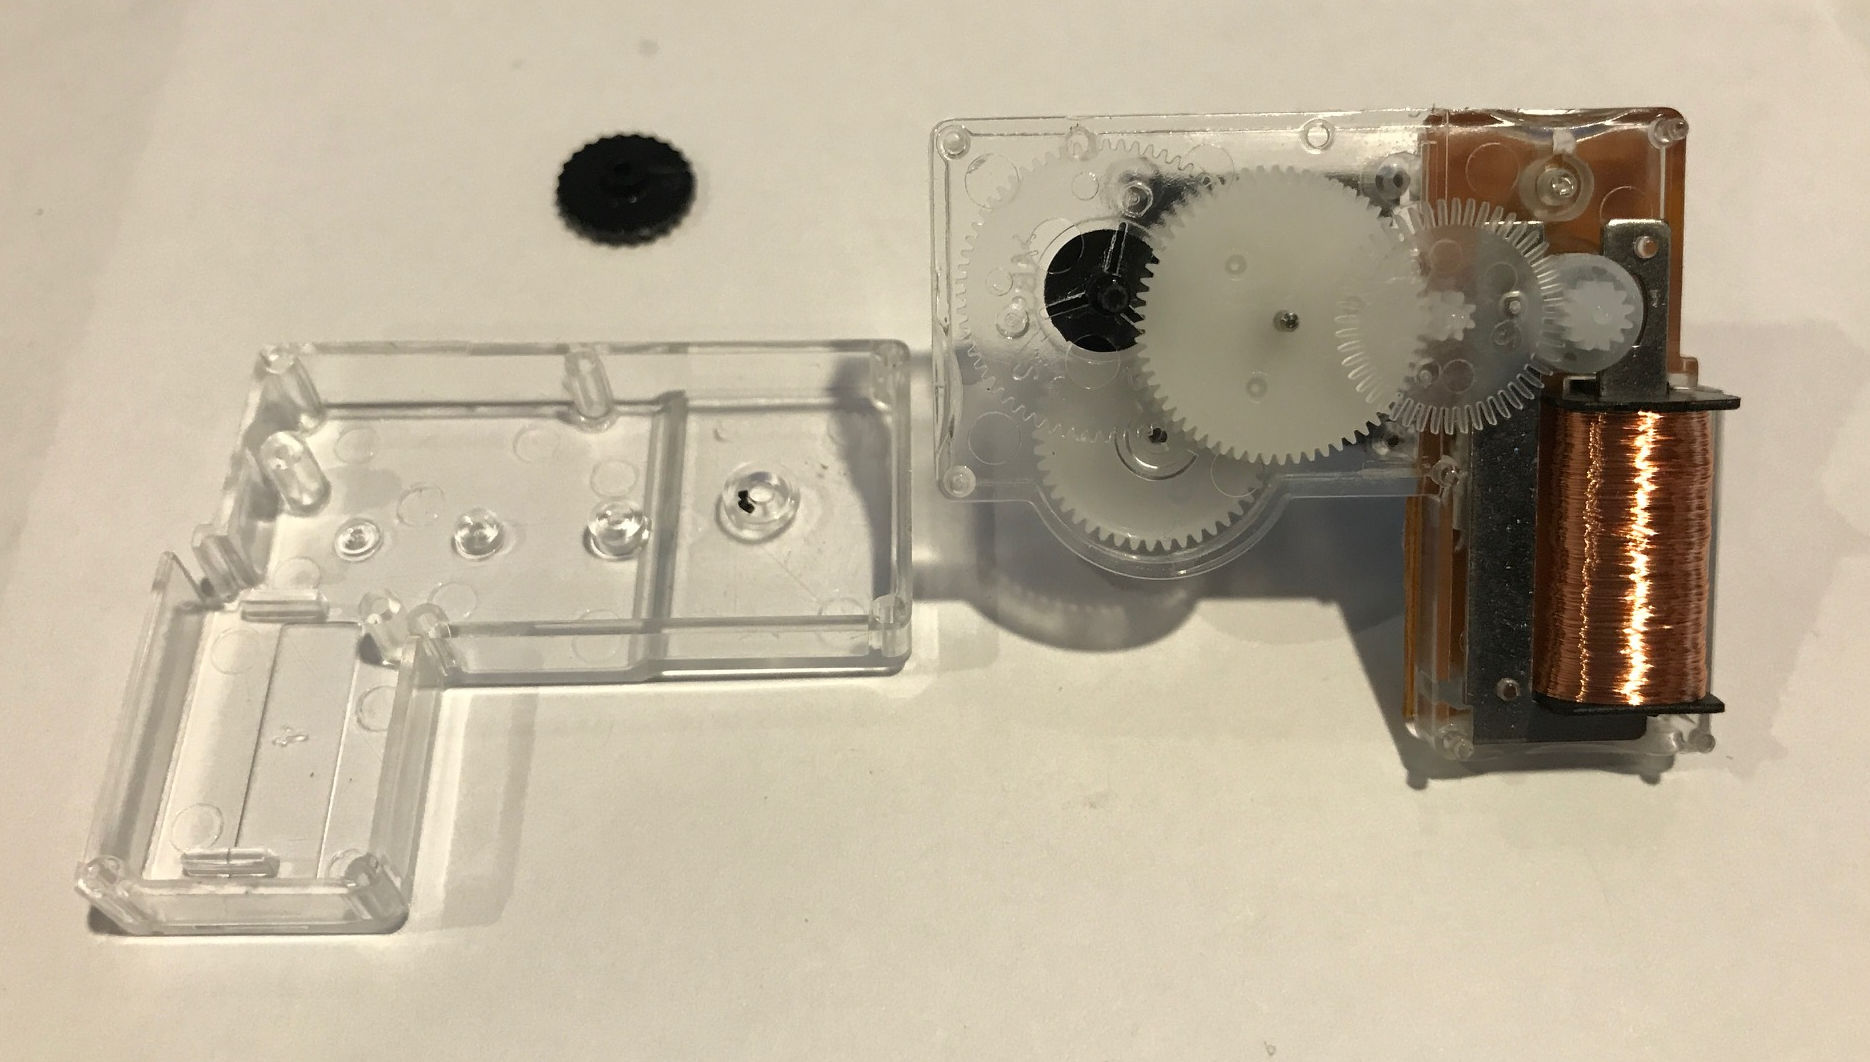
STEP 2 – Remove the “guts”
- Once the cover is off you will se
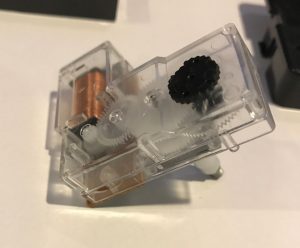 e the inner workings of the movement sealed in clear plastic, simply pull up and remove the whole module. Next remove the time set dial. Its the little black plastic item on the right. Gently pull it up and off the movement and set it to the side.
STEP 3 – Remove the plastic case
- To gain access to the inner workings of the movement we need to remove the
 plastic case. On the Q80 there are “pry” areas on each side of the case. With the movement laying flat gently pry the case open with a small flat screwdriver loosen it just a little on each side, then go back and pry a little more until the back of the case can be easily removed.
 - TIP 1 – You must have removed the small black time set dial in step 2 or the case will not come apart!
- TIP 2 – Once the case is off, all the gears and inner workings can fall out. It would be advisable to take a picture just in case you need a reference to help you reassemble the movement.
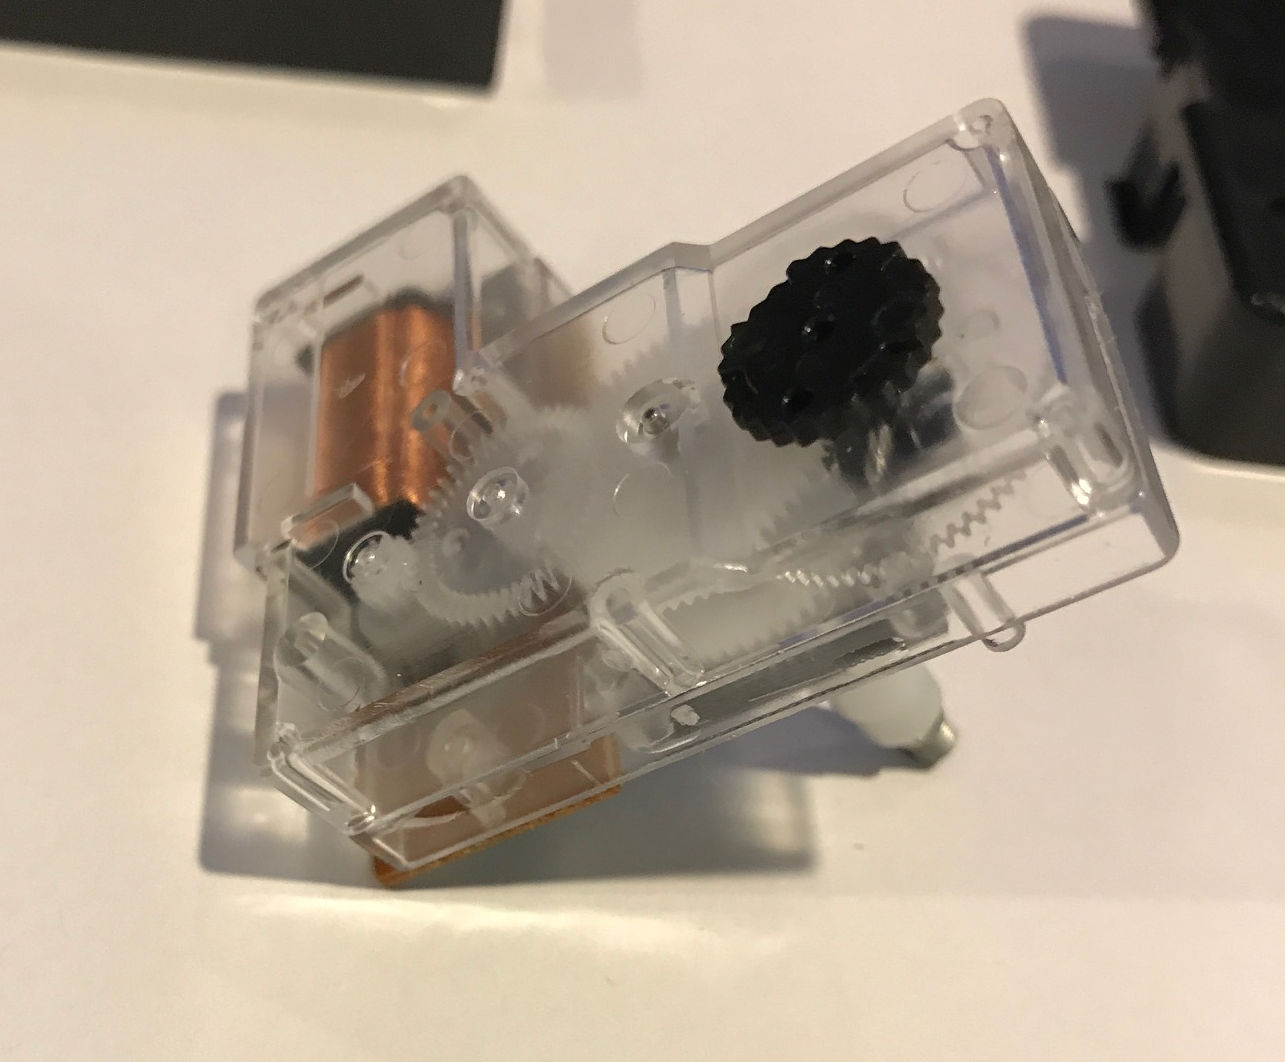
STEP 4 – Remove the gears
- We are now going to focus on the section of the movement where the
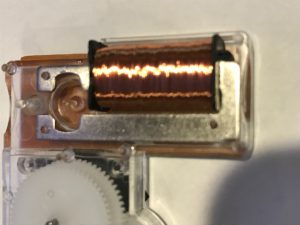 electromagnetic coil is. There are two gears that need to be removed. The first is a semi translucent gear (its the top most gear) gently pull up on the gear and place to the side. The second gear also houses a small magnet. Just below the coil, in the middle of the U shaped magnet pull the tiny gear up and out.
 - TIP 1 – Use caution when removing the small gear. There is a fine plastic post that is easily broken. Make sure you pull the gear up straight, slowly and gently.

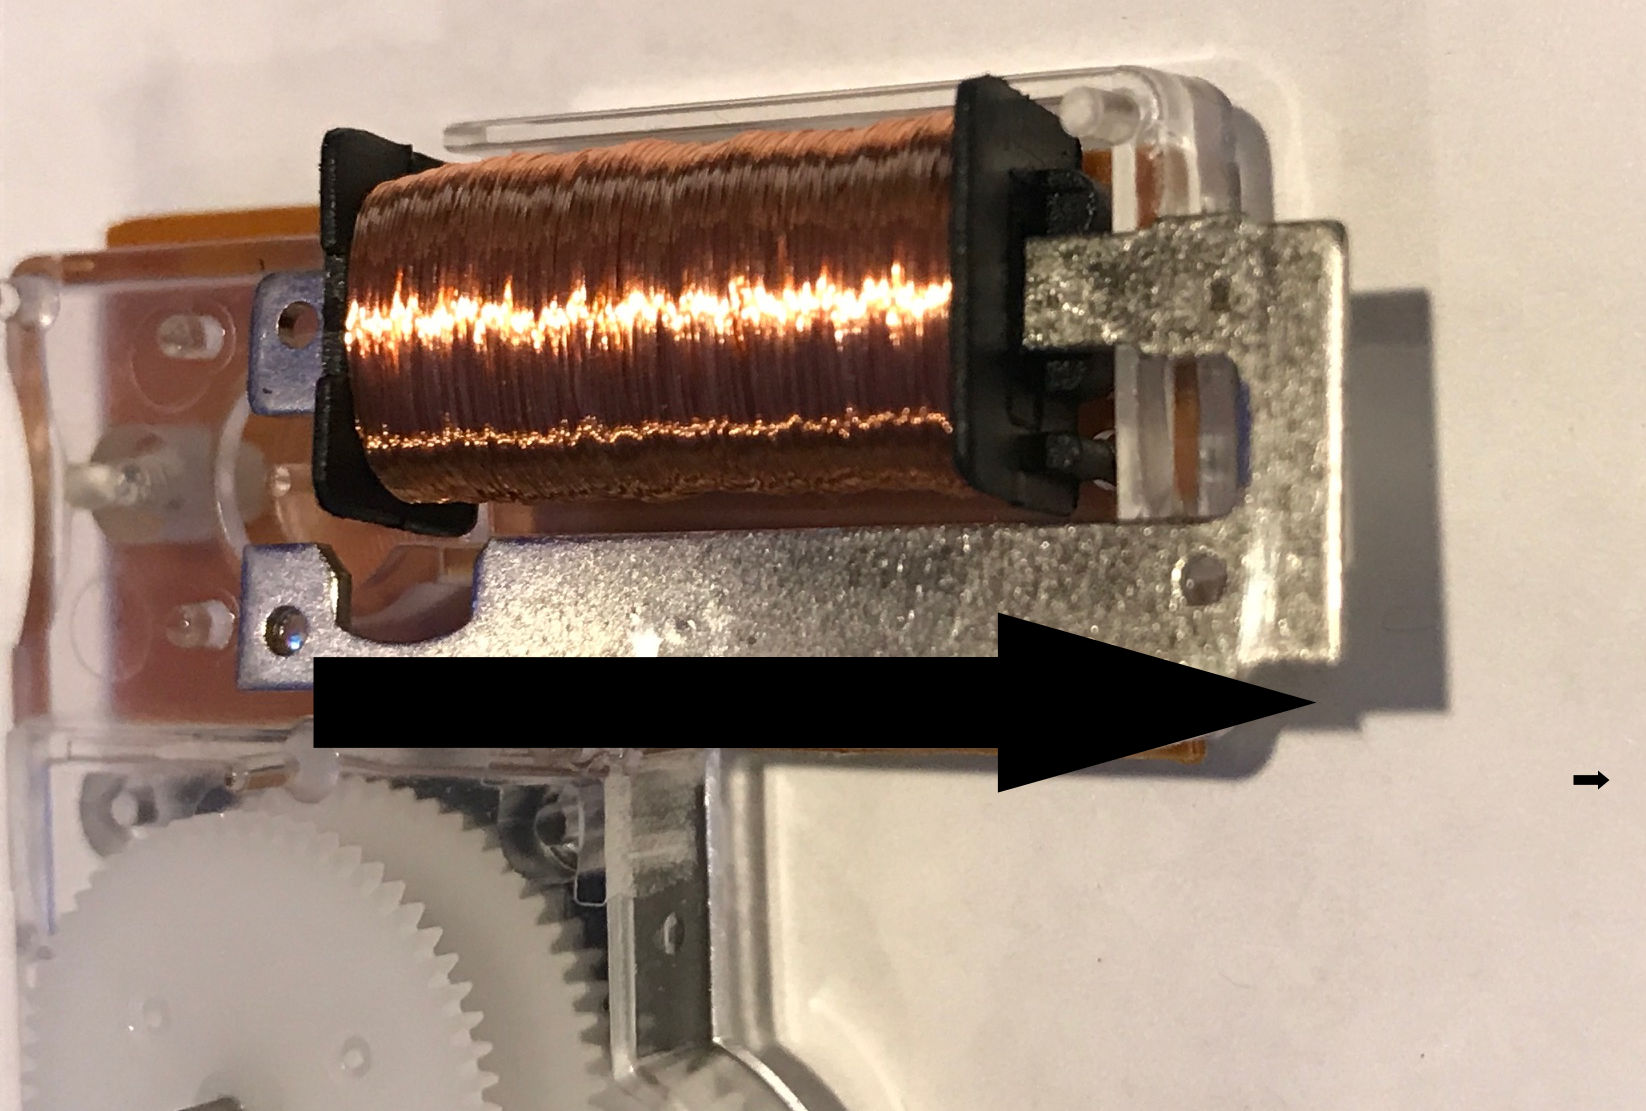
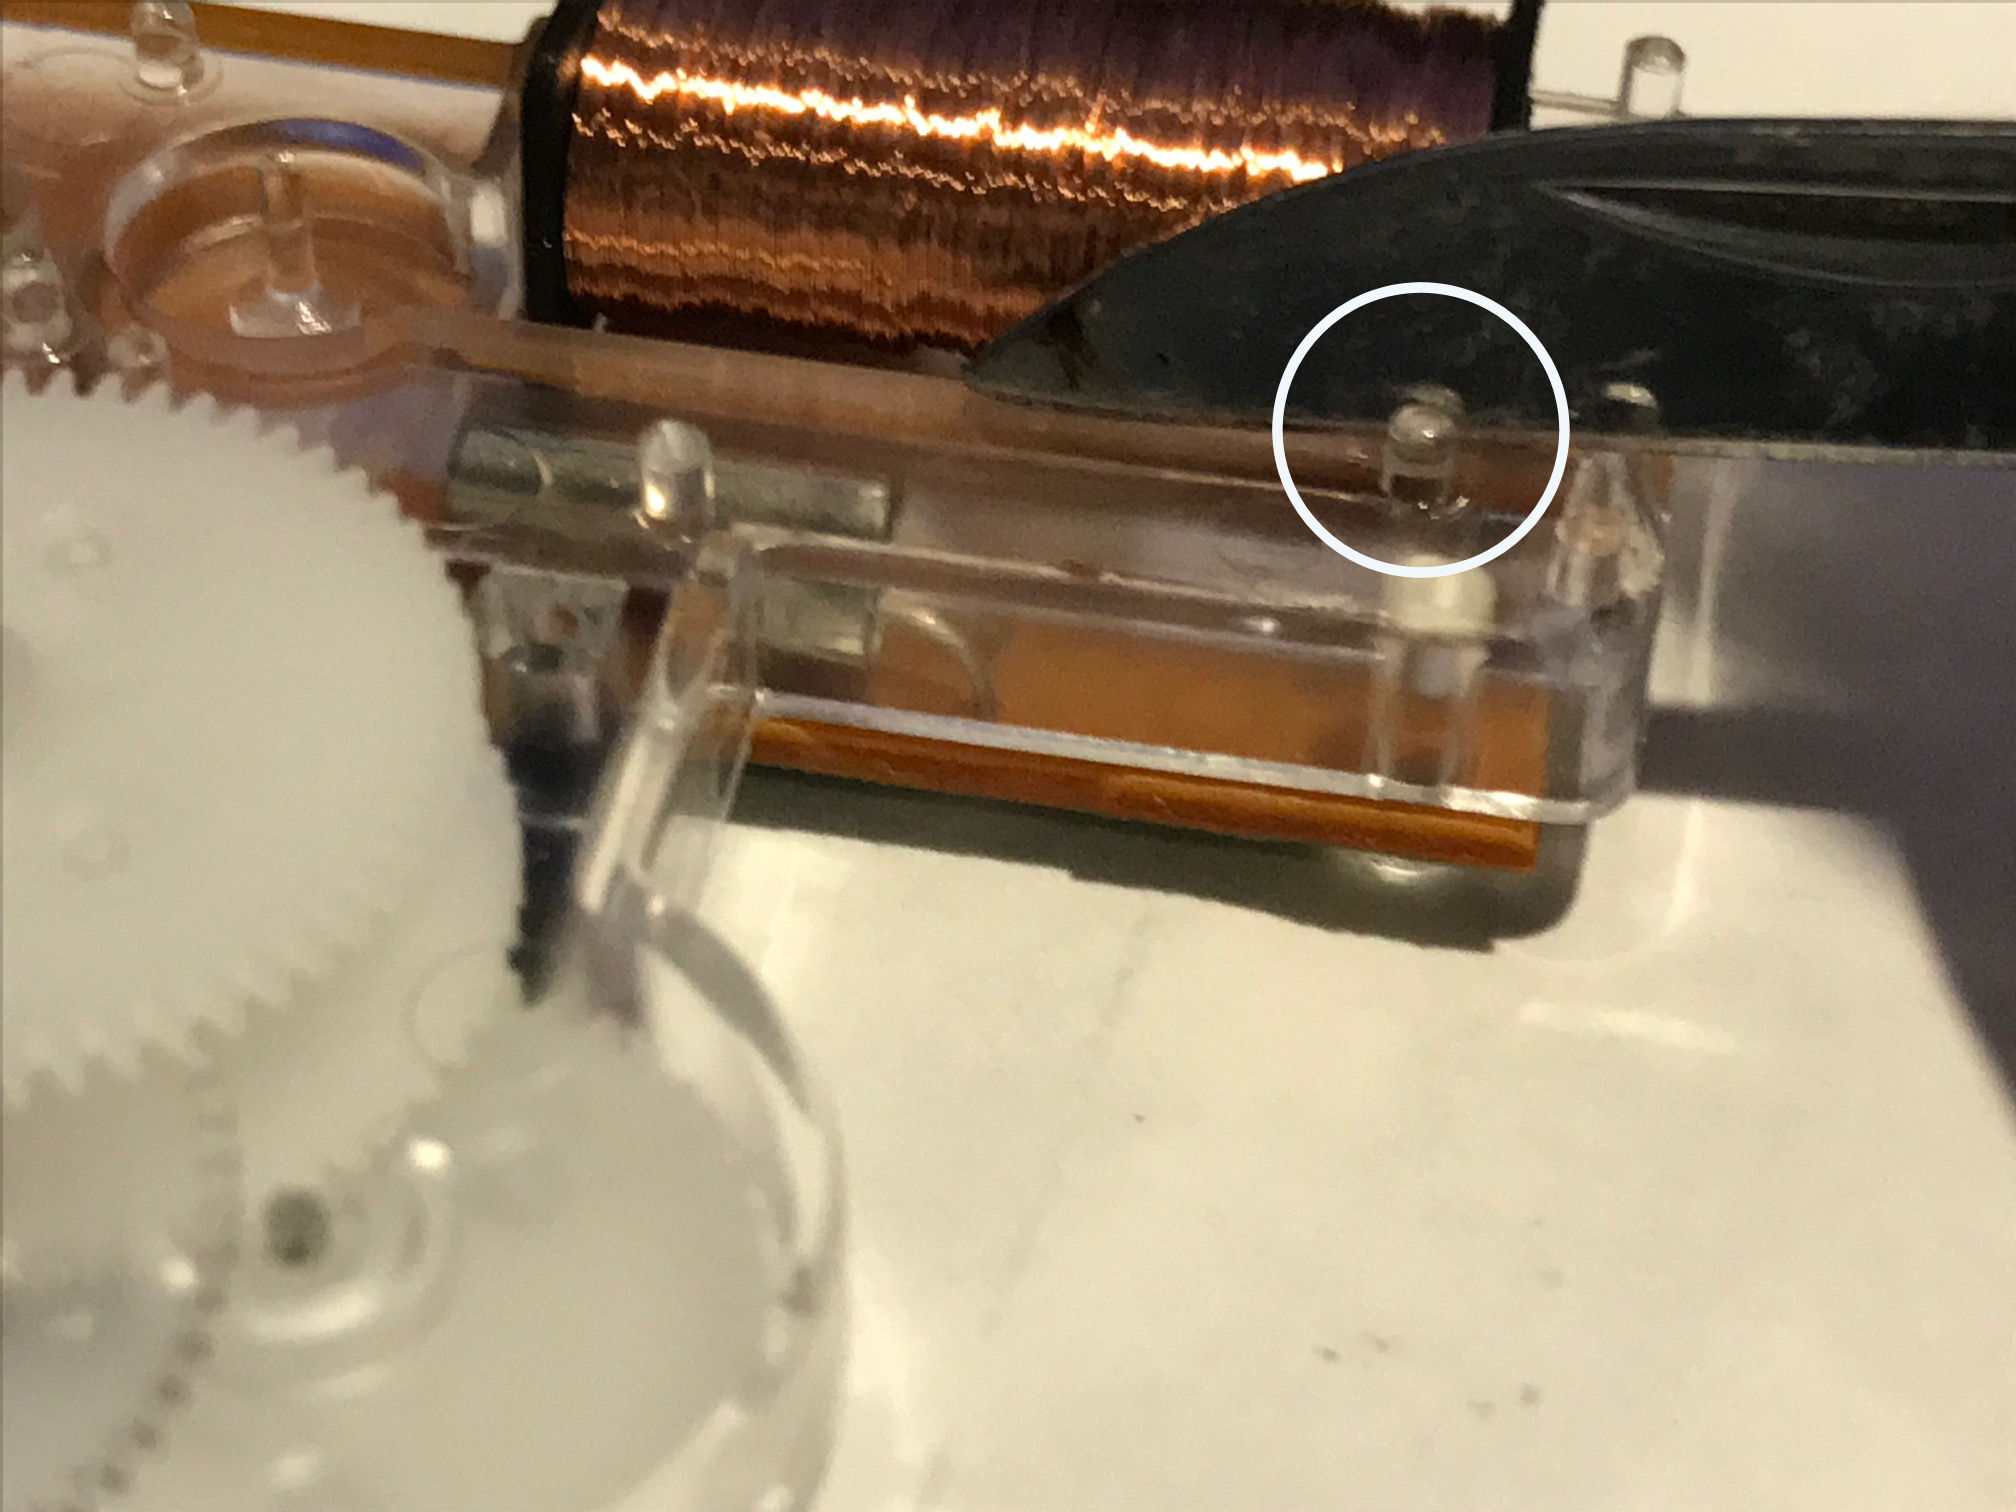
STEP 5 – Remove the “U” magnet
- Next we have to do some fine gentle clock surgery. The small metal “U”
 shaped magnet needs to be removed. There are three plastic tabs holding it in, two in the front and one in the back. Slowly and gently pry the magnet up off its plastic tabs and slide it back removing it completely. You may have to slightly lift the electromagnet coil up from its housing to allow the “U” magnet to clear the back of the case for removal.
 - TIP 1 – The electromagnetic coil is NOT removable, there are very fine wires under the coil that connect to the clocks circuit board. Do not lift the coil more than necessary to remove the “U” magnet.
- TIP 2 – When lifting the “U” magnet off its plastic tabs be sure not to damage the center post where the tiny gear mounts. The post is delicate and can be easily broken.
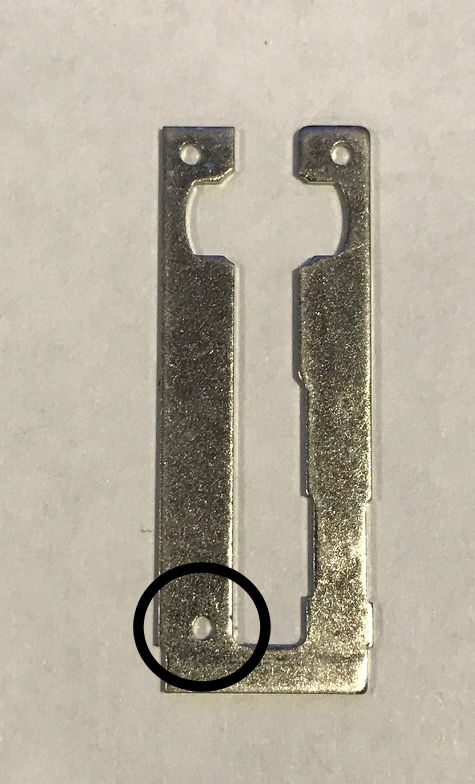
STEP 6 – Remove the plastic tab
- When we reinstall the “U” magnet it will be flipped over and there will be no
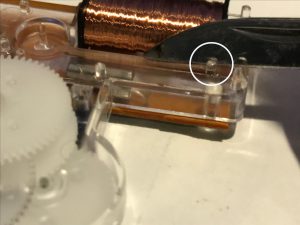 hole for the top most plastic tab. This will prevent the “U” magnet from sitting flush and will cause the clock to malfunction. Use a small knife or exacto blade to remove the plastic tab
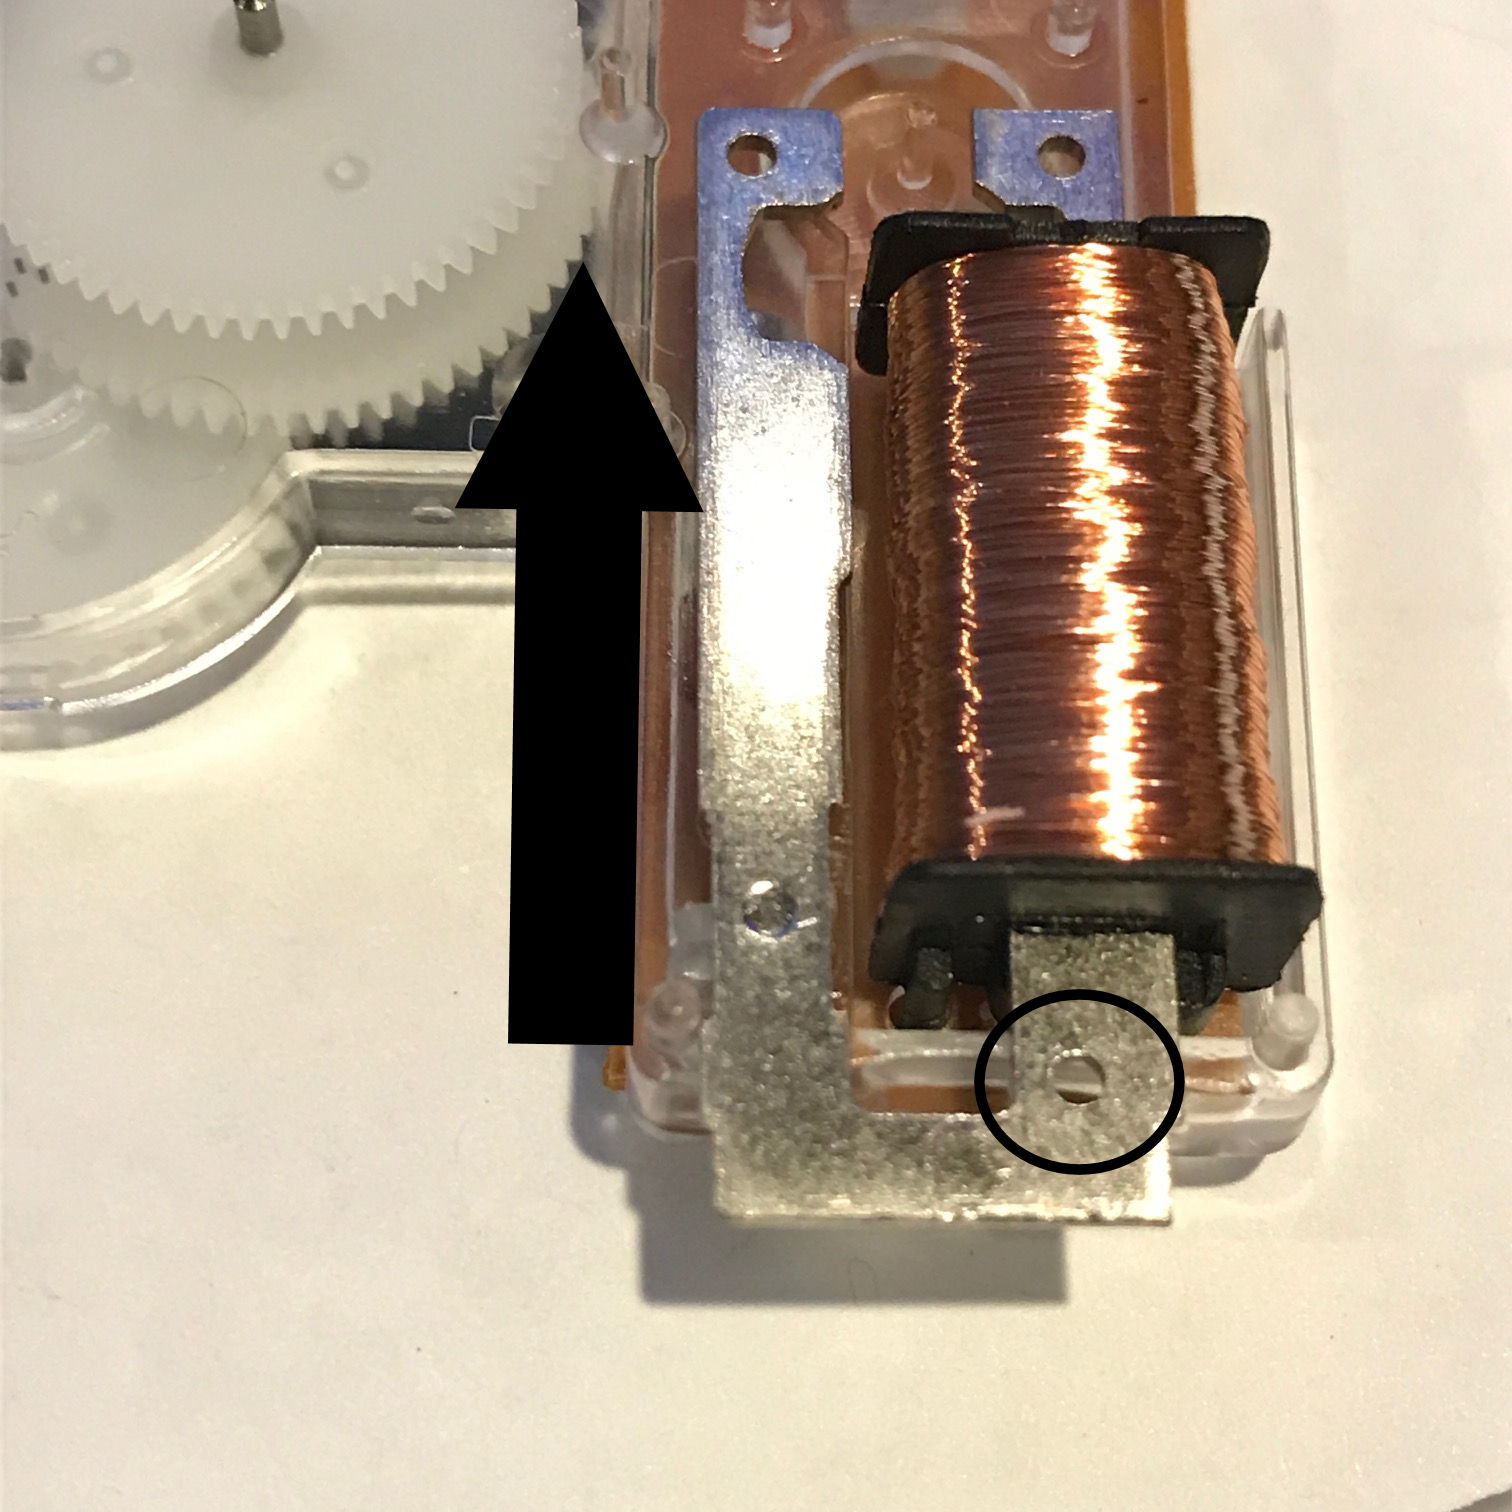
STEP 7 – Reverse the magnet
- We are half way there, now its time to start reassembling the movement. The first step is to reinsert the “U” magnet but you have to flip it over 180deg. Orient it so the small hole on the top is now to the right (will be inserted into the electromagnetic coil). This is the most important step. By inserting the “U” magnet upside down we are reversing the polarity of the magnet (swapping the positive and negative poles) allowing this clock to tick in reverse.
STEP 8 – Replace the gears and cover
- Now we just need to put the movement back together, just slowly and gently reinsert the small magnet gear in the center of the “U” magnet and then add the translucent gear back as well. make sure that both gears are properly seated.
- Take the clear plastic cover and line it up over the clock movement. Note there are some guides and holes for the gears to ride on, make sure the tops of the gears are in the holes and all the plastic tabs line up on each corner, now snap it shut.
- Place the plastic movement back into the black case, double check the battery contacts are inserted correctly and have not moved.
- Place the black plastic cover back on the movement and gently snap back into place.
- Lastly reinstall the black hand adjustment wheel, it simply snaps on.
DONE!
You made it to the bottom of the instructions. Were you able to complete this project? If not I have already done all the work for you.
Pick up a completed counterclockwise movement at my Etsy store $9.99
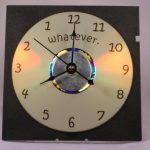
Some examples of backward counterclockwise clocks.

This how to was brought to you by Geek Gear Store
www.geekgearstore.com
Thank you for reading my blog
-Joe