Protect Your Internal Network With A LOW COST Honey Pot

It would appear that more and more companies and home users are becoming victim to bad actors intruding on their network. Weather it be a targeted attack or drive by malware, network security is a hot topic in today’s IT landscape. In this article I will describe how you can build a low cost Honey Pot that can help alert you to an intrusion before its too late.

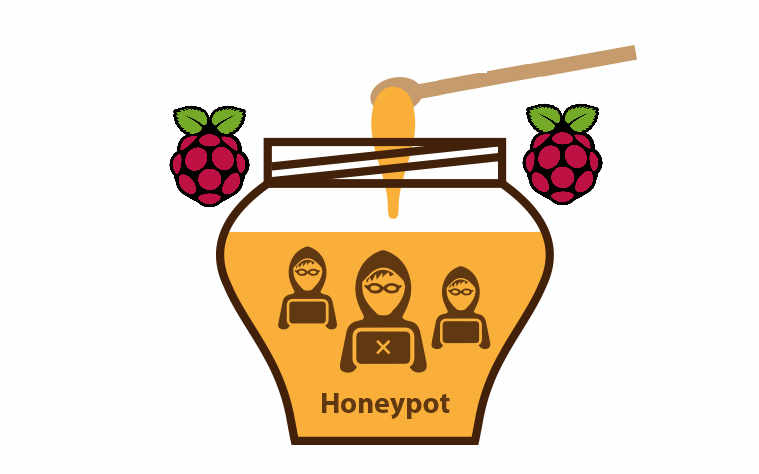
What is a Honey Pot?

In simple terms a Honey Pot is a device  on your network that looks appetizing to a hacker.  Like drawing a bear to a pot of honey. This device will advertise services that appear vulnerable and maybe draw an attacker in for further investigation. At a minimum it can simply be used as an internal “trip wire” to alert you someone poking around.

Why does a honey pot work?

Stop Hackers WIth A Honey PotI’m Joe hacker and I have just installed malware on one of your employees workstations. I have quickly gained access and I am now able to execute code and commands. What is the first thing I’m going to do? If you said start poking around you would be correct. After I look for anything of value on my host computer I will quickly begin scanning the subnet looking for hosts that are alive. I will also begin mapping the network for services that are possibly vulnerable to attack. This is where the Honey Pot fits in. It has been patiently siting on your network waiting for someone to direct a packet of data in its direction and alert you to possible trouble.

I’m in! How much does a honey pot cost?

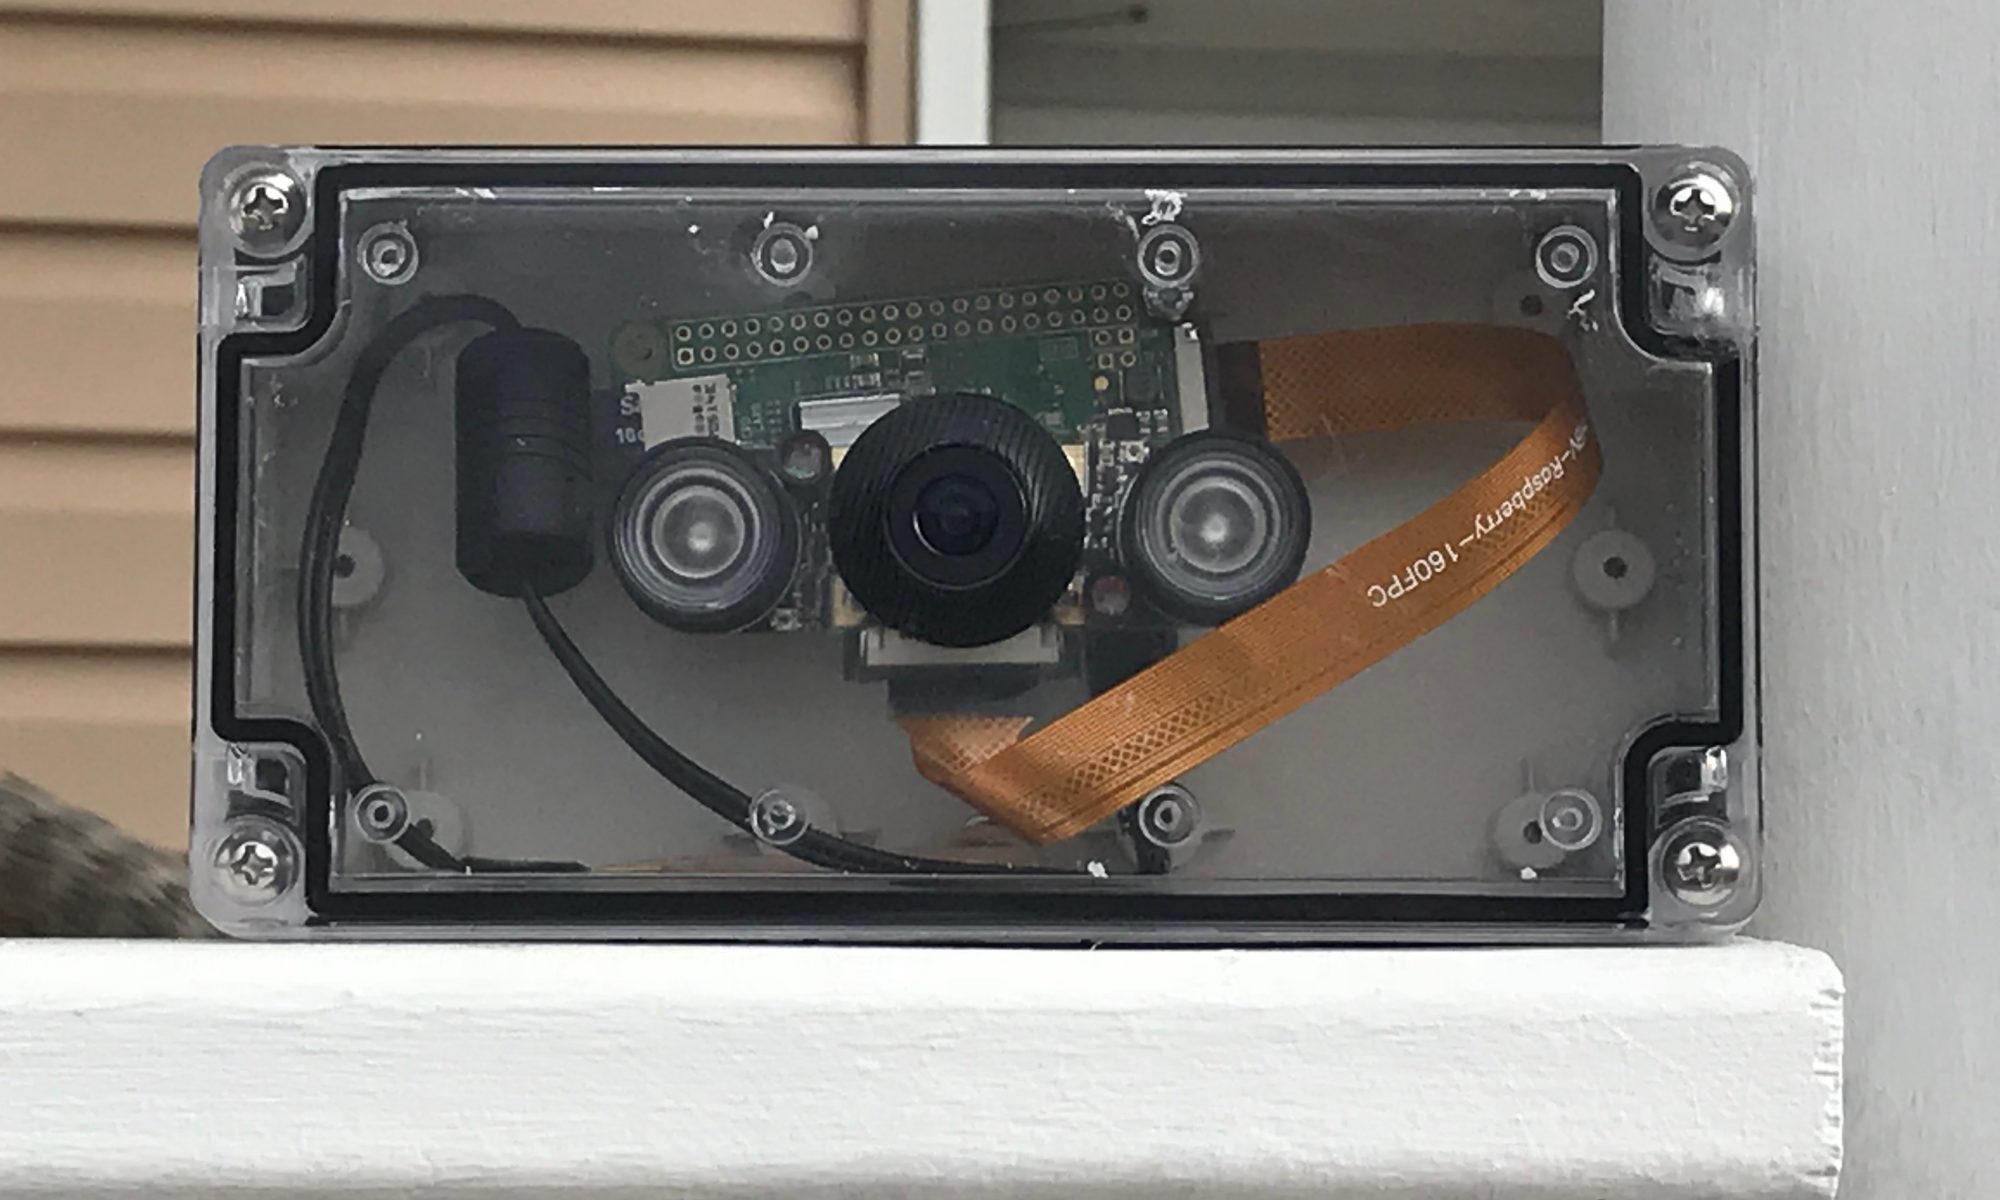
Continue reading “Protect Your Internal Network With A LOW COST Honey Pot”

Cooling your Motioneye Pi Zero Security Camera

Welcome to part two of my post. Previously I spoke about building a security system using a Raspberry Pi Zero and MotioneyeOS. (Read Here) I built and installed the system in February and it was working great.  I even caught some Ass-Hat driving over my lawn and trash (Read Here). I ran into one issue with this system. Once Summer was here and the outside temperatures hit 90° (32°c) The processor temperature of the Pi Zero was topping 161° (72°C) and lack of cooling was causing my Pi Zeros to crash

According to the Raspberry Pi foundation the boards are specked to approach 80°C but mine were failing in the mid 70’s. So now to work on a solution.

How to cool your outdoor Motioneye camera

My first attempt was an obvious one – Paint the camera white.
The waterproof boxes I was using to house the camera had a clear cover. To reduce the amount of sunlight, I simply painted the box white

Painting the box was helpful and kept the system cooler , but it still wasn’t enough.  The next step was to vent the box simply by drilling a few small holes at the bottom. I know this compromises my “waterproof” concept, but I am hedging my bets if any rain water was to enter the box, it would remain at the bottom and not touch the electronics.

Still not good enough! I want to add a fan, but I only want the fan to run when the CPU hits a specific temperature. There is no need to run the fan on cool nights or during the winter. So I decided to use the GPIO pins on the PI Zero to control the fan.

Controlling the cooling fan via GPIO pins

Parts List

  • 5 Volt cooling fan
  • 1 NPN Transistor
  • 1 1KΩ Resistor (or equivalent)
  • Small breadboard
  • Soldering iron / solder
How to assemble

Its probably not a good idea to connect a fan directly to one of the GPIO pins, so I used a simple transistor and resistor to help limit the current being drawn via the pin

Continue reading “Cooling your Motioneye Pi Zero Security Camera”

Motioneye Raspberry Pi Zero Security System

Camera systems are so inexpensive these days that it may make sense to purchase a Zmodo or Arlo system from Amazon and call it a day. What fun would that be? I love making little electronic projects and then improving on them as I go. Rather than install a pre-packaged surveillance system, motioneye here we come.

My system consists of four Raspberry Pi units running MotioneyeOS. Three of the four units are Pi Zeros that are my actual cameras, and the fourth is a Pi 3 that aggregates the feeds to one central monitoring station. The benefit of this is there is only one IP/domain that needs to be accessed in order to monitor all the cameras on my system. Continue reading “Motioneye Raspberry Pi Zero Security System”

Build Your Own Google Home Assistant – Google AIY & Raspberry Pi

As a huge fan of the Raspberry Pi, I’m always looking for cool new projects to try. Google had released a free hardware kit with Issue 57 of the MagPi magazine. The kit included a Pi Voice Hat, a microphone board, speaker, a “traditional google” card board case and various bits to put it all together. Apparently this is Google’s answer the Raspberry Pi Amazon Echo that was released last year.

If you were lucky enough to get your hands on the kit, I hope you put it to good use. They were in limited supply and are sold out at this point. Maybe they will make another run and sell them in the Google store?

If you still want to try this project with out the kit you can! Google has published instructions.

Supplies you will need


Raspberry Pi 3 Model B and power supply

Continue reading “Build Your Own Google Home Assistant – Google AIY & Raspberry Pi”

Turn On Your “Pi Hole” and say hello ad blocking on all your devices!

We are bombarded with Internet advertisements all day long. They have become such a part of the landscape most of us don’t even notice them anymore, let alone click on them. Marketers have become ever more clever to get noticed on both our desktops and mobile devices. This is when the advertisements become obnoxious! Pop-ups, video ads with auto-play, even adds on our mobile devices that are ridiculously intrusive and  hide the “X” to exit.

Enough is enough already!

This is where Pi Hole fits in! What is a Pi Hole you say? Think of the Pi Hole as an open source advertisement blocking network appliance for your entire home.  The developers of the Pi Hole software found an easy way to block most advertisements from displaying on all your devices. When you boil it down the Pi Hole is simply a DNS black list joined with the inexpensive Raspberry Pi computer. Continue reading “Turn On Your “Pi Hole” and say hello ad blocking on all your devices!”

How To Partially Cut The Cord With HDHR by Silicon Dust (Part 2 of 2)

In my previous post  “How To Partially Cut The Cord Part 1″ I explained the ease of reducing your cable bill by purchasing an HD Home Run from Silicon Dust. I have been a huge fan of their tuners for the last 10 years and in this post I’m going to give you an idea of how my setup works.

I am a Verizon Fios customer and subscribe to one of their silver packages. I have two HD Home Runs. The first is a dual tuner HDHR Connect $93.00 at Amazon and the second is an HDHR Prime $119 at Amazon.

TUNE IN – My tuners:
The HDHR Connect will allow you to tune 2 channels of unencrypted QAM or over the air digital TV. I am lucky since FIOS has all OTA channels in clear QAM on their line. The HDHR Prime has a Verizon supplied cable card (mcard) installed for $5.00/per month and can tune 3 channels of encrypted signals. This gives me a total of 5 tuners to play with.

WATCHING TV – Live:
Once the HDHR tuners are setup on your home network, you can easily stream HD content to a ton of devices. I have tested mine with a Windows 7 & Windows 10 pc, Android tablet, XBOX One, Amazon Fire Stick, and a Raspberry Pi 3 running Kodi. All are able to keep up with HD content over my wireless N network. Continue reading “How To Partially Cut The Cord With HDHR by Silicon Dust (Part 2 of 2)”