

Camera systems are so inexpensive these days that it may make sense to purchase a Zmodo or Arlo system from Amazon and call it a day. What fun would that be? I love making little electronic projects and then improving on them as I go. Rather than install a pre-packaged surveillance system, motioneye here we come.
My system consists of four Raspberry Pi units running MotioneyeOS. Three of the four units are Pi Zeros that are my actual cameras, and the fourth is a Pi 3 that aggregates the feeds to one central monitoring station. The benefit of this is there is only one IP/domain that needs to be accessed in order to monitor all the cameras on my system.
Here is my parts list
some parts were purchased new,
others salvaged from junk
- Raspberry Pi Zero W – The zero is supposed to have a $10 price point and is
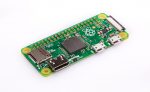 sometimes tough to get! My local Micro Center had the boards for $10, however if you like Amazon here’s a link for a $27 kit – Amazon Pi Zero
 - Raspberry Pi 3 (optional) – This is optional as I am using mine to pull all the camera feeds to one dashboard rather than have to view
 each camera IP individually. The Pi 3 runs $40 on Amazon A kit with all the accessories runs $50 or more. I personally like Cana Kits
 - Camera module w/ night vision – You’re going to need a
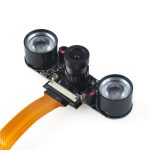 camera to make this project work. I have tested both native Raspberry Pi cameras and USB based cameras. Both which work well. However since this project is designed for outdoor use, I went with this camera which also comes with infrared night vision. $25 at Amazon
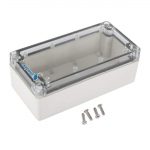
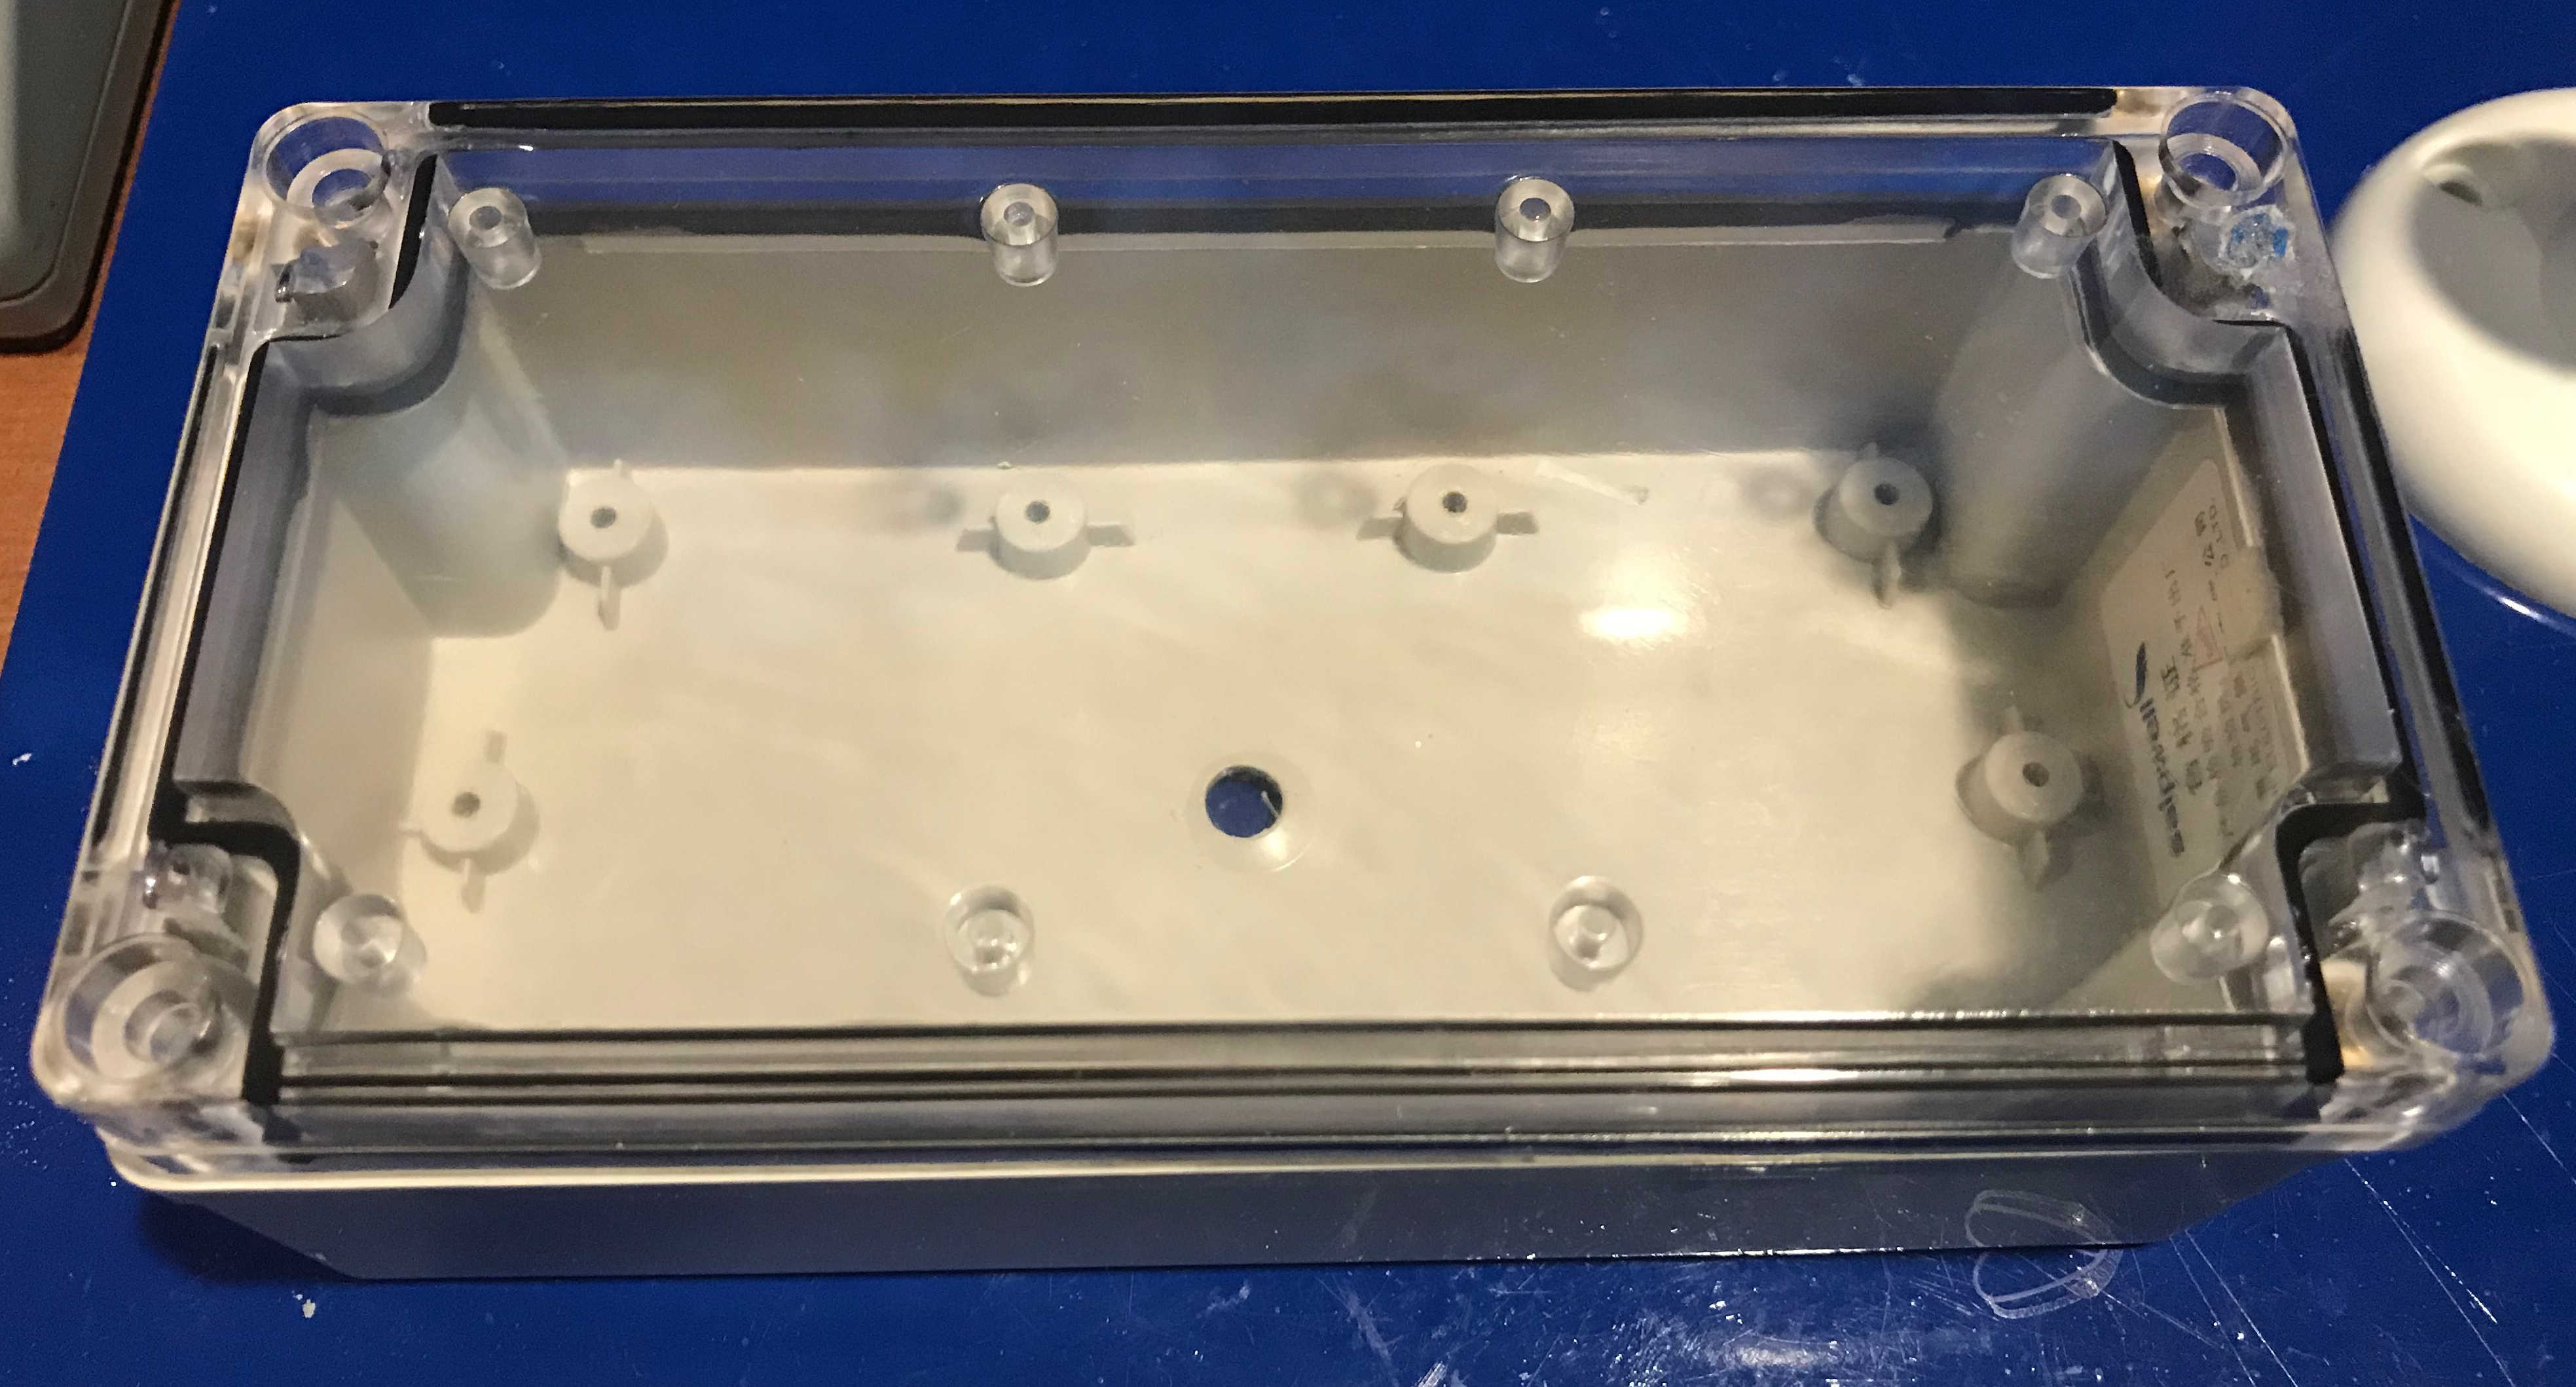
- I wanted to keep each camera as weather proof as possible. I went with a 3.2″ x 6.3″ x 2.2″ water proof electrical box from saipwell. $12 at Amazon
Its the size of a brick. I’m sure I could have made it a bit smaller, but I like this size for ease of fitting all the parts and heat disapation.
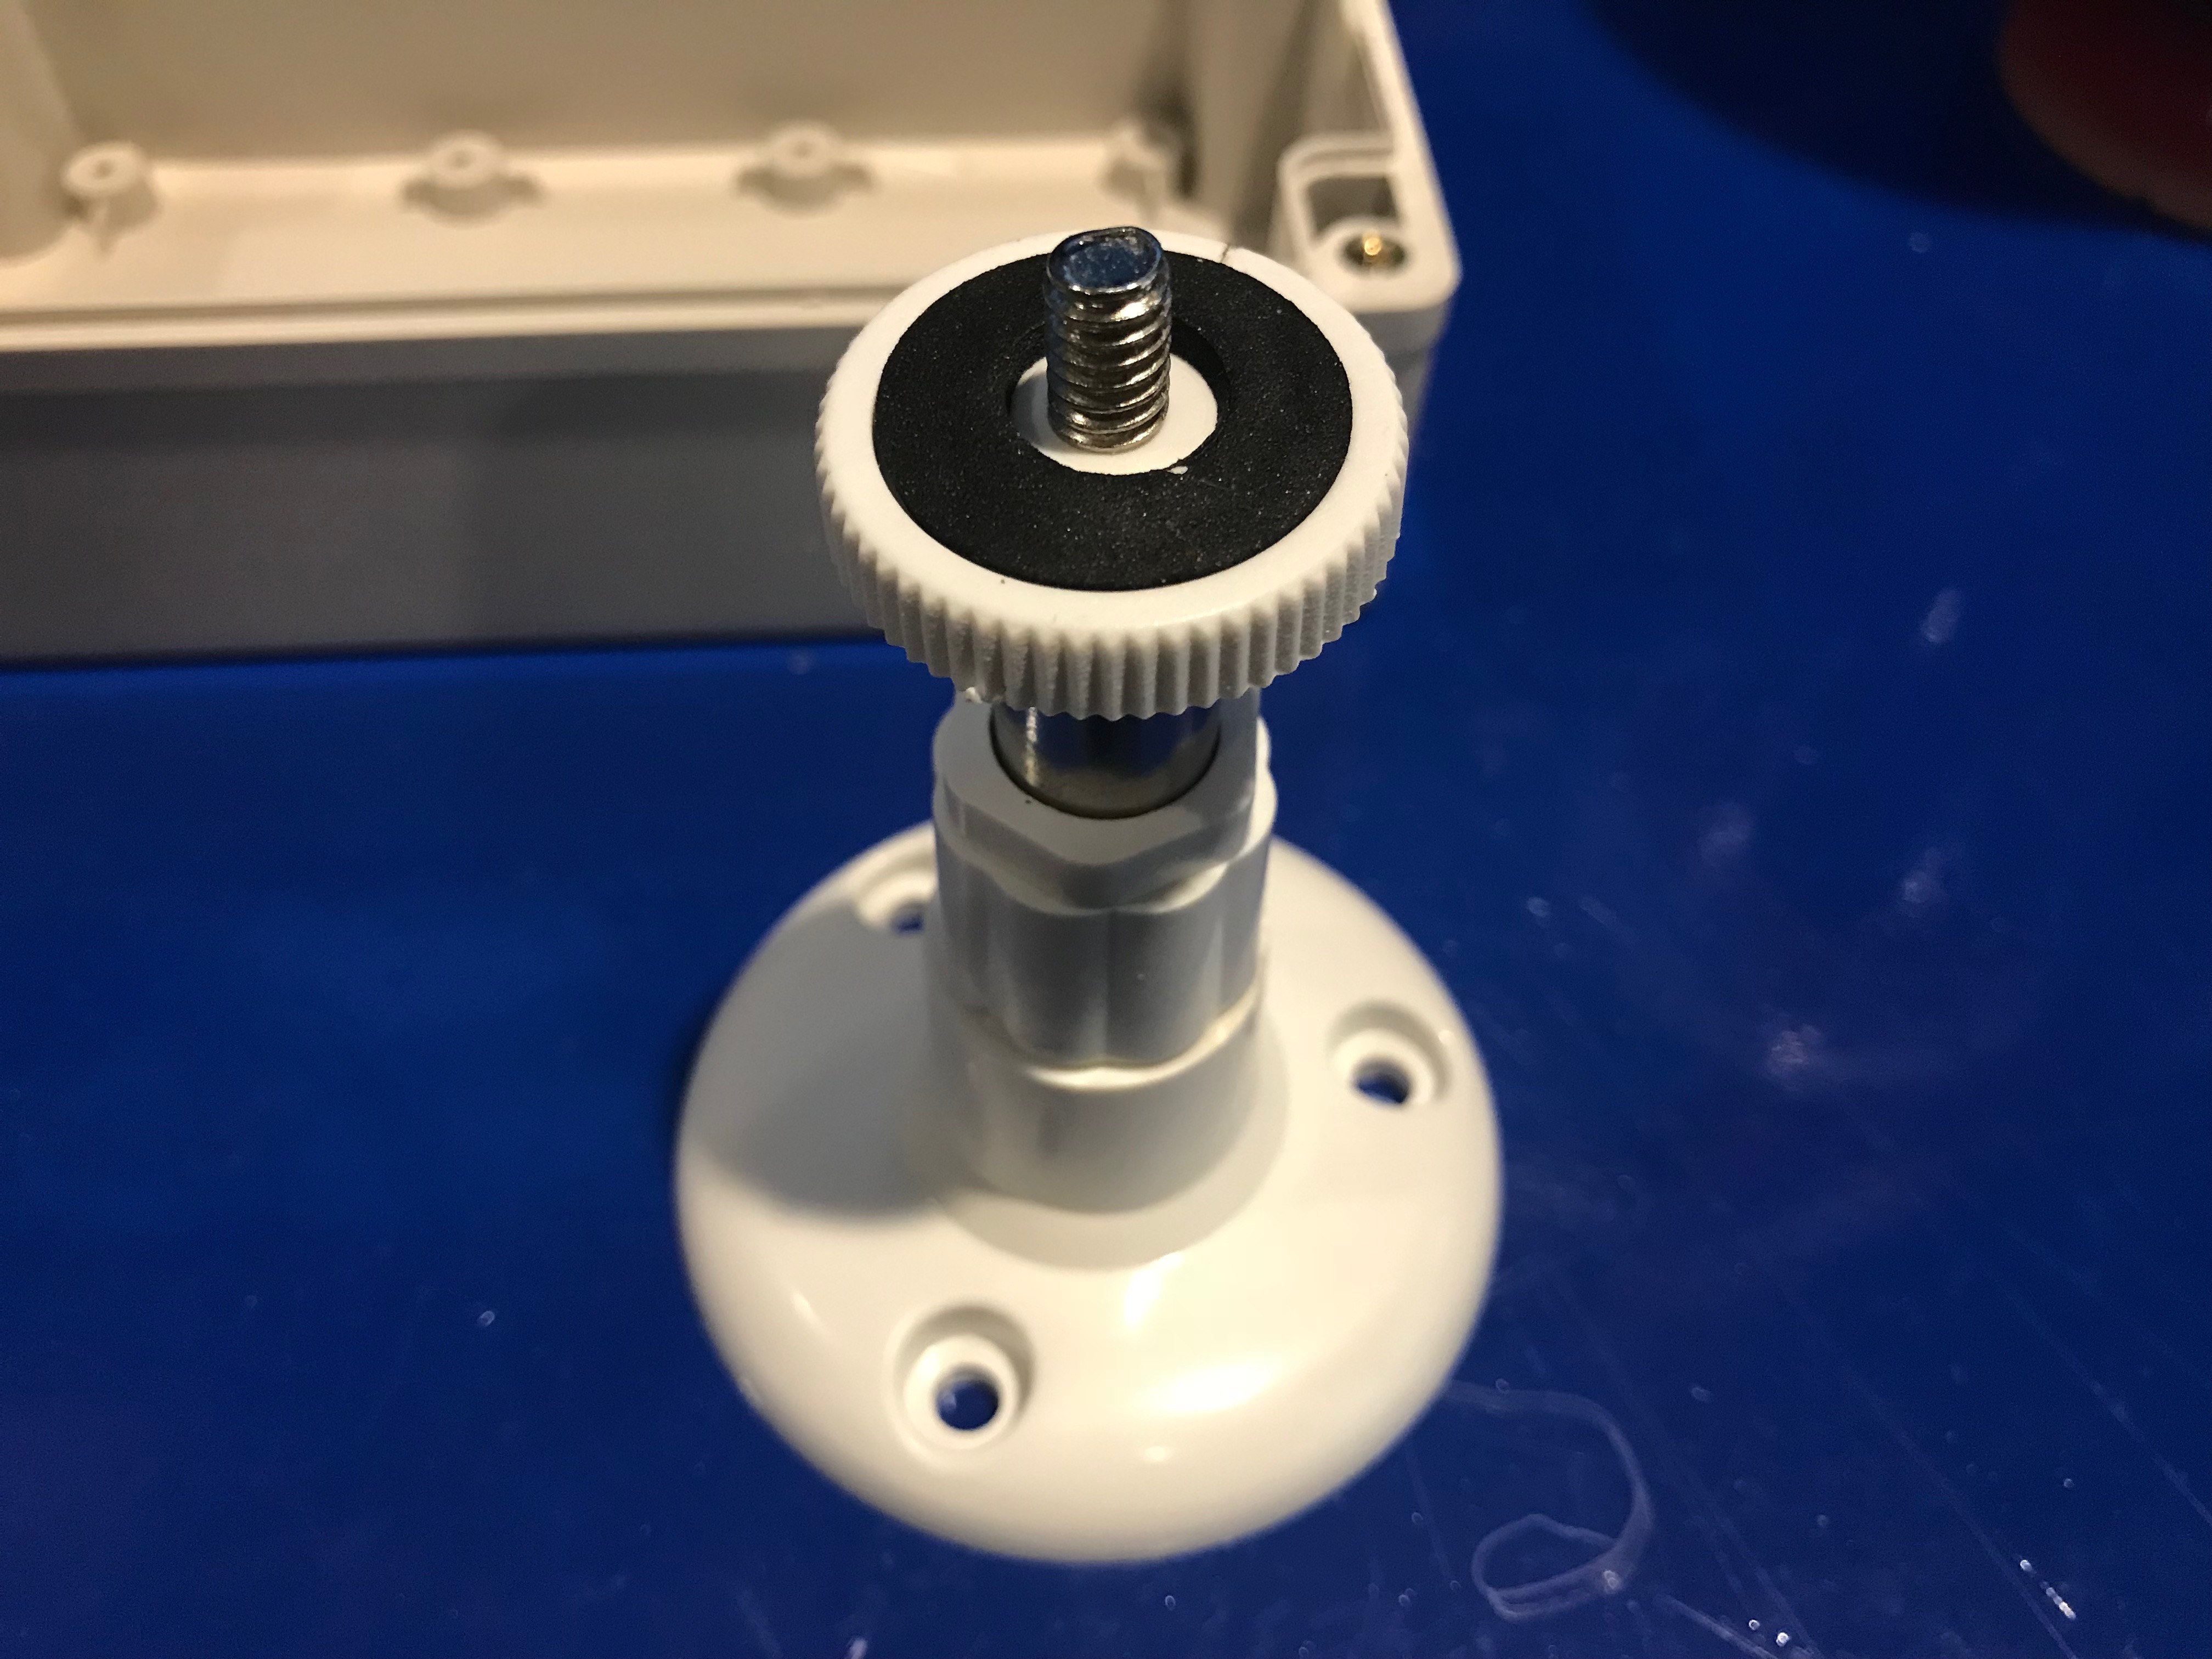
- How do you mount this thing to the house? I found some low cost plastic wall mounts only $8 for two! Let see how long they last. Aitee wall mount $8.00
- Other odd’s and ends..
- Power connectors (5 MM Male and Femal)
- Micro USB cable
- Double sided foam tape.
How to get it working!
There are two ways to set up motioneye on your Raspberry Pi. The first is to setup your favorite variant of Linux on the Pi and then install MotioneyeOS or simply download a MotioneyeOS image. I went with the Motioneye OS image. Releases can be found here – https://github.com/ccrisan/motioneyeos/releases If you are using a Windows PC to set things up you will need to FLASH the SD card with the image. I found Etcher does a really nice job – https://etcher.io/
*TIP – If you are not going to hook the Pi Zero up to a wired Ethernet connection you are going to have to edit a configuration file with your WiFi information before first boot. If you don’t the motioneyeos will be in a continuous boot loop. Click here for info to preconfigure the WiFi settings
You have already installed the OS using Etcher, and have followed the instructions to configure the WiFi before your fist boot. Now you should be able to boot and login to Motioneye.
*TIP I recommend having an HDMI monitor on hand to connect to the Pi Zero so you can see exactly whats going on. It will also show you what IP address the board pulled if you have DHCP enabled. I recommend setting a static ip address.
Motioneye has tons of settings to play with. Frame rate, resolution, motion alerts, and more can be configured. There are a number of sites on the internet that can help you tweak the settings. Google is your friend.
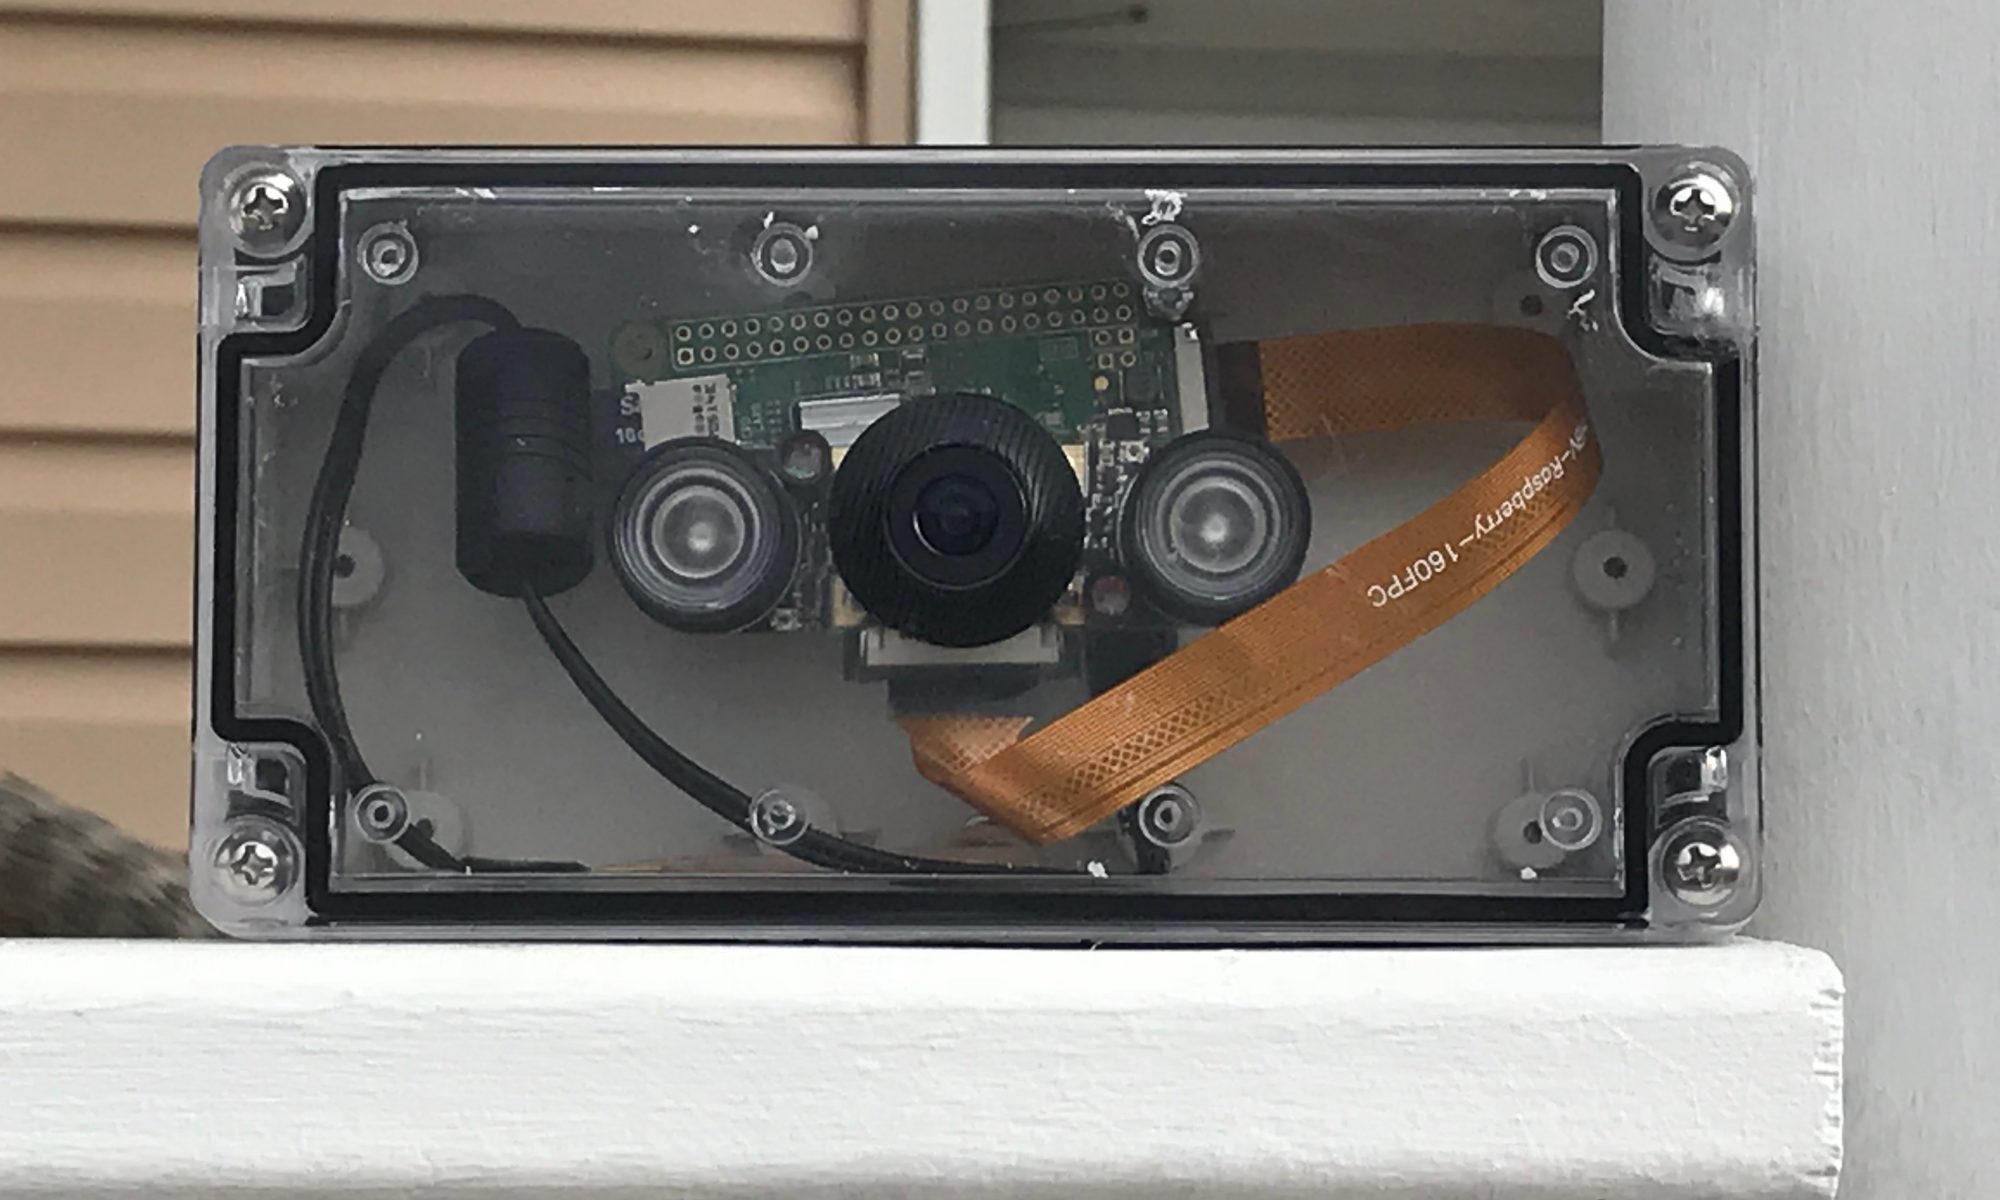
How I assembled my unit
I prepared the project box by drilling a hole in the center rear and attaching the mounting stand.
 I then attached the mounting hardware from behind and held in place with a nut.
 Next the Pi Zero was mounted
 On the cover of the box a hole was drilled and the camera was mounted using a rubber washer.
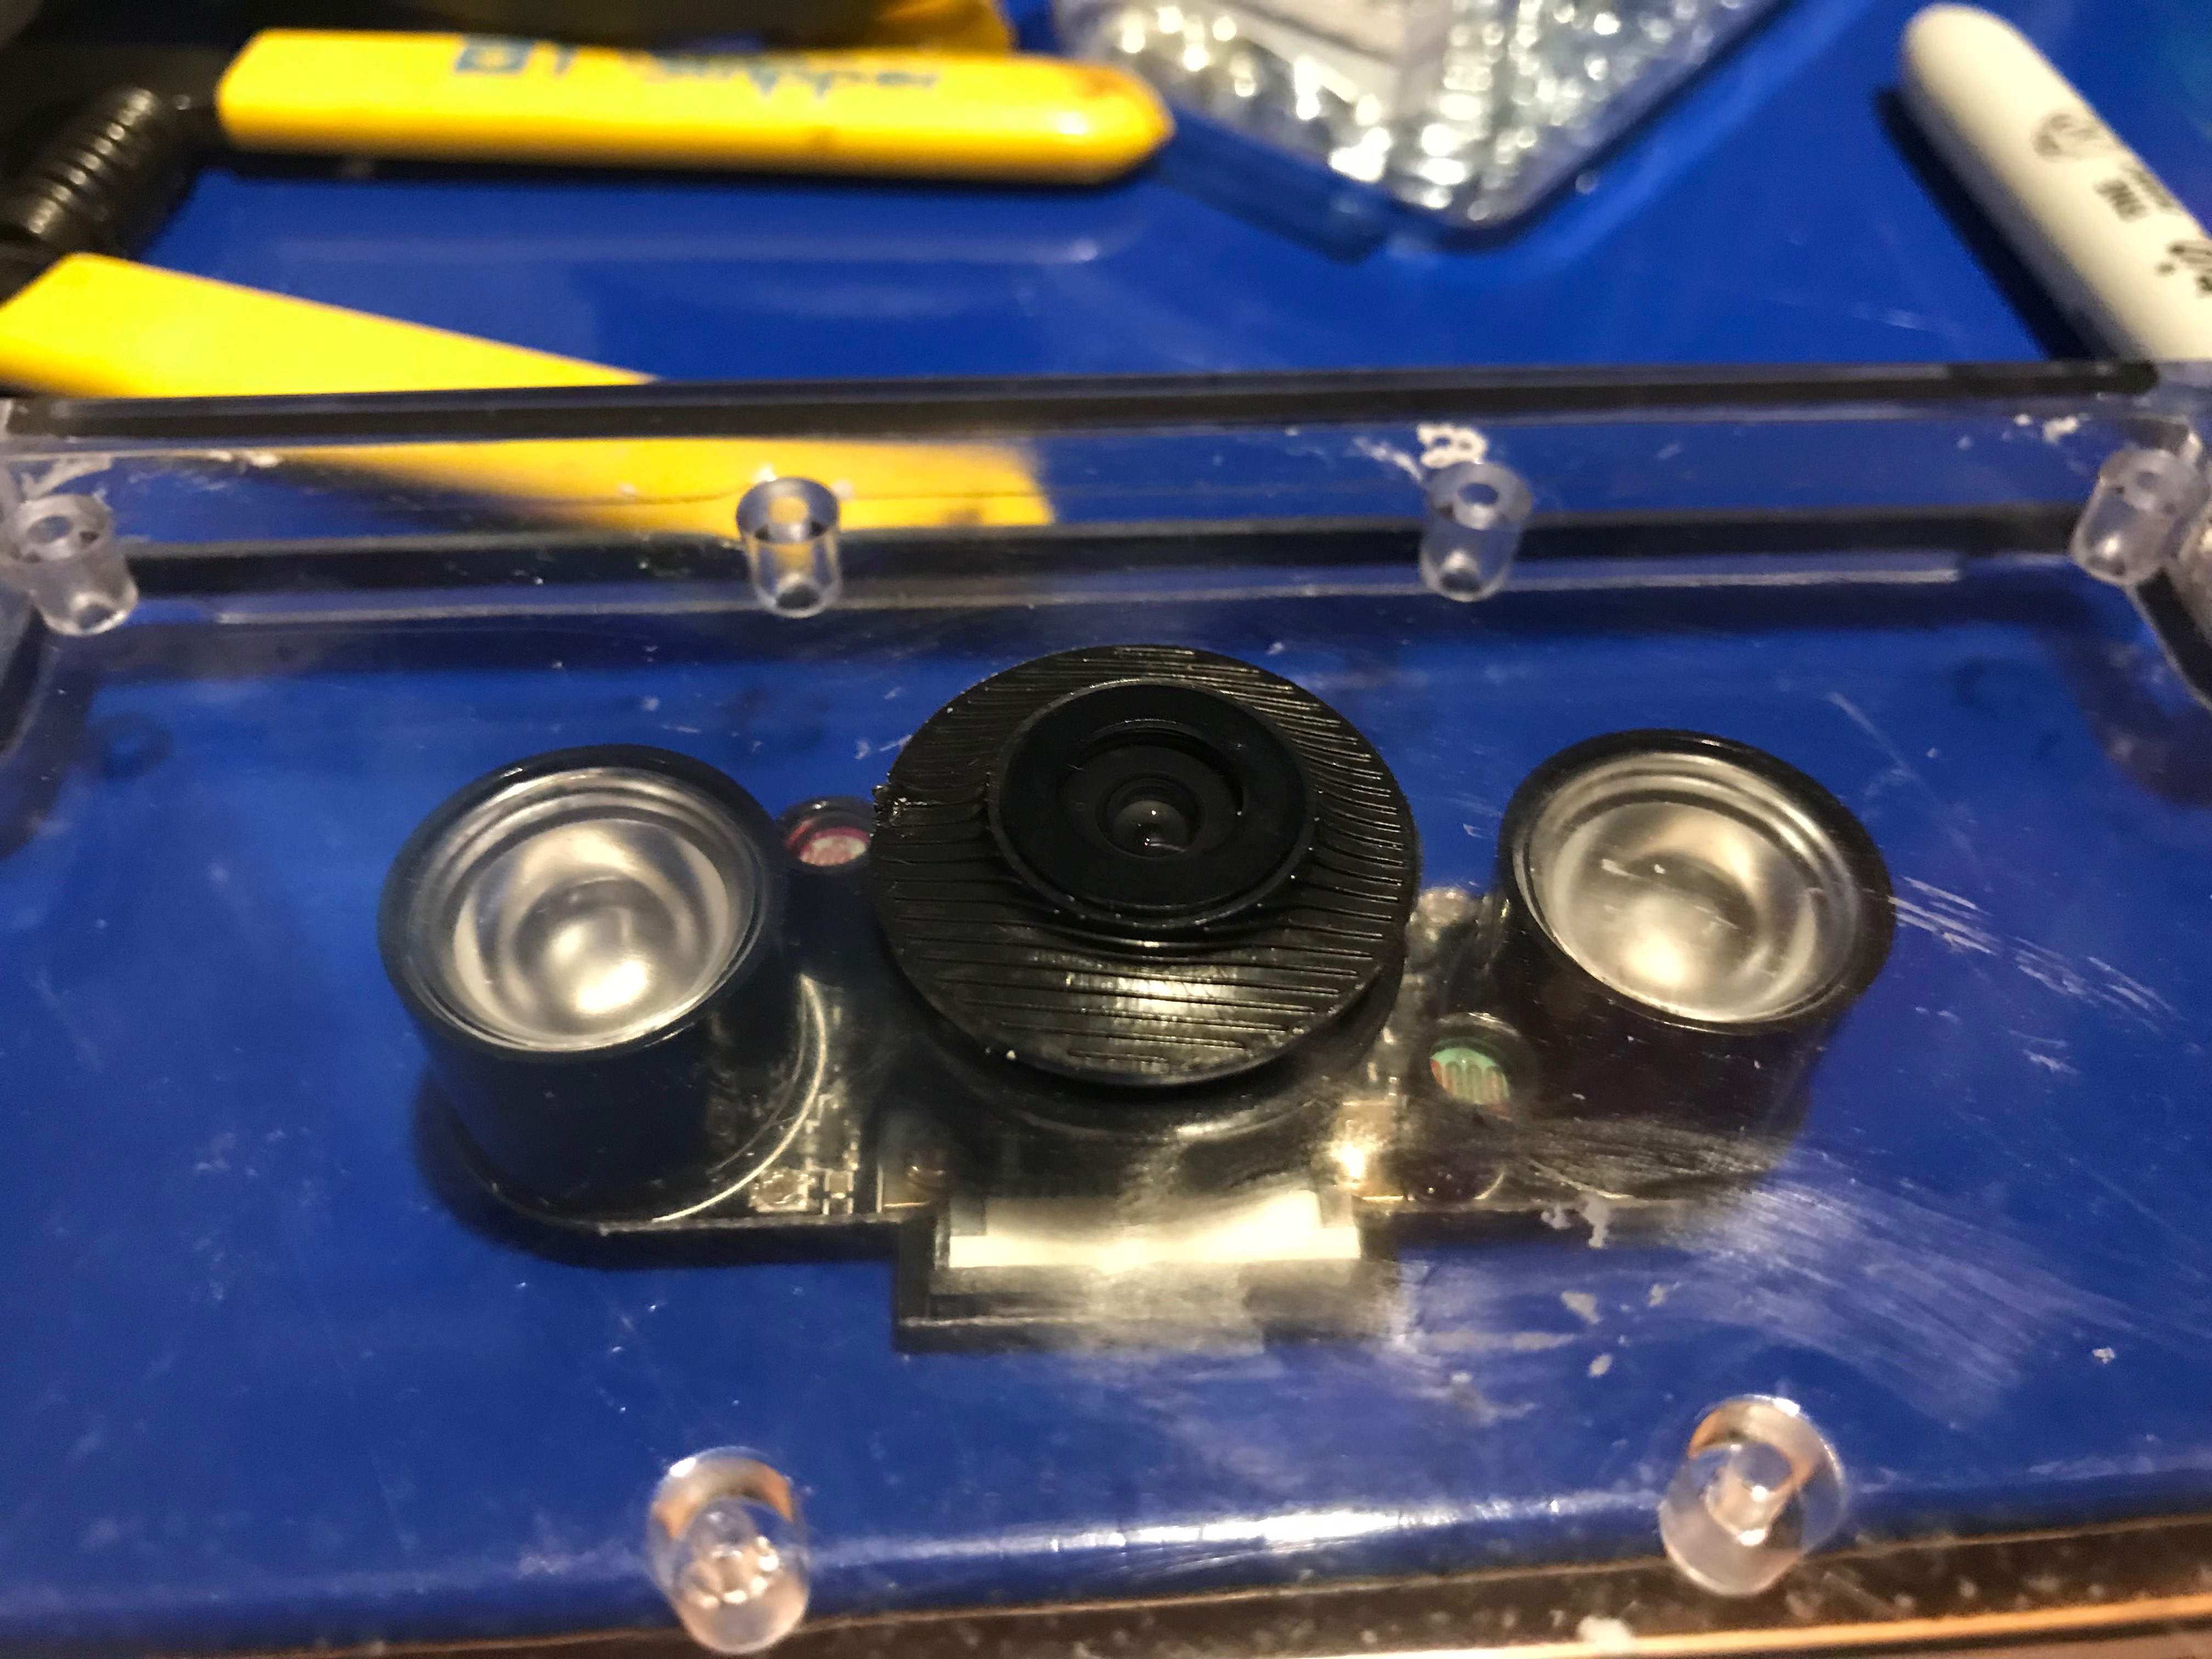 Finally a 5MM barrel connector was used to bring 5V @ 1.5amp in to the unit Assembly was complete!
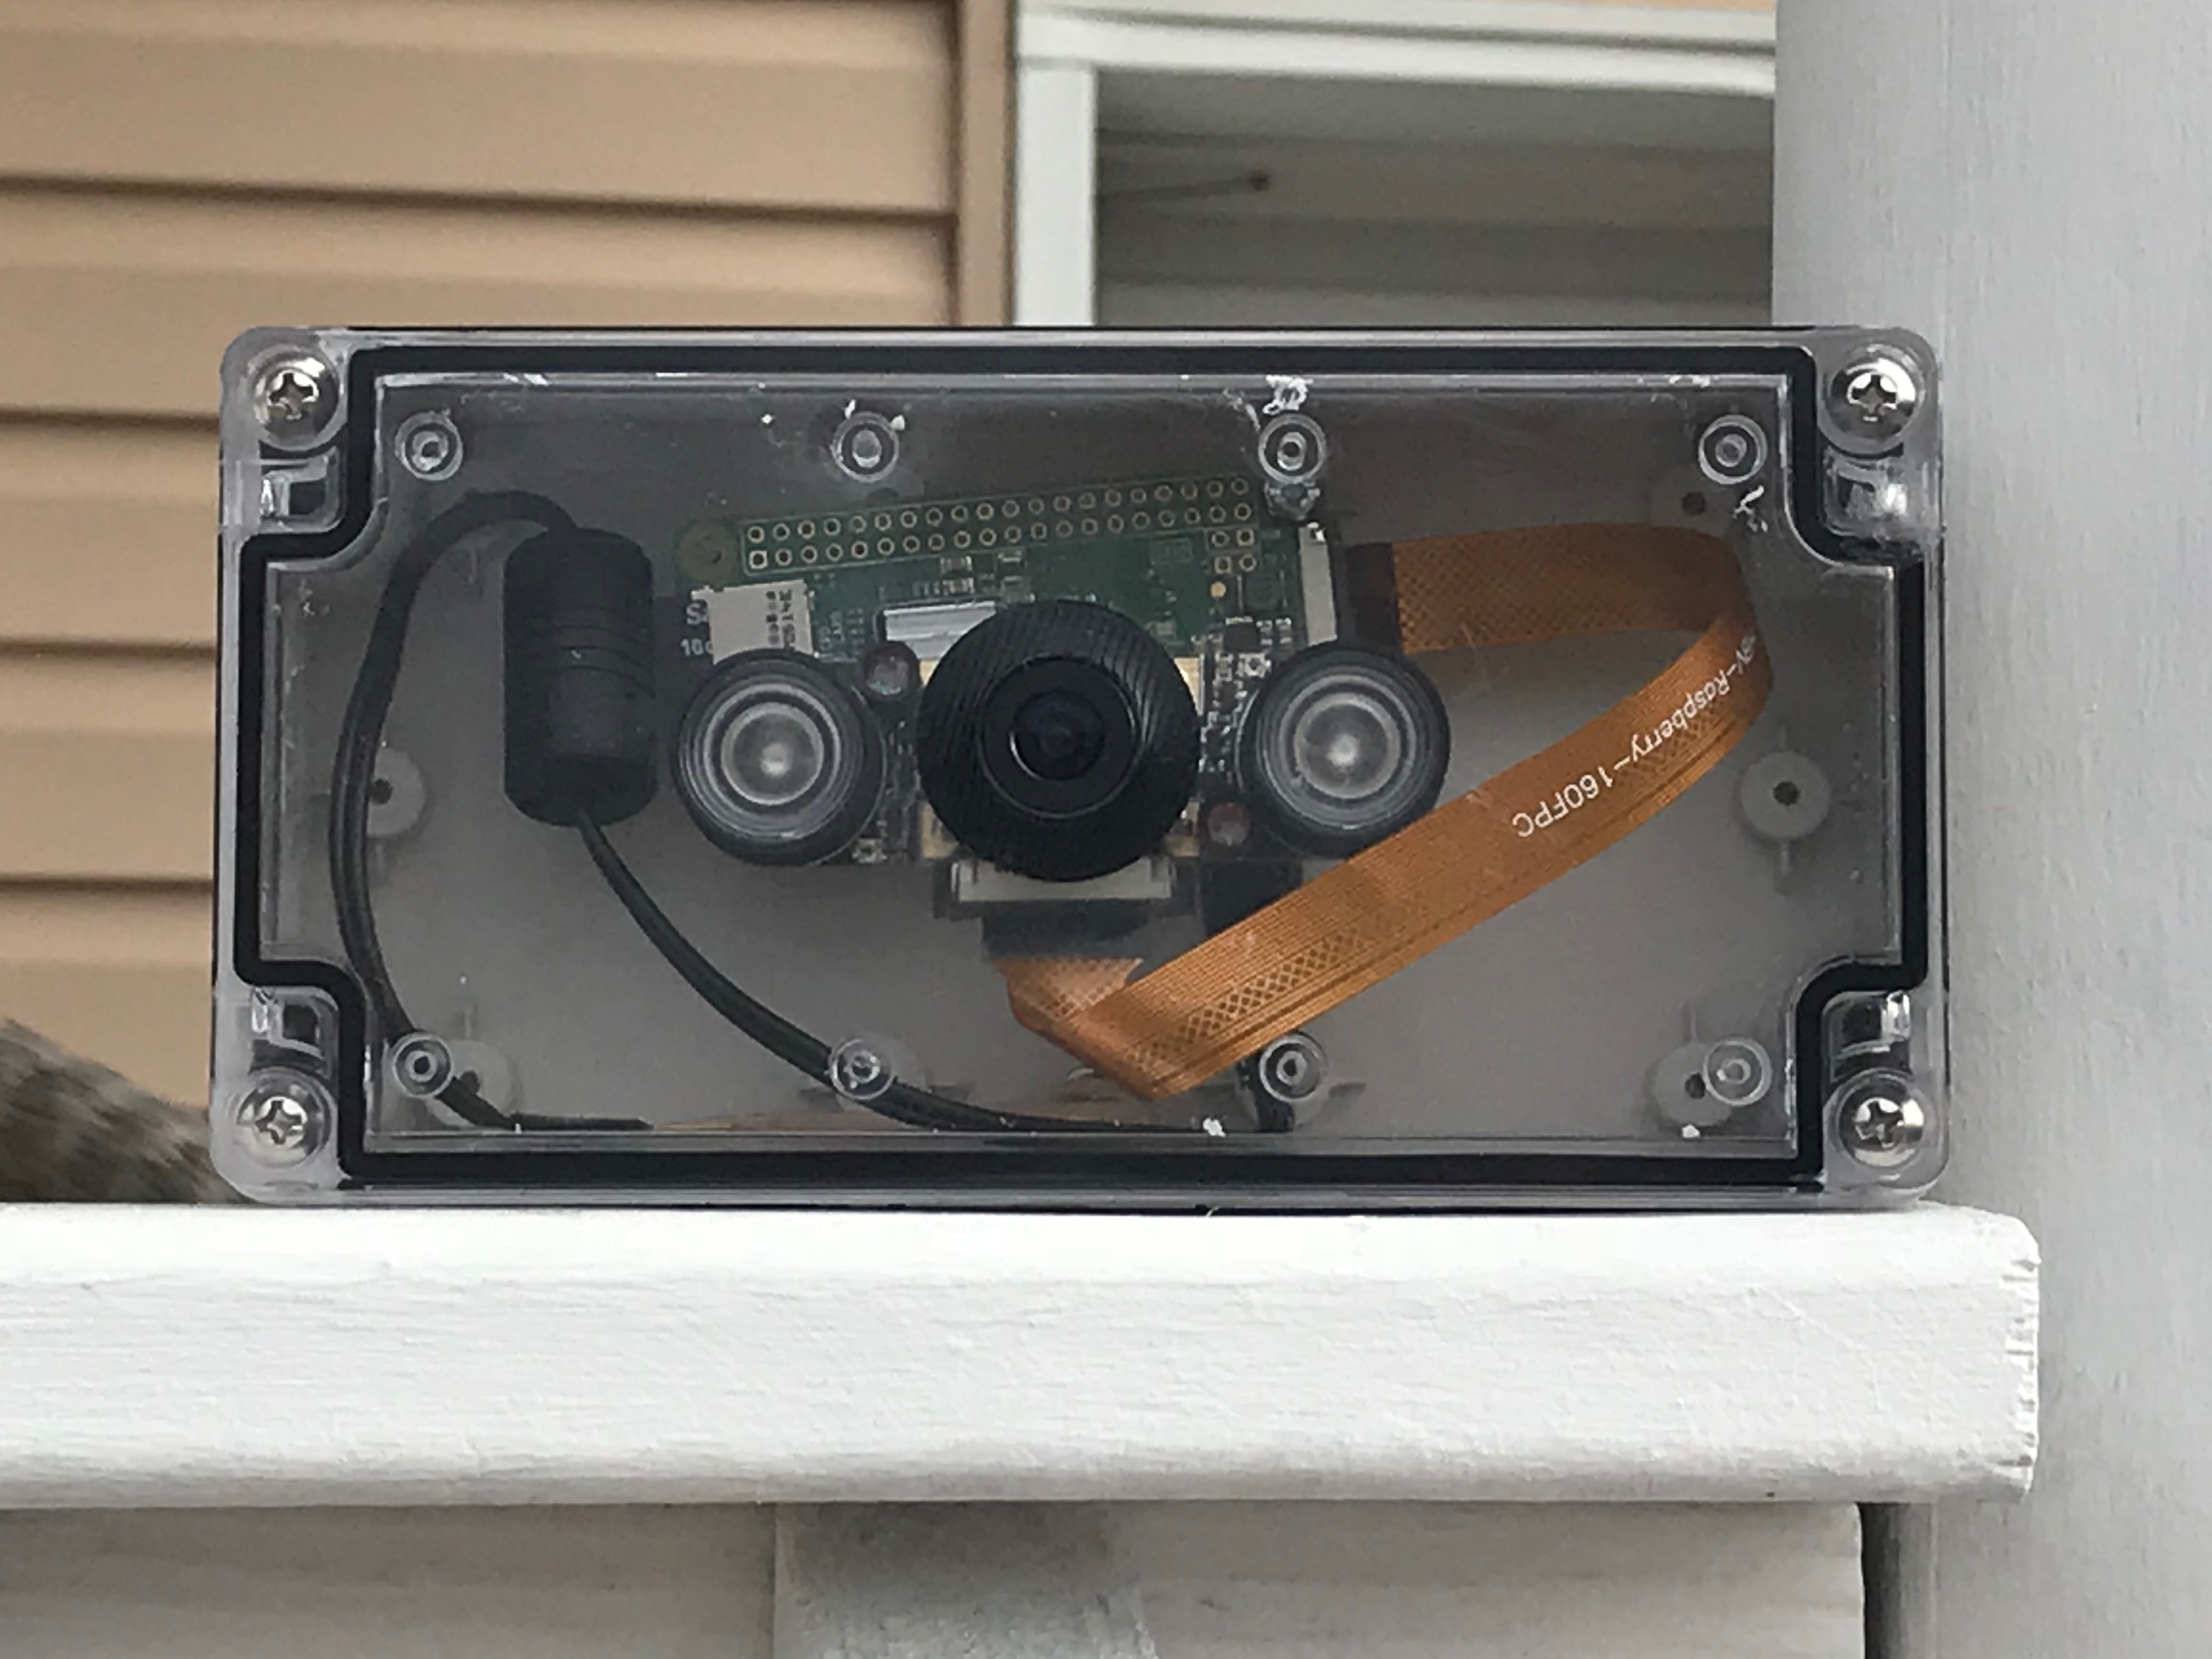
 Done!
Done!
A few notes:
- The camera module has night vision, but its not that great. Not very usable at any distance more than 6 feet
- Pi Zeros are cheap and low power devices. Don’t expect them to record at much higher than 640×480. If you need better resolution use a full Pi 3
- If you use a 16gb SD card and live on a moderately quiet block you should be able to store about 2 weeks worth of motion clips. Don’t let the device run out of disk space. Motioneyeos can be setup to deliver all the clips to an FTP location.
- Motioneye stores the recordings locally, which is nice if you have a WiFi outage the device can continue to record.
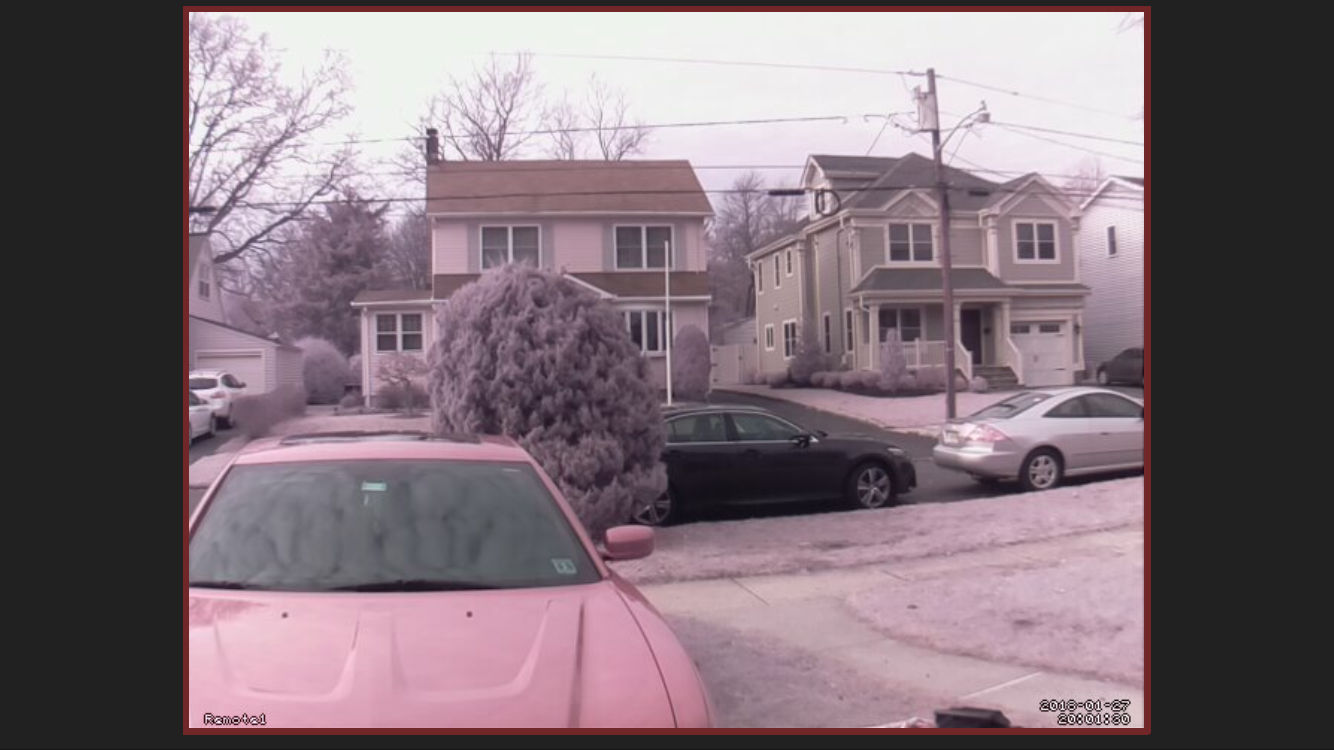
This is what it looks like when you have the Pi Zeros reporting in to one central monitoring station.

Motioneyeos has a provision where you can monitor the processor temperature. I installed my system in February in New Jersey so temp was not an issue. However here we are in mid July and I had 2 of the 3 cameras fail due to over heating!
In my next article I will discuss how to cool the cameras
READ PART 2 HERE
Thanks for reading my blog.
-Joe
** If you like what you read (even if you hated it) consider clicking on one of my Amazon links! or shop at GeekGearStore.com