

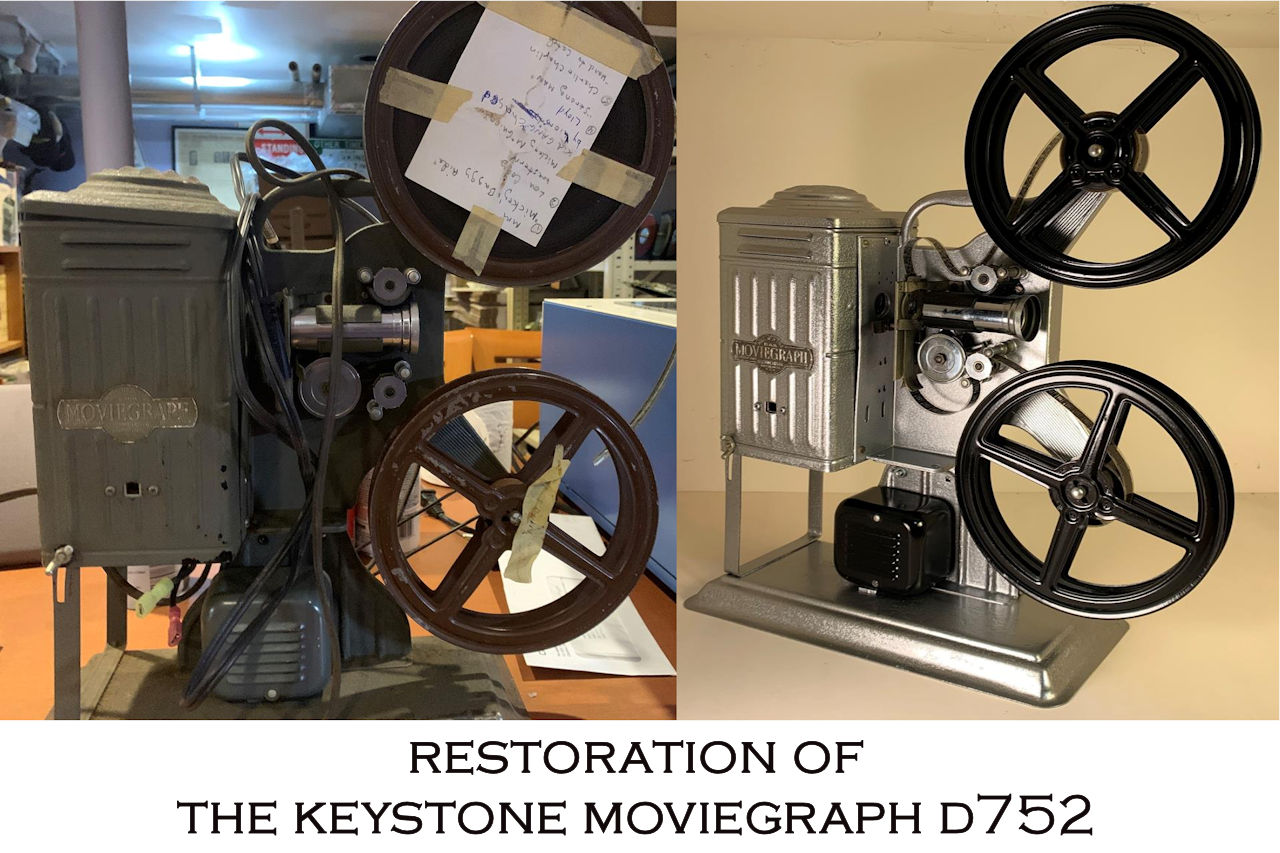
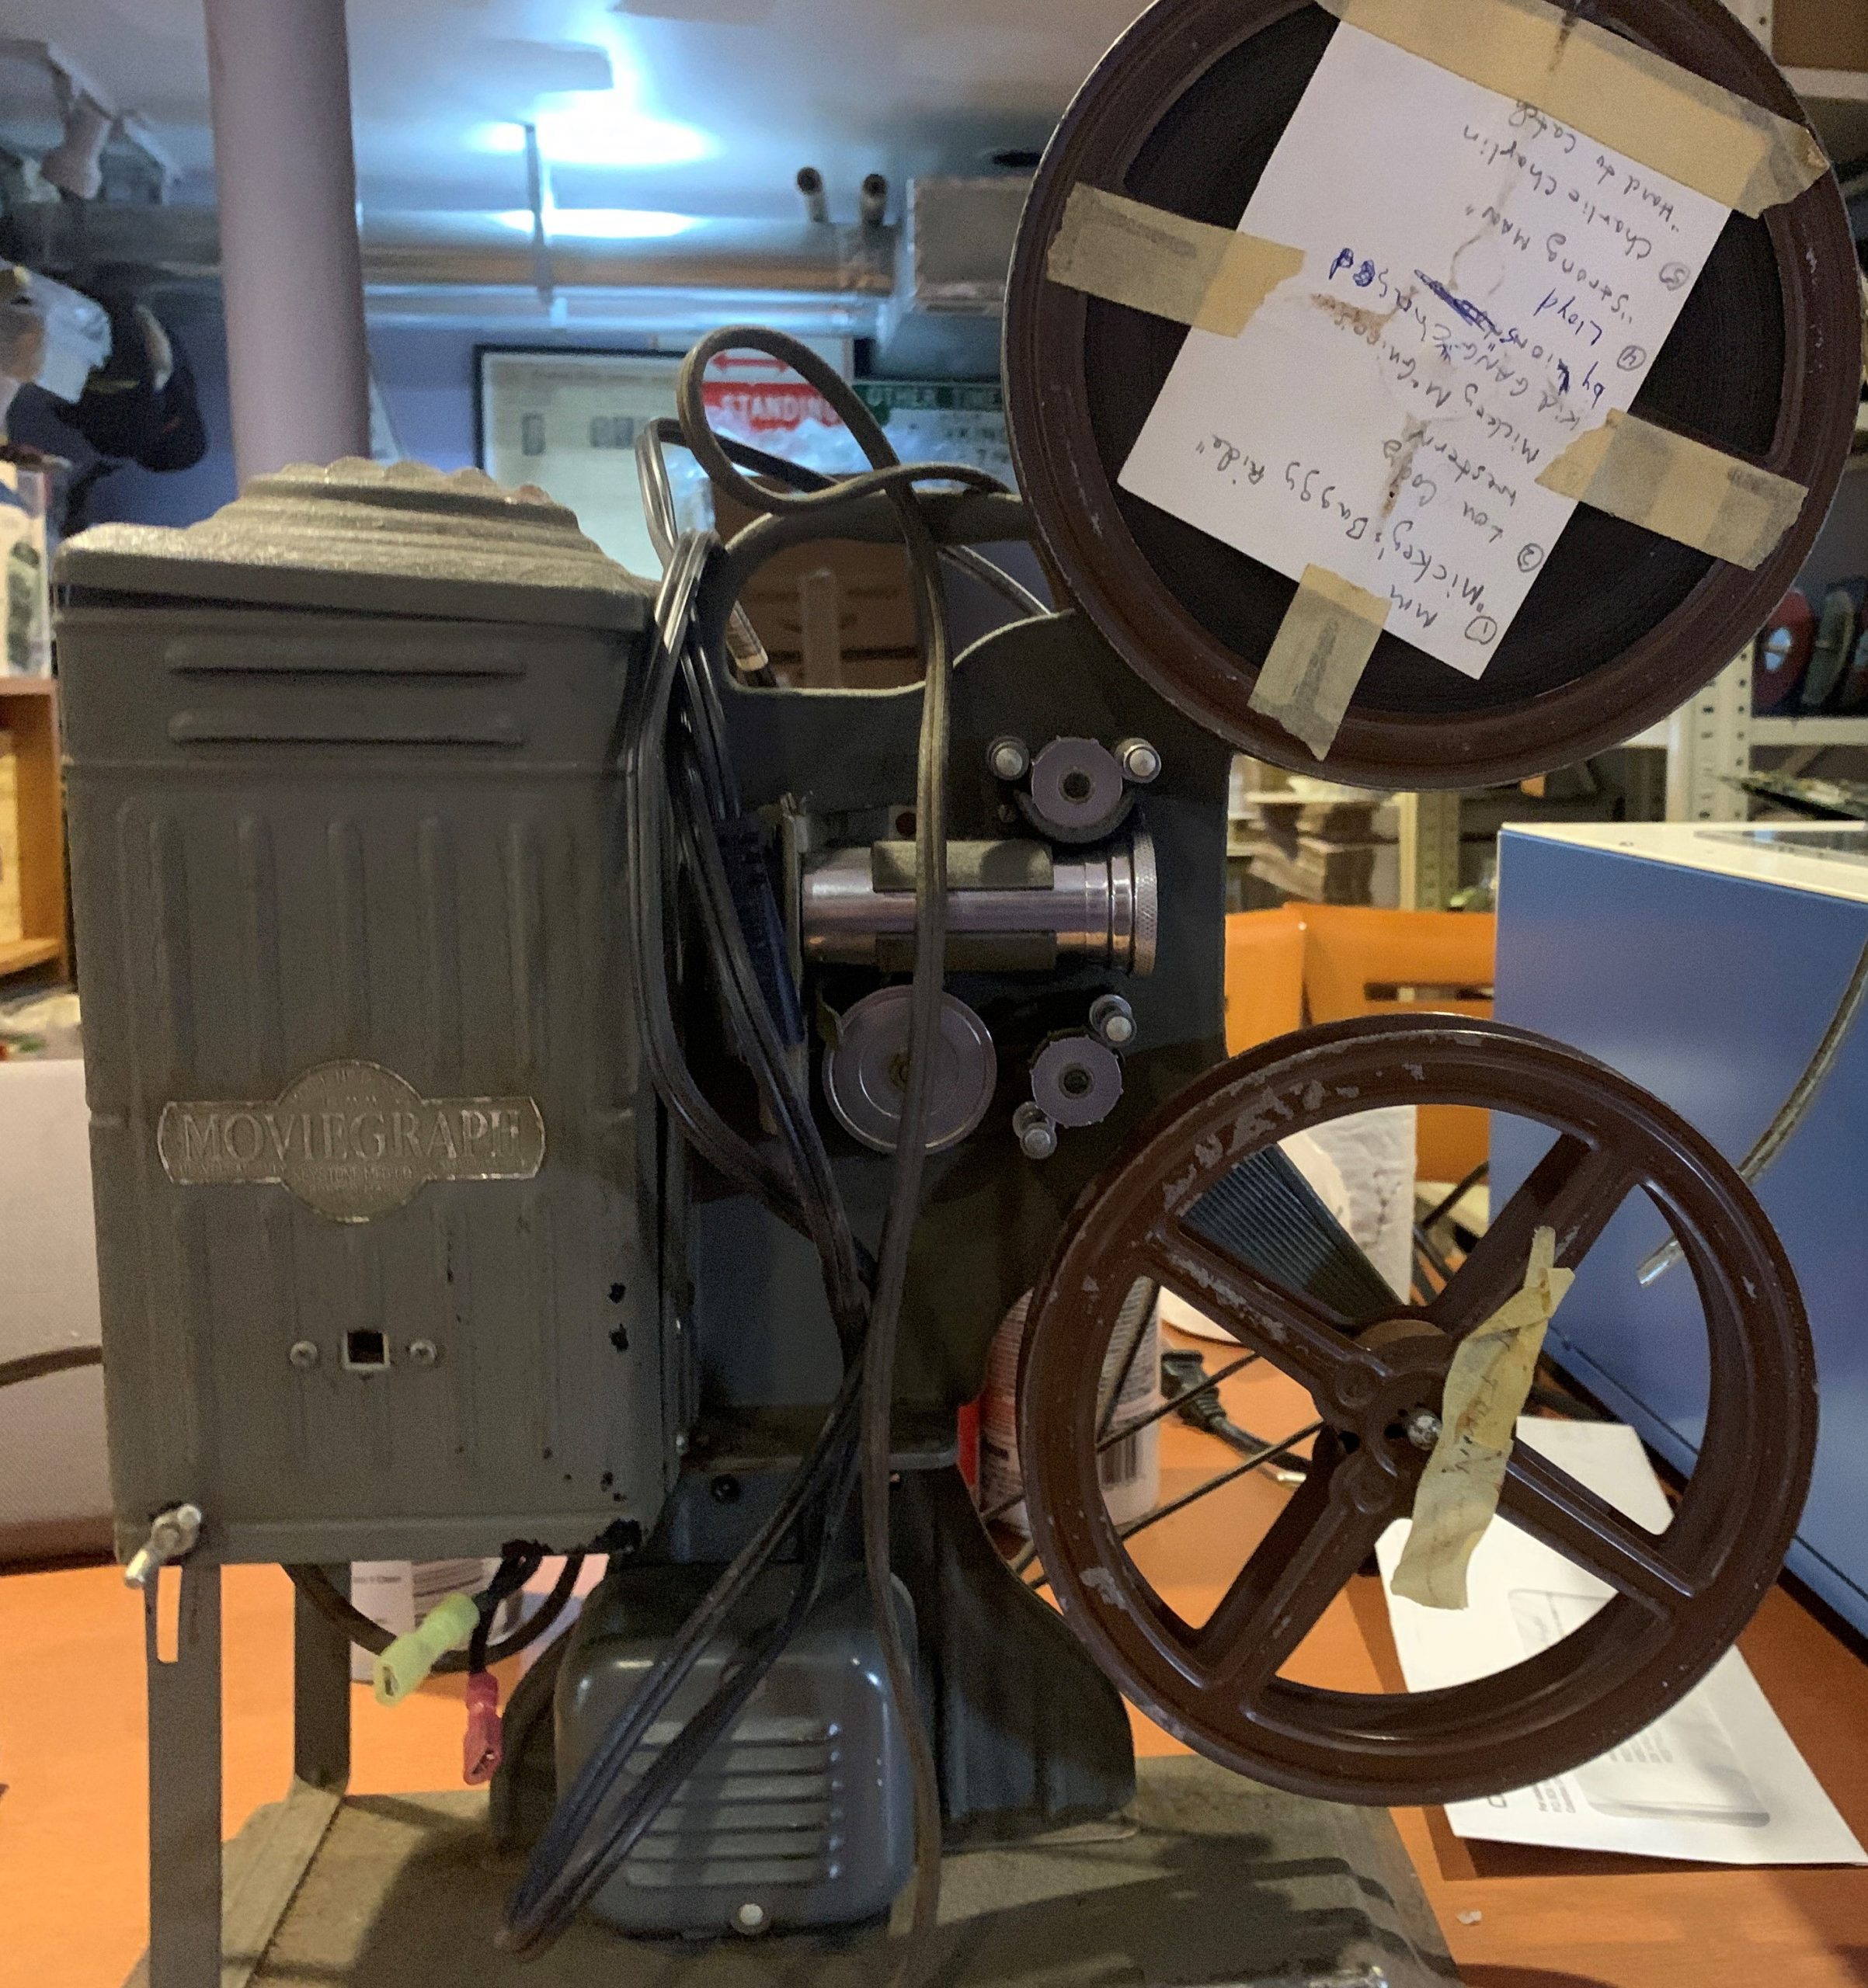
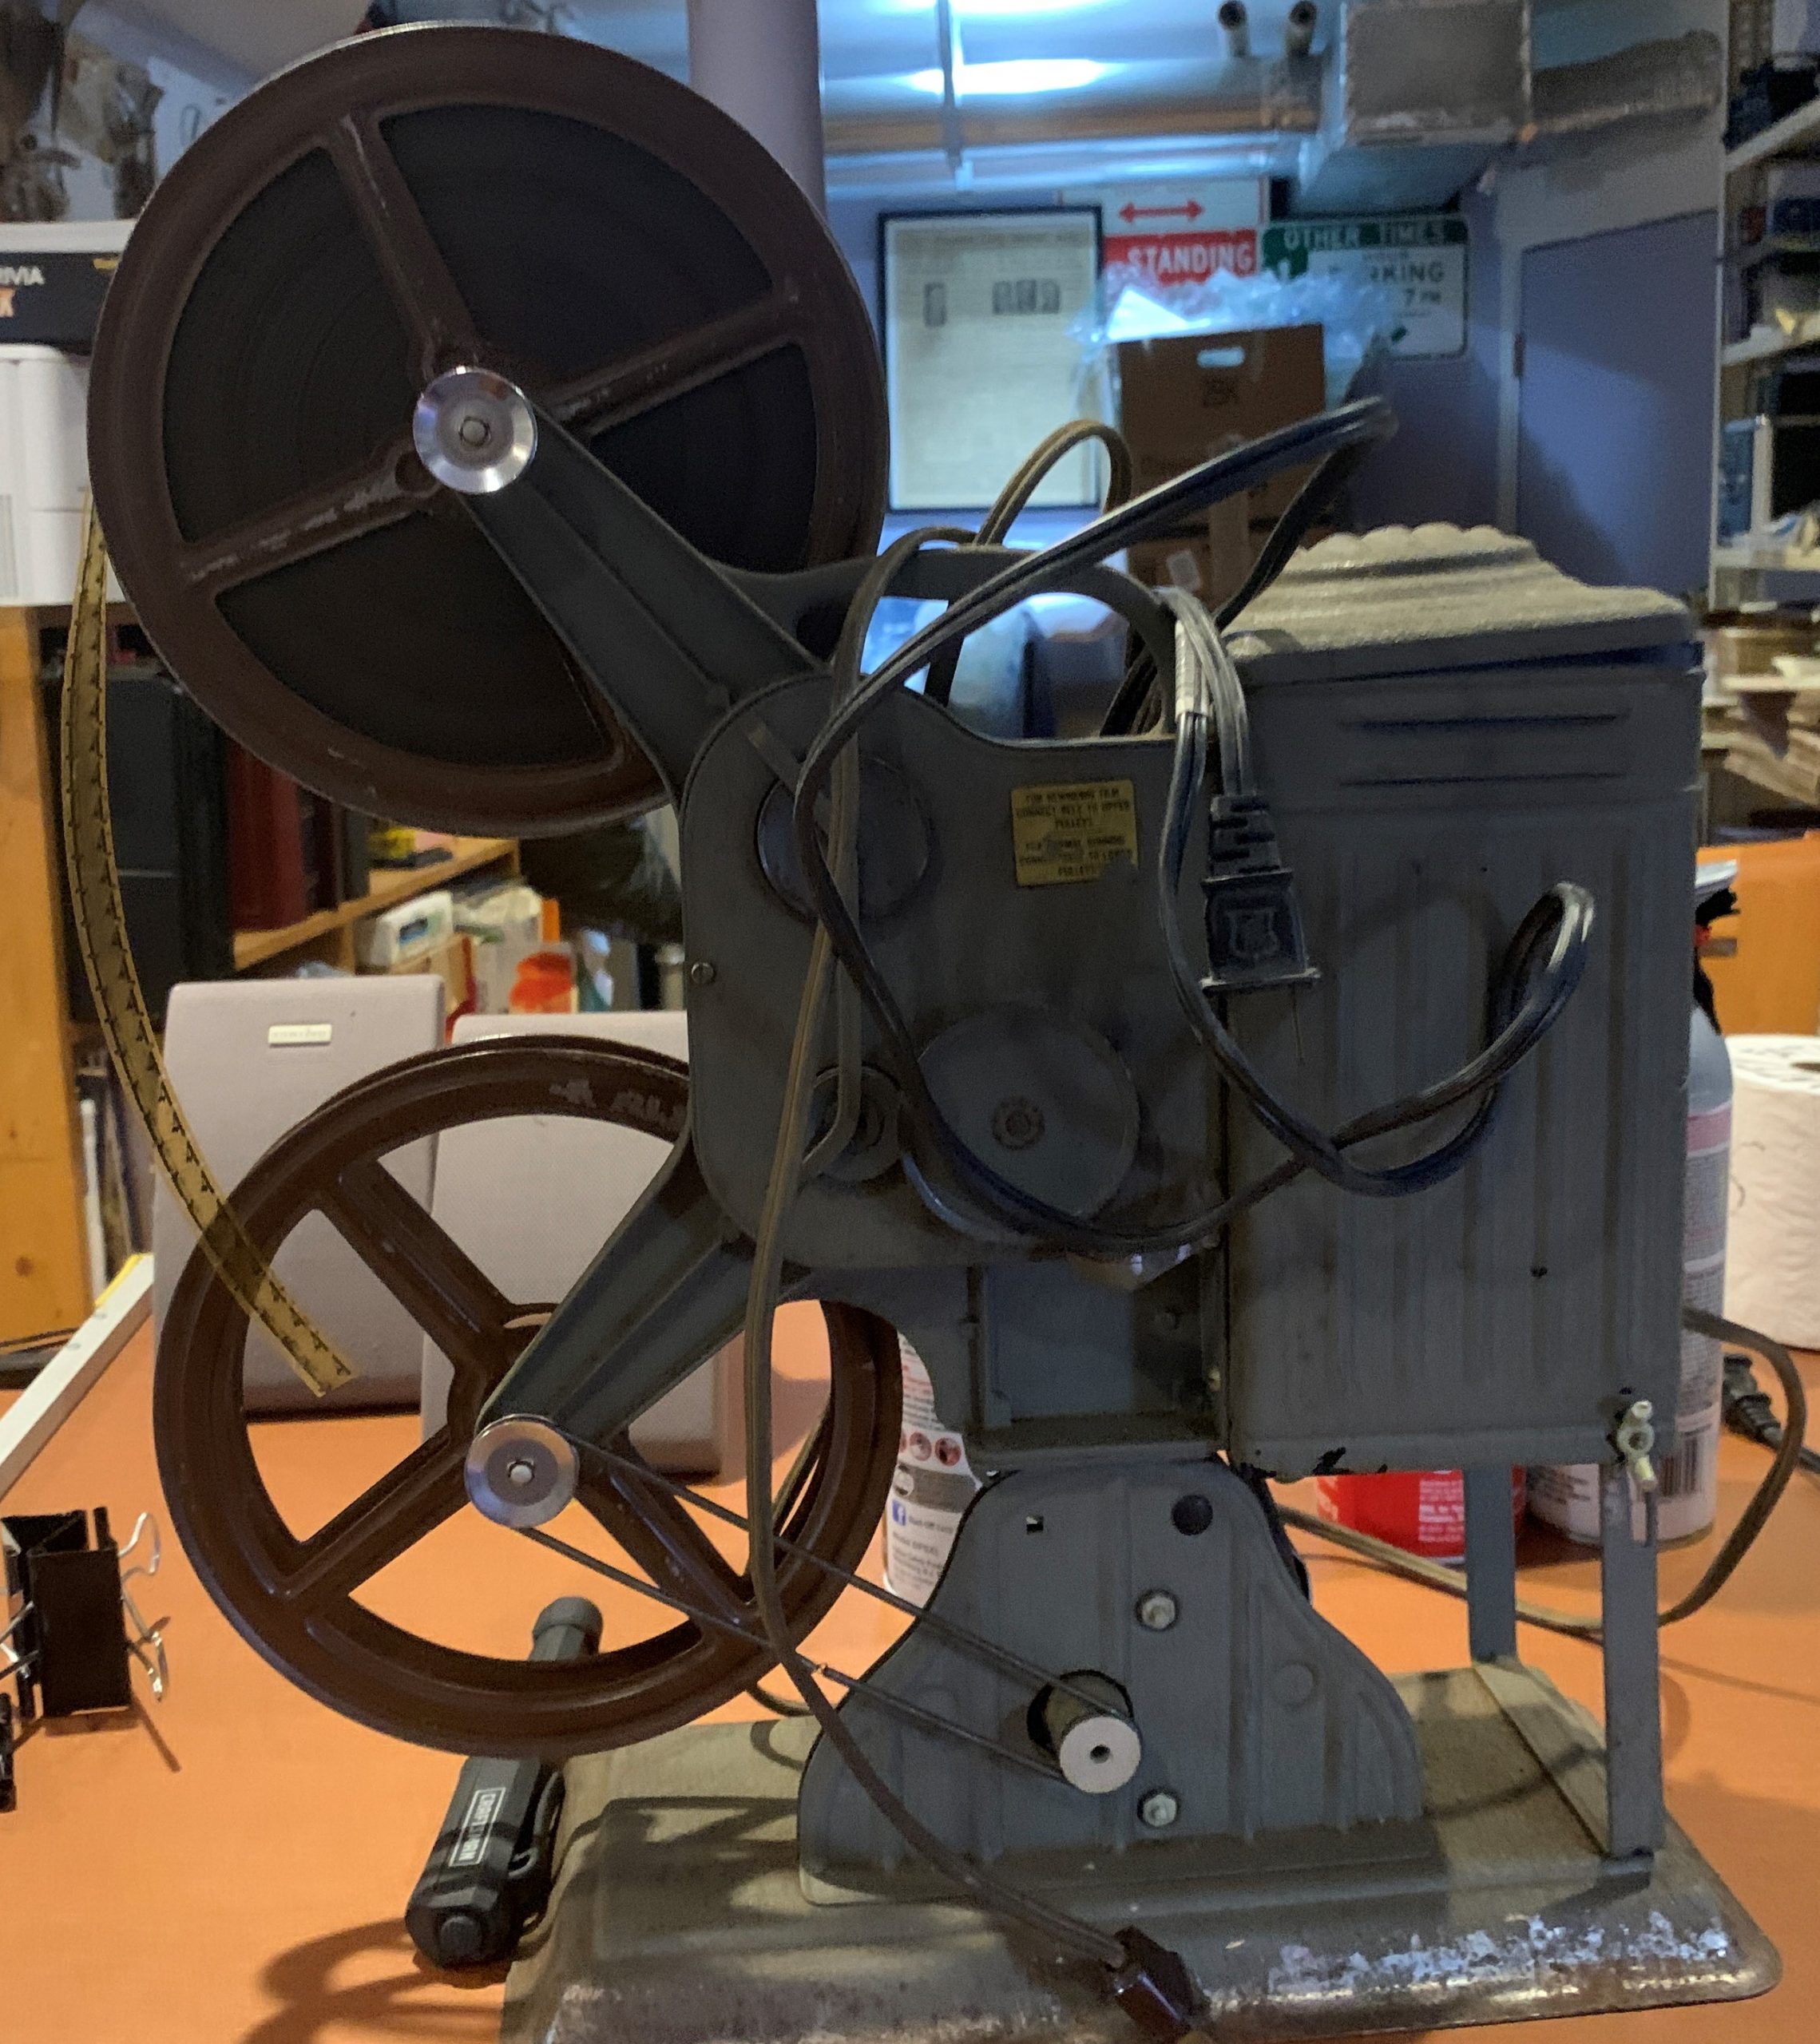
We all accumulate stuff in our homes over time. In fact George Carlin has a great comedy skit about “stuff“. While going through my stuff I came across this antique projector. A Moviegraph D752 made by Keystone in Boston Mass. The wiring was dry rotted and belts were broken, and I was going to toss it in the trash. The only question was does it have any value? After a quick check on eBay similar projectors in better condition than mine were selling for $50 to $100. Not worth my trouble to sell, but old enough to keep as art work!
Tools You Can Use
Here are a few of the tools I found most helpful for the project
I hate sanding by hand so I like to use my Dremel Rotatory Tool. This device makes light sanding, and wire brushing really easy.

This Dremel Tool is one of the better ones I have used and its pretty inexpensive $90.00 at Amazon!
![]() Choose a paint and prime, or better yet a paint and prime in one like the paint I used. I selected this Rostleum Universal which is paint and primer in one. It works very well. About $10.00 on average at Amazon
Choose a paint and prime, or better yet a paint and prime in one like the paint I used. I selected this Rostleum Universal which is paint and primer in one. It works very well. About $10.00 on average at Amazon
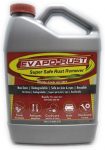
If your projector is rusty, a soak in Evapo-Rust will help restore the metal to its original condition. It runs about $10 for 1/2 gallon
Lastly you will need a few basic hand tools to dismantle the Moviegraph.
Prepping the Moviegraph D752
Full disclosure, the proper way to complete this project would be with a sand blaster and then powder coat the unit. However, I don’t own either so a sand and spray will have to suffice. (My ultimate goal is to make this presentable on a shelf, not to restore it to brand new condition)
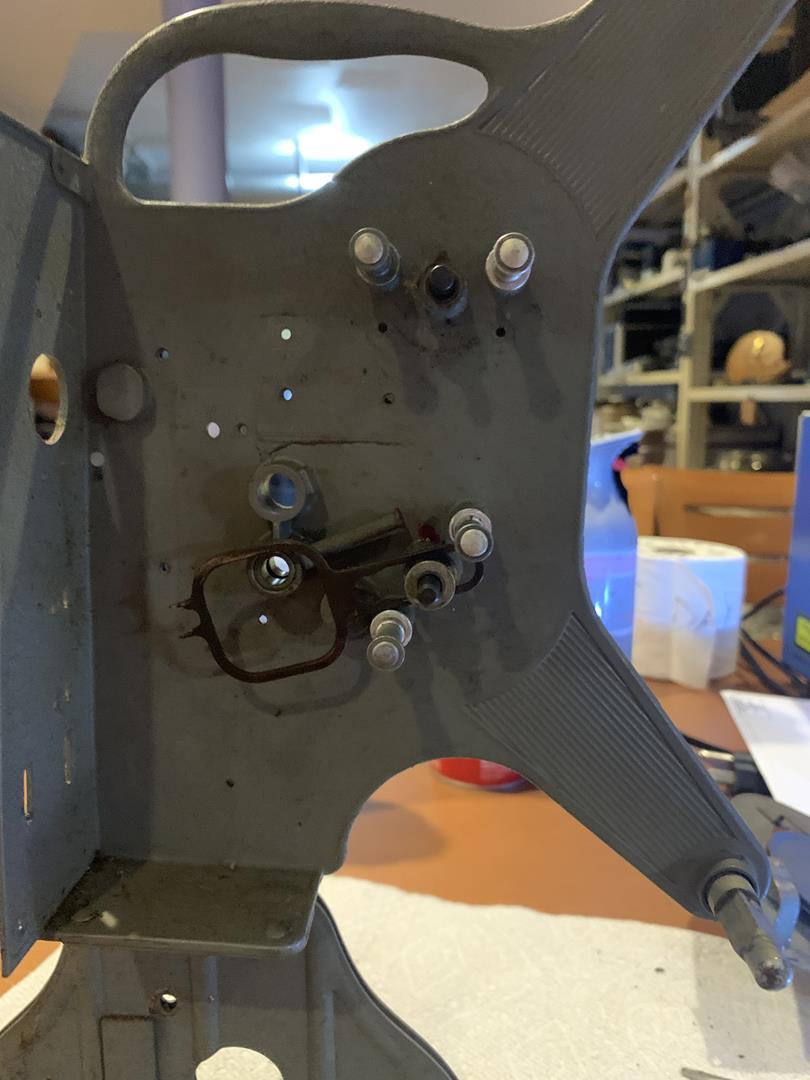
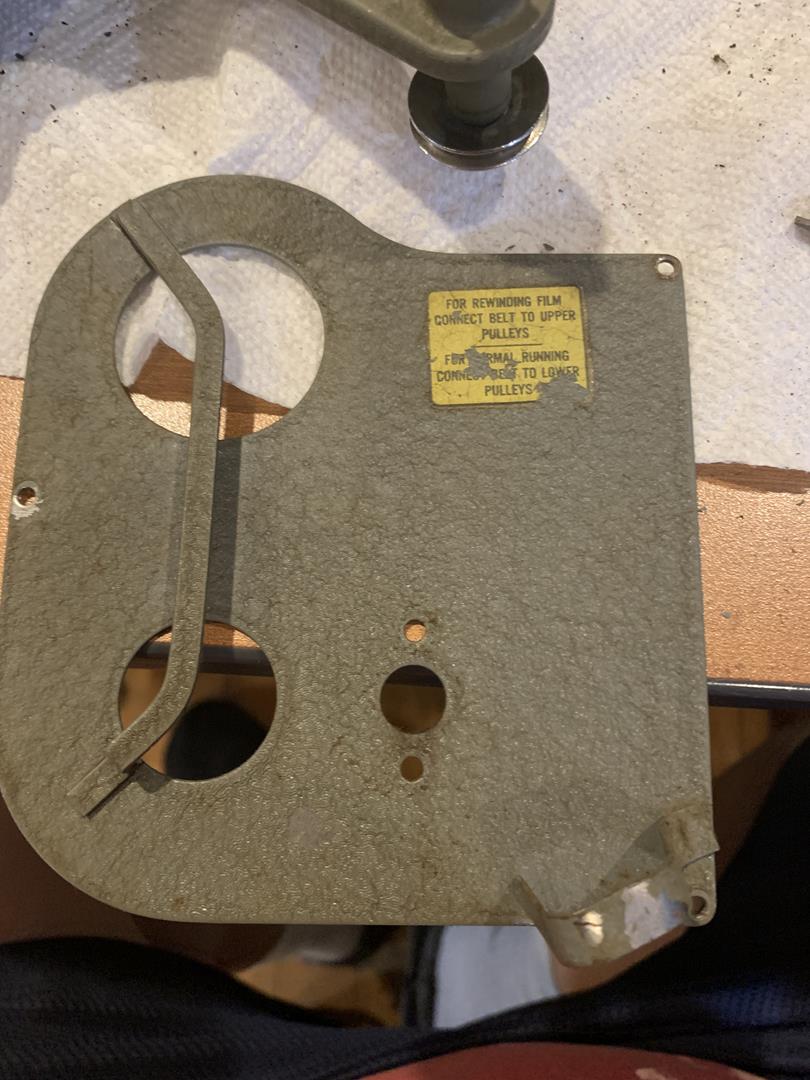
I disassembled the Moviegraph in its entirety. Every screw, every nut, if it was able to be removed I took it off. During the disassembly process take a few pictures as you go. It will make it that much easier to reassemble when the time comes. Don’t rely on memory, its probably going to be a few days before you put this thing back together. Also, try to keep screws and nuts together with the parts they came off of.
Once the Moviegraph was in pieces it was time to wash the dirt off. I used a simple soap and water solution with a hard bristled brush. Dry thoroughly! If your parts are rusty, soak them in a rust remover like this Evapo-Rust $10 at Amazon.
Next use your Dremel Rotary tool to lightly sand all the painted surfaces. You want to basically sand the top layer of paint off giving the fresh paint a better chance of sticking. My unit had some chipped and peeling paint areas, So I put a little more effort sanding around them to make sure any loose paint was removed.
****SIDE NOTE**** The Keystone Moviegraph is probably close to 80 years old. I have not tested the paint on the unit, but I am going to assume that its lead based. Wear a respirator or at a minimum N95 mask to do this job.
Painting the Moviegraph D752
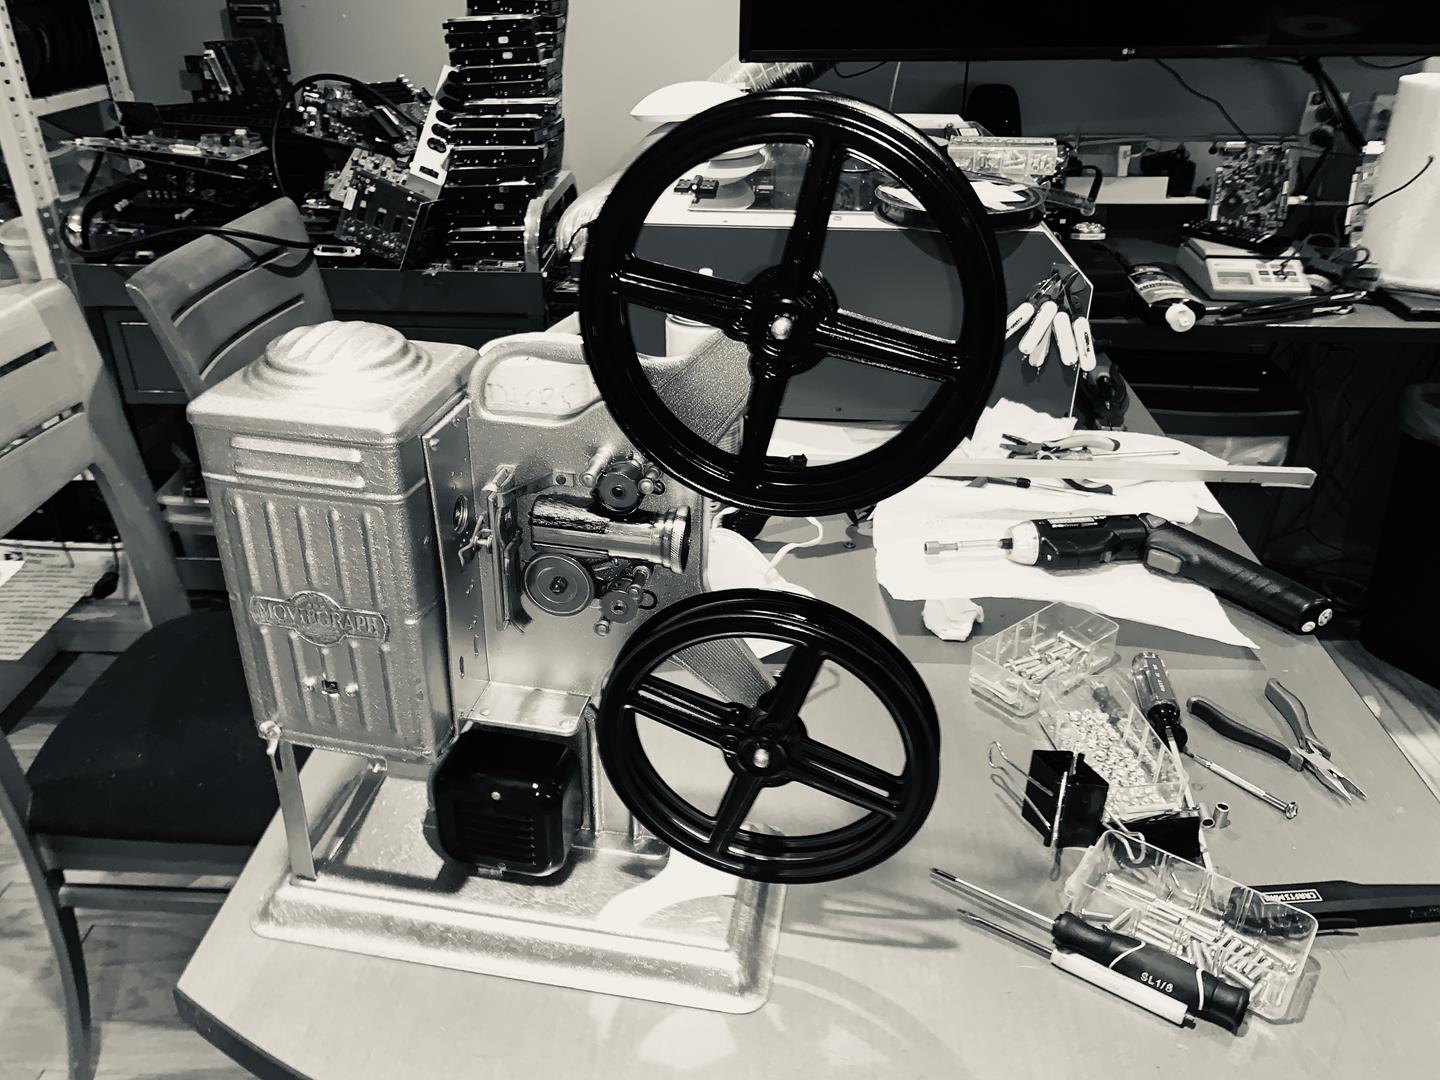
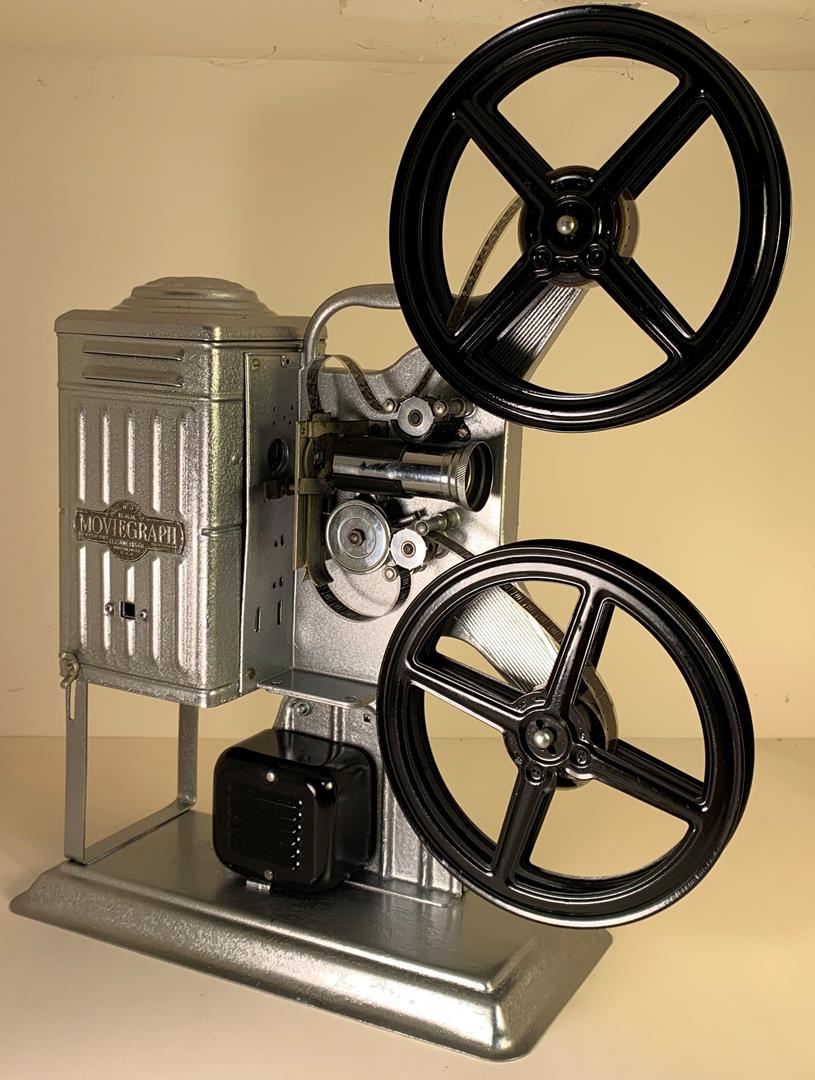 Painting the Moviegraph is just like paining any other item. Spay light layers of paint on each part, allow some drying time before returning to do a second coat. As you can see from the photos I choose to do the unit in a titanium silver metallic and accent the unit with a glossy black.
The finished product
Overall the unit came out great! You might say why I haven’t restored it to 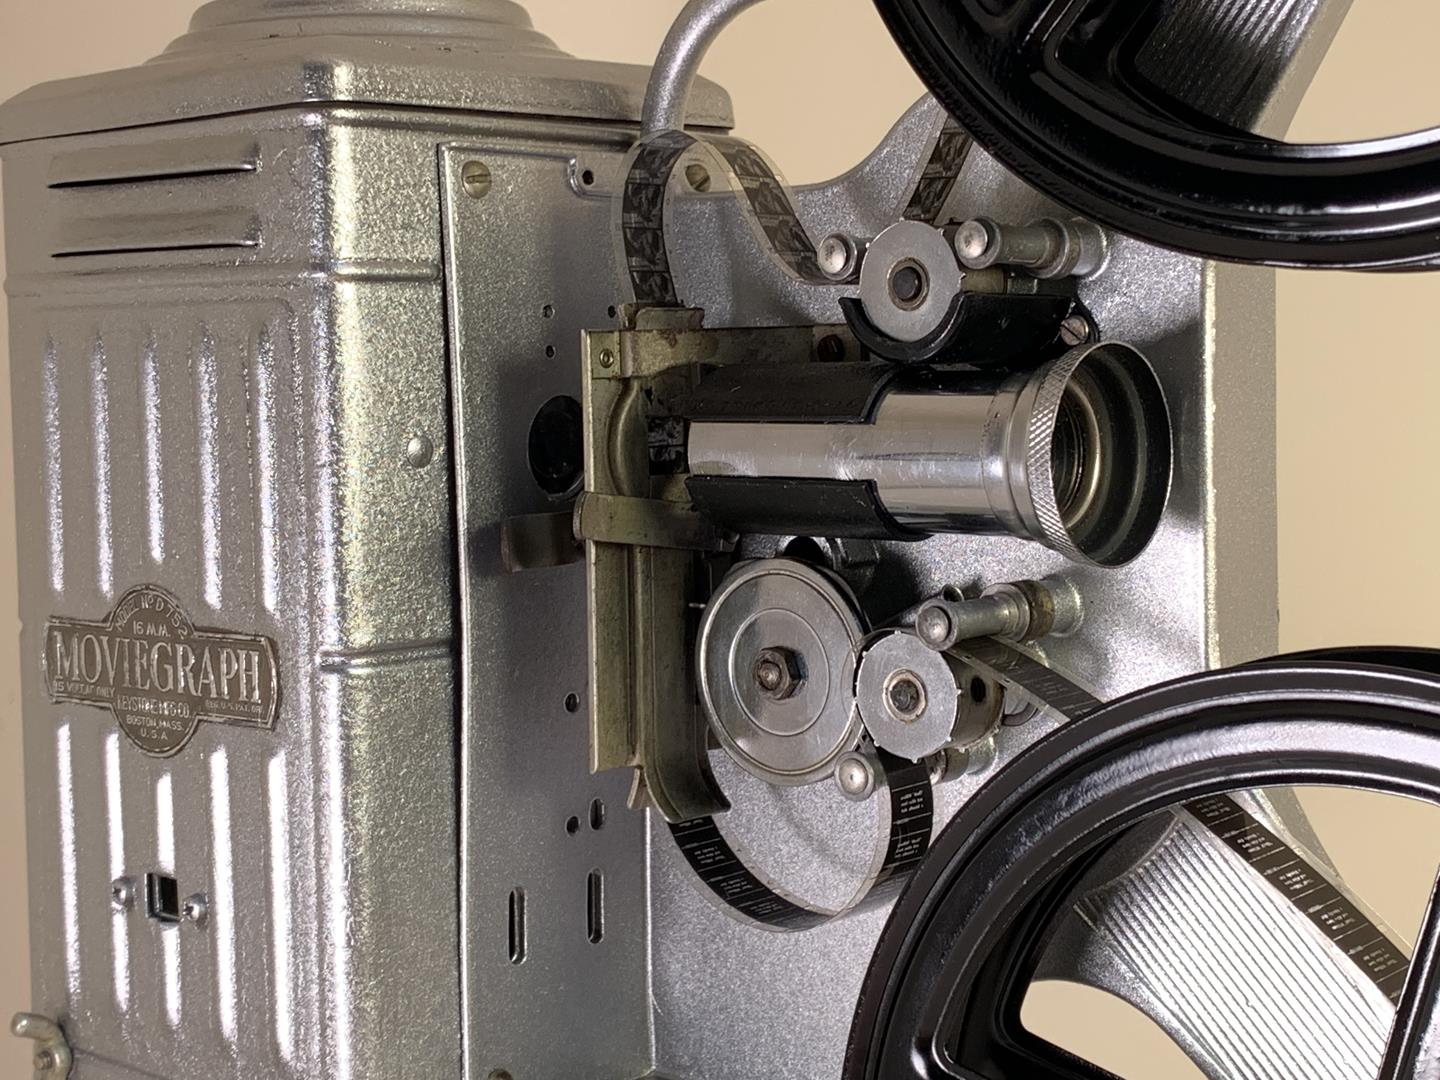 functioning status. My unit had a broken on off switch, broken belts and the wiring was so brittle it disintegrated in my hands. I’m not planning on selling the unit, and I’m surely not planning on having 16mm Moviegraph night at home, so artwork it is!
Final Thoughts
 This was a very inexpensive project to complete. A can of paint and my time is all it took to make this projector a work of art I will have on display in my house for many years to come. I can’t stress enough to take safety precautions while sanding and prep your parts.
I hope this blog inspires someone to restore an antique they have lying around the house.
Thank you for reading my blog
Joe
Don’t forget to visit my Etsy store
www.geekgearstore.com