

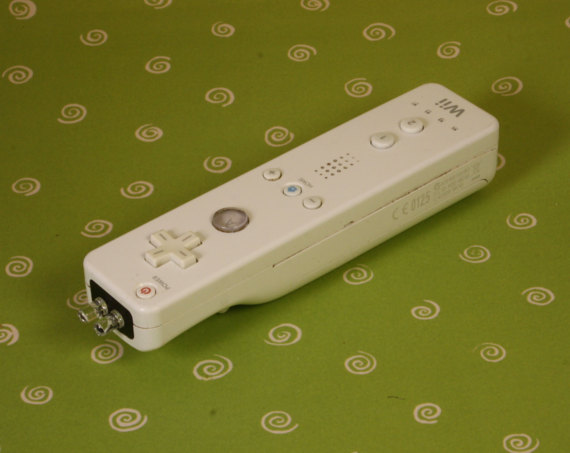
If you read this blog on a regular basis you would already know I enjoy re-purposing broken electronics into new useful gear. I had an old Wii remote sitting around that was broken and it was calling out flashlight to me. I figured I would give it a shot.
My self imposed requirements called for using one of the original buttons to turn on the light, and I also had to reuse the original battery holder.
Tools you can use:
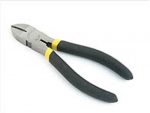
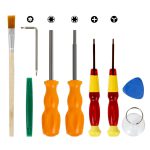 Triwing Screwdriver – Nintendo likes to use “special” screws across all their equipment. The Wii is no different and requires a Triwing screwdriver to open the Wii remote. This kit is $11.99 and covers them all!
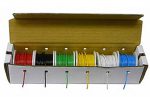 About 12″ of wire the lighter the gauge the better. This 22 gauge wire collection would be a great addition to your tool box. $20.00 at Amazon
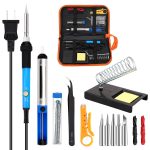 A low wattage soldering iron. The project requires some light soldering. this is a very good low cost kit if you are just learning how to solder. $24.99
Wire cutter / strippers. If you need a new one try this one for $10.00
Materials You Need:
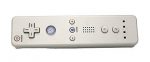 The most important part of this project is the Wii remote (Wiimote). If you have a broken one laying around great! If not, source a used one on eBay or purchase a knock off on Amazon for $18.00
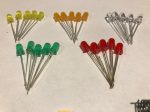 Finally some LED’s. You can pick up a variety of colors for your Wii Remote flashlight here for $9.99
LET’S GET BUILDING!
Step 1 – Disassemble the Wii Remote
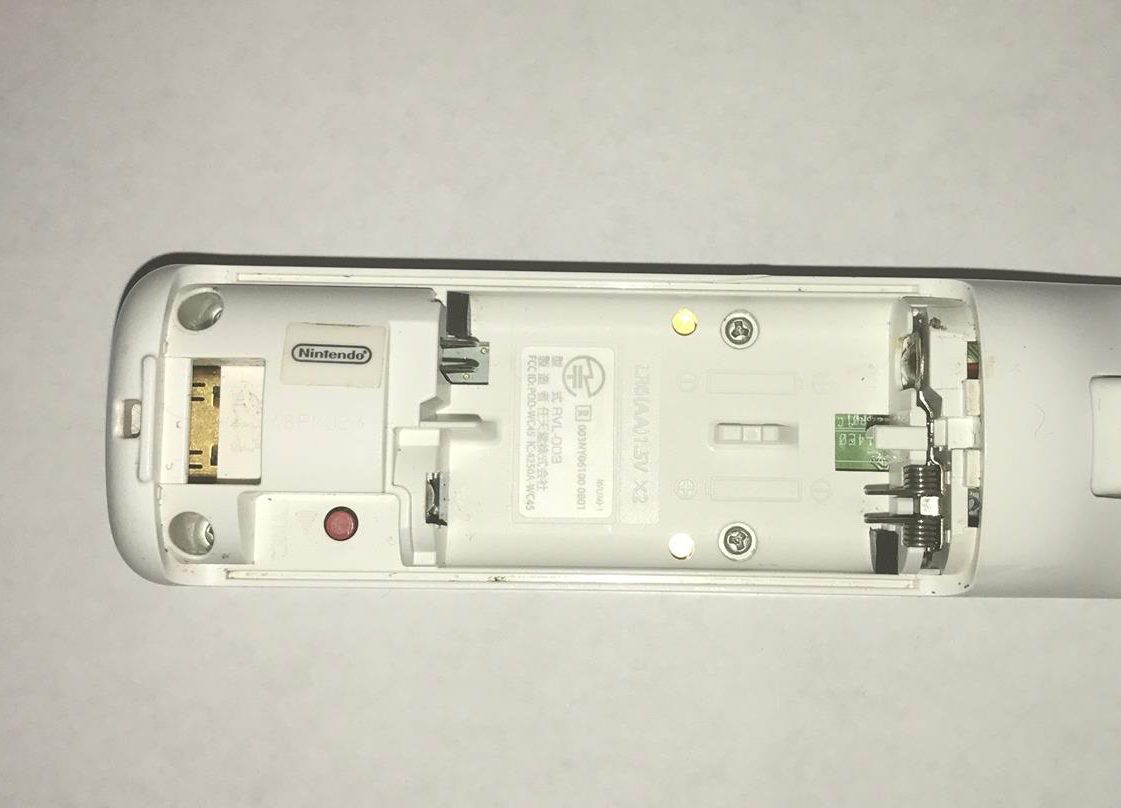 Flip the Wii Remote over, remove the battery cover and batteries. Locate the four triwing screws and remove each. Place the screws on the side we will need them again at final assembly. Slowly take apart the Wii remote careful not to loos the buttons, remove the circuit board.
Step 2- Mount the LED’s
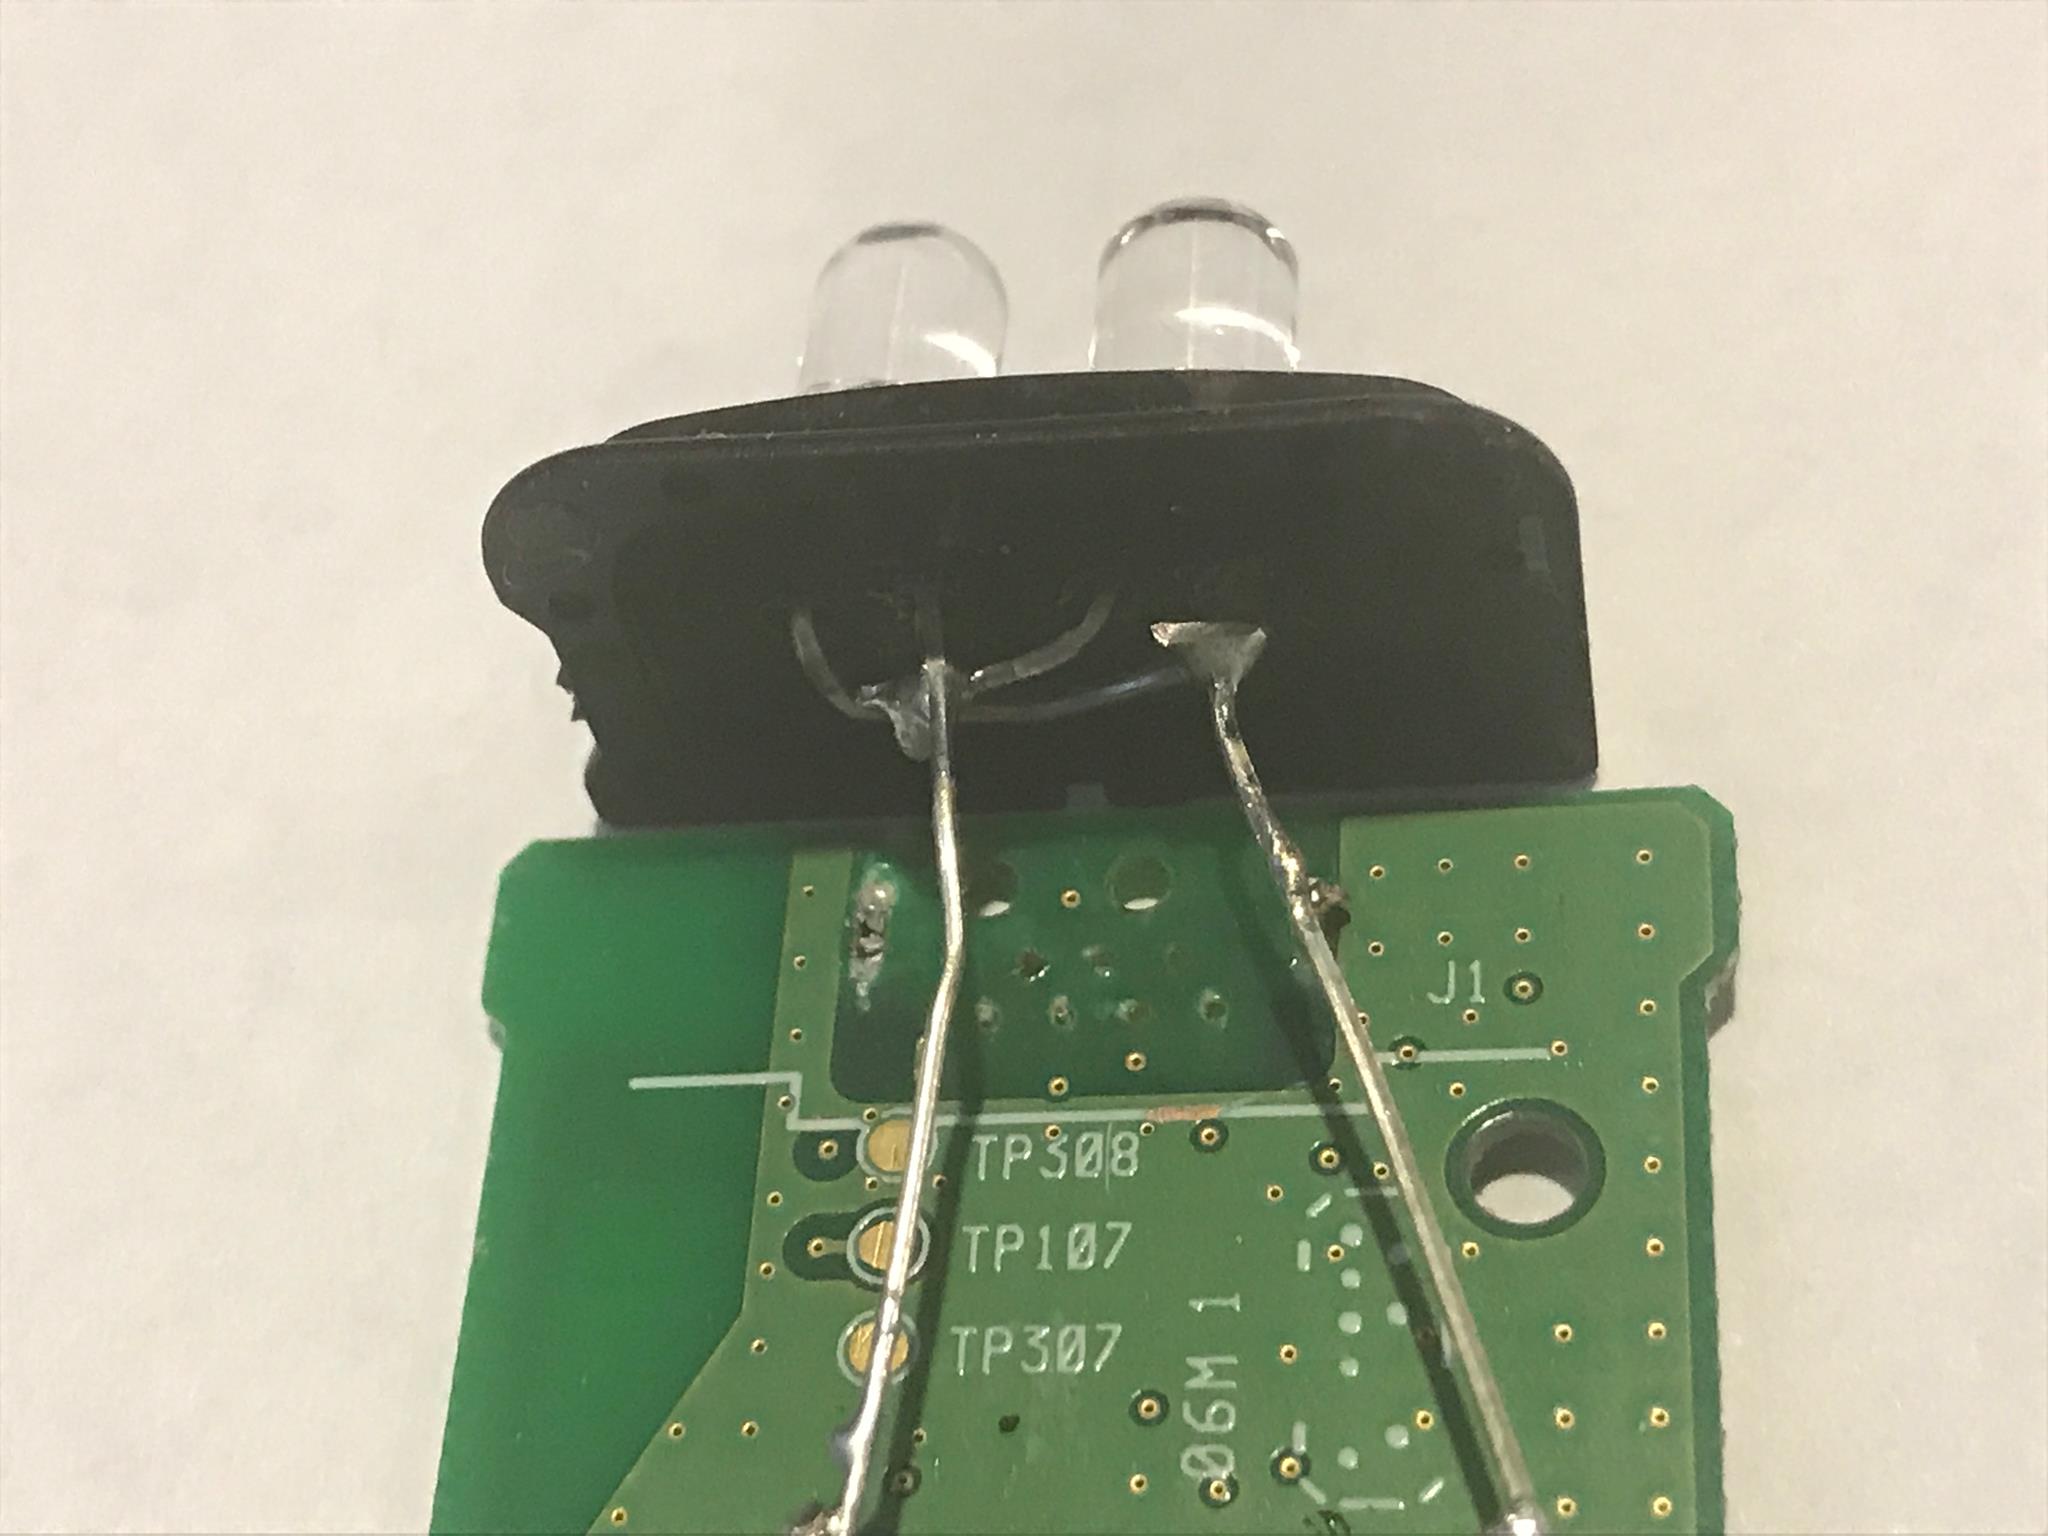 Drill small holes in the black shield at the front of the remote to pass the legs of the LED through. Solder the LED’s in parallel by connecting two negative legs together and both positive legs together. Trim and leave one negative leg and positive leg sticking out (as per the image)
Step 3 – Solder the wire
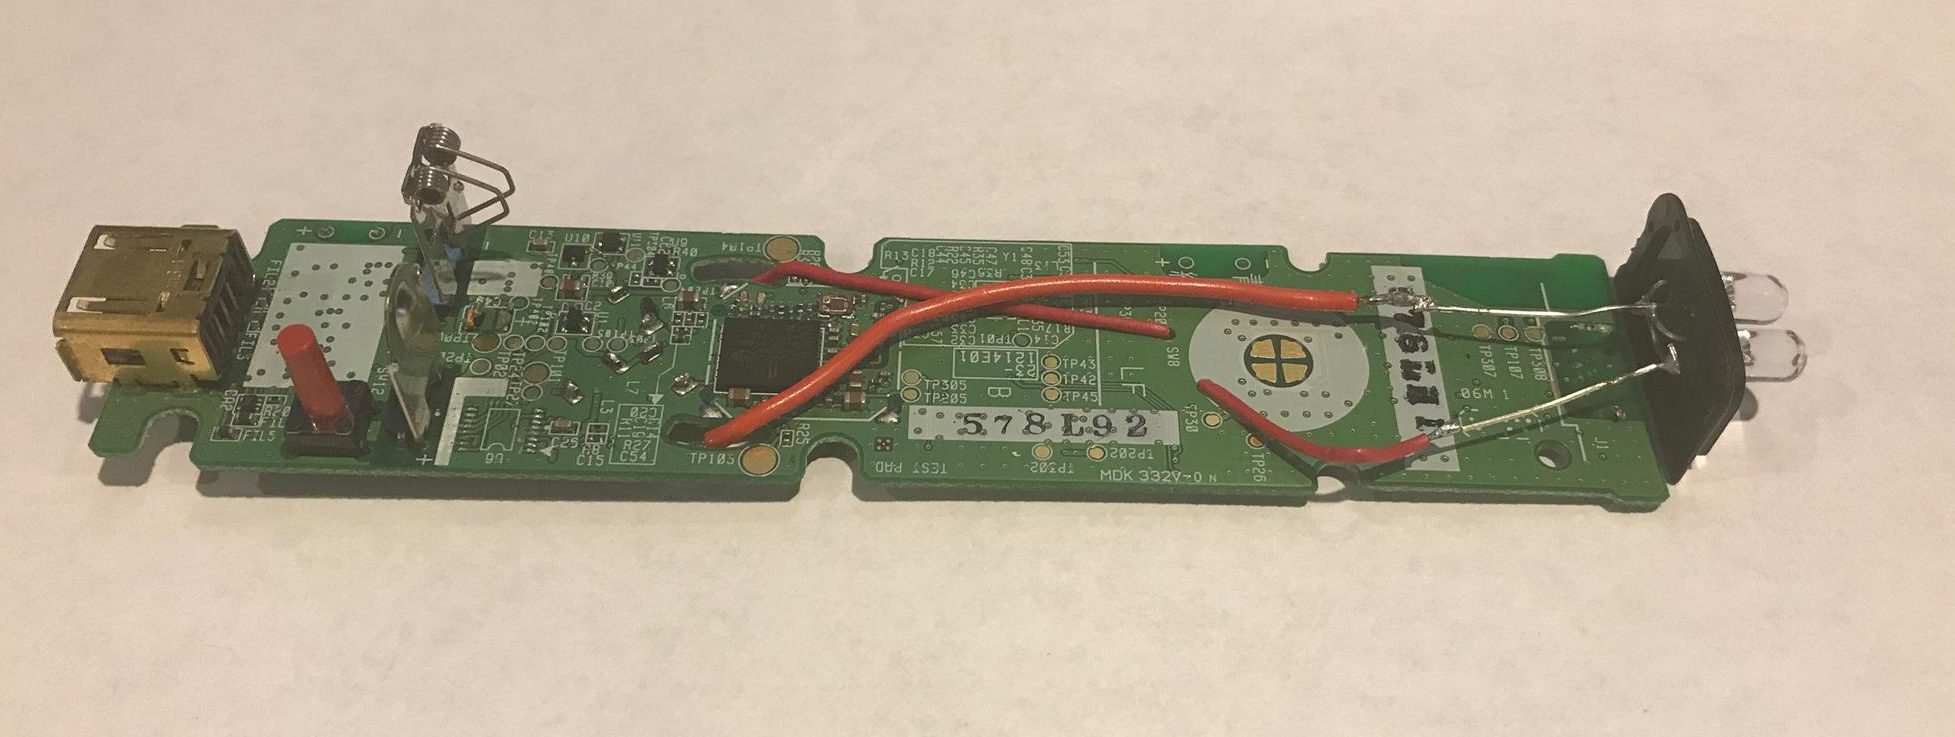 This is where the fun begins. Extend the legs of the LEDs with two lengths of wire. The positive wire goes straight through the a hole in the board and is soldered to
 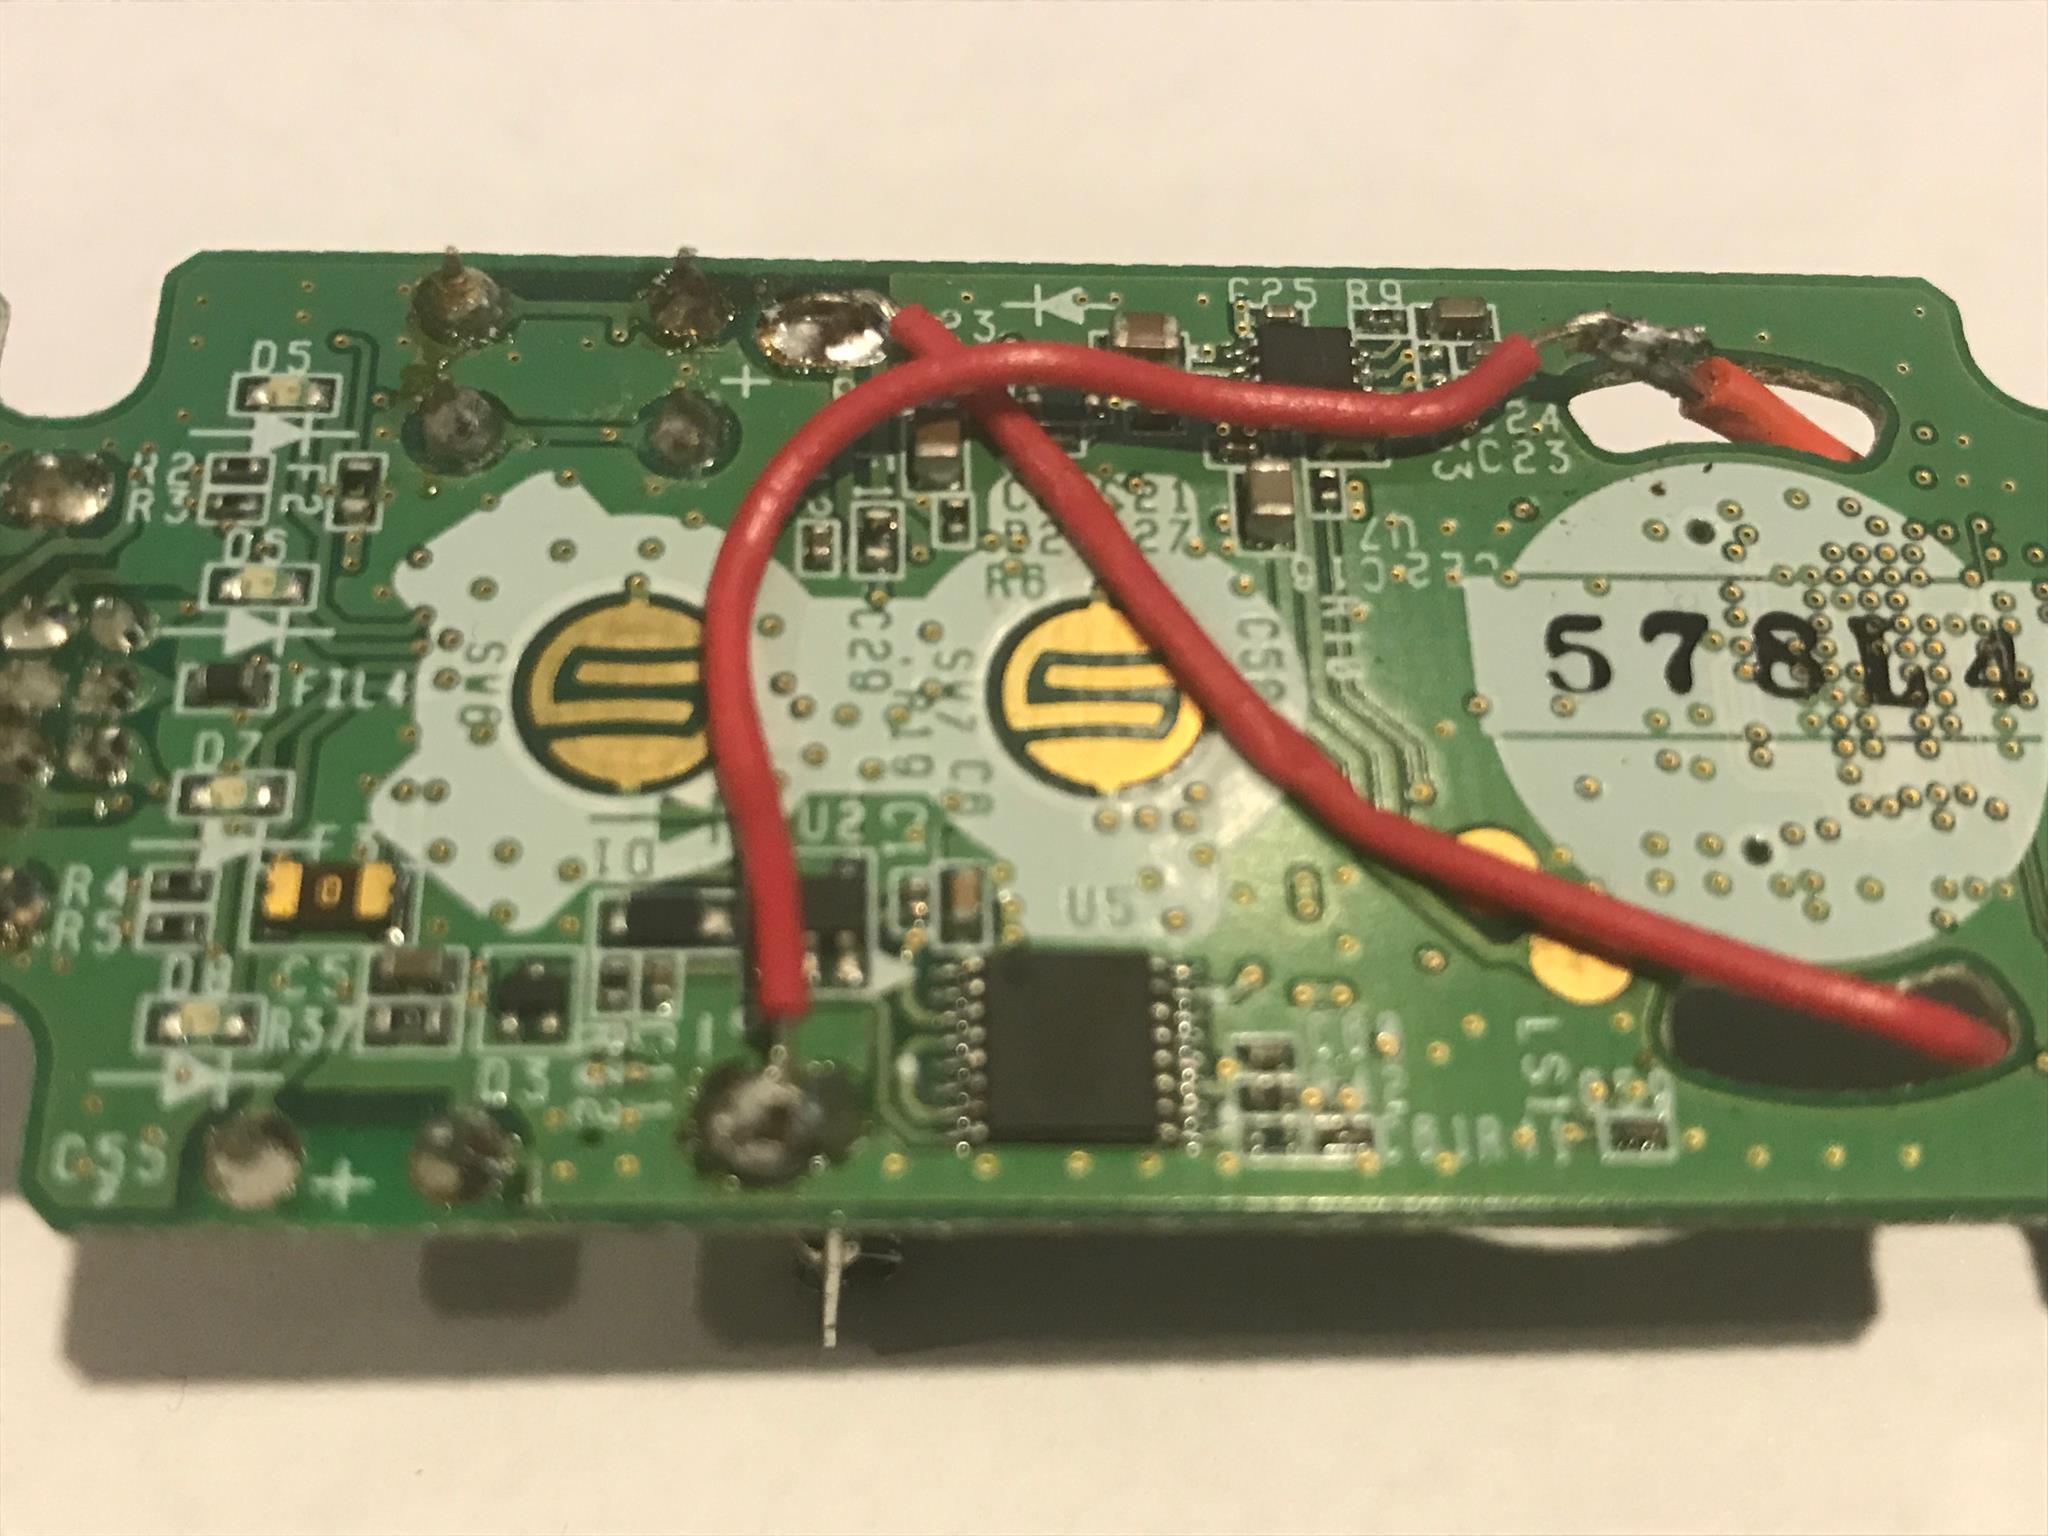 the positive contact on the remote.
 As for the negative wire we are going to break it through the “A” button. Look closely at the “A” button and you can see how its made of two copper pads. The pads make contact when the button is pushed. I drilled two tiny holes on each side of the pads and soldered two wires. One of the wires connects back to the
 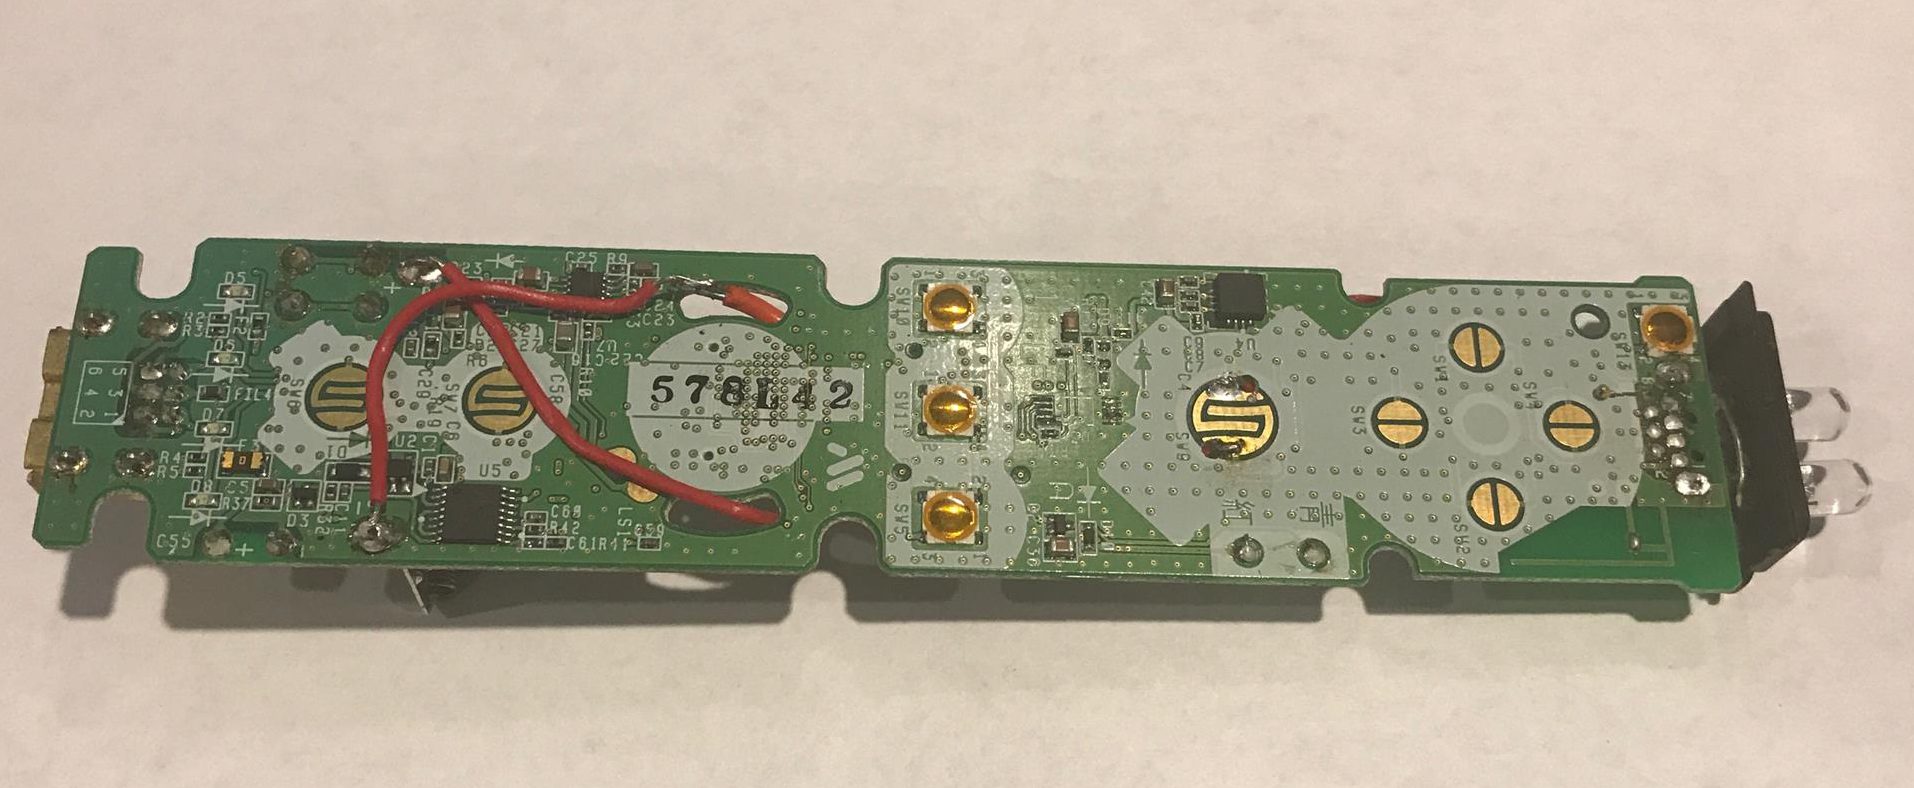 LED and the other to the negative post on the battery contact.
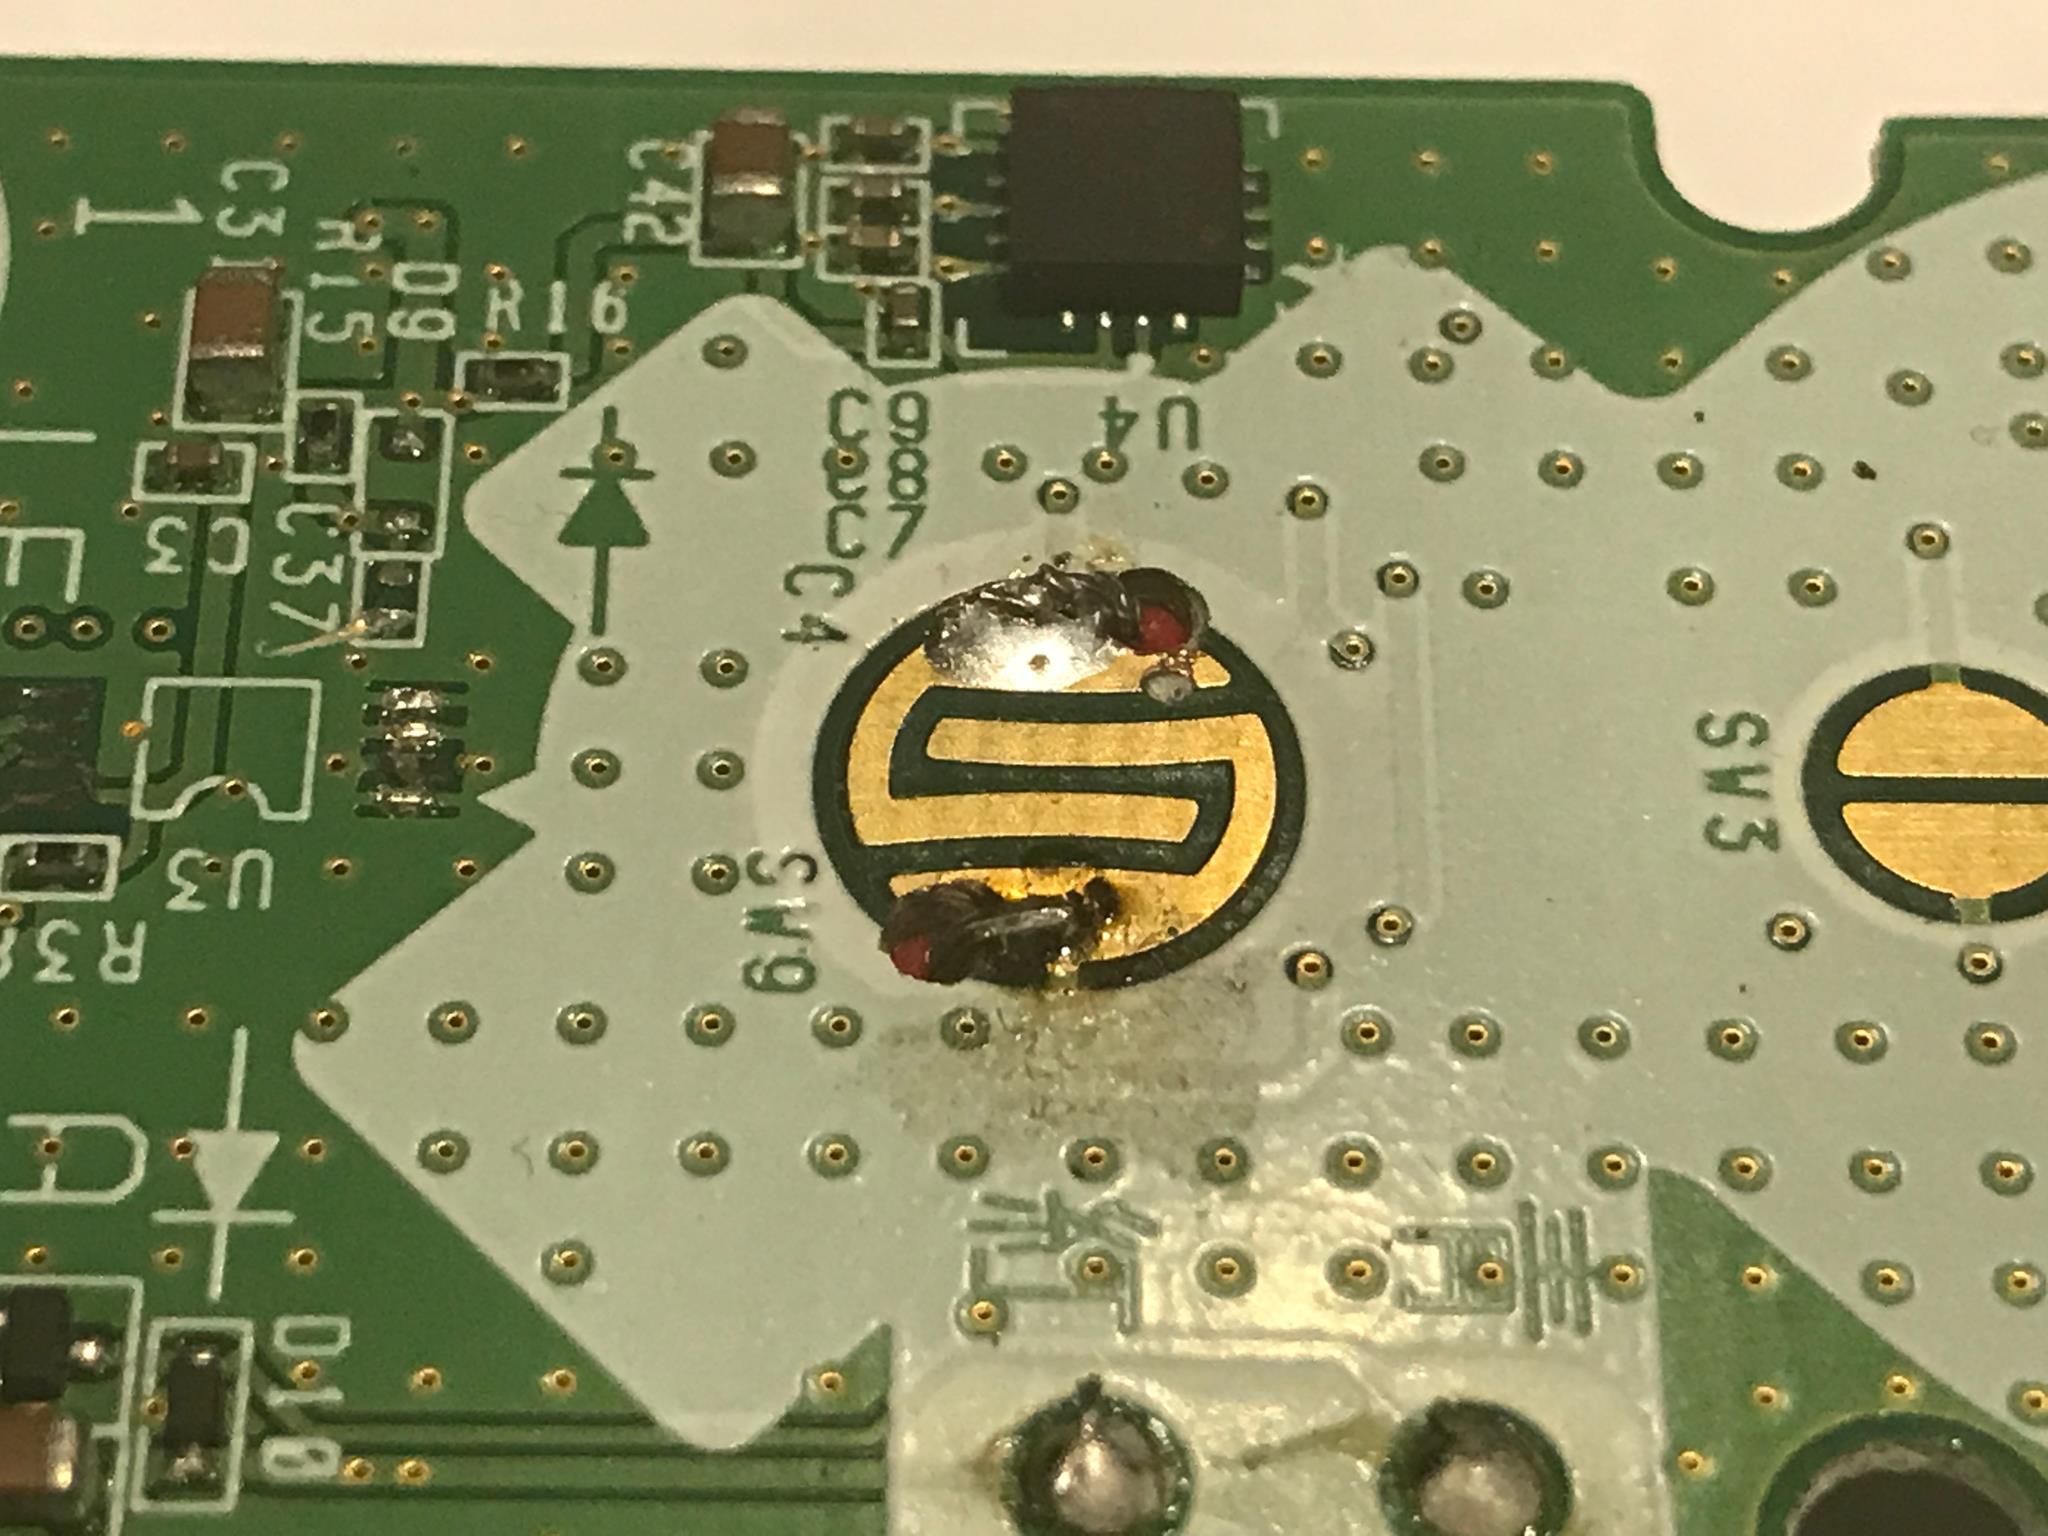
This is going to sound vague but do some damage to the Wii Remote circuit board. We do not want to power the original electronics so making sure the board is completely dead will help preserve battery life.
Finally reassemble the remote and make sure the wires are not pinched or broken. Tighten the triwing screws, install the batteries and your DONE!
 Don’t have time to make this project on your own? Can’t find all the parts?
Stop by my Etsy shop and pick one up today. Only $12.99

Thank you for reading my blog,
-Joe