


As a society our technology has exponentially improved over the last 20 years. Many of us carry around the the collective knowledge of the human race in our pockets. All these advances have a side effect, tons and tons of E-waste, our obsolete gadgets just become trash over time. In this post we will put one iconic piece of old tech to new use.
The 3 ½ Floppy Disk
The 3 ½” floppy was introduced in 1983 and was manufactured for almost 30 years. There are a lot of disks floating around out there and maybe you have some hiding in your basement. Don’t throw them away just yet, lets re-purpose into this great Floppy Disk Pencil Holder.
Supplies You Will Need:
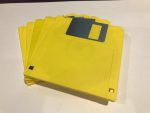
QTY 5 x 3 ½” Floppy Disks (can be found in your basement or on Ebay / Etsy)
 12 x 4″ Nylon Ties (AKA Zip ties) These are 9.99 and in cool colors!
Tools You Can Use:

Dremel / Rotary Tool or Drill $25.00
w/ Small Drill Bit
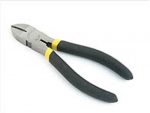 Diagonal Cutter $6.00
Lets Get Building
Step 1 – Start At The Bottom
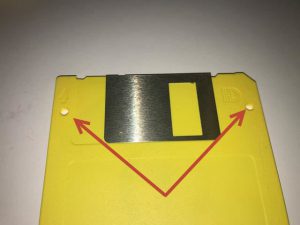
I start with the bottom (base) of the pencil holder. My first step is to drill out two holes one on each side of the disk. These holes are very easy to find, no measuring required. Simply flip the disk over and drill the two existing indentations. They will be perfectly spaced. In fact there is no need for any measuring at all with this project.
Step 2 – Mark all your holes

We need to mark off all the holes to be drilled on the base of the holder. I use the disks themselves to measure. Look at the image to the left. The base disk is at the bottom of the picture and the first sidewall is at the top. Line up the right side according to the arrows. Then place a dot with a sharpie.
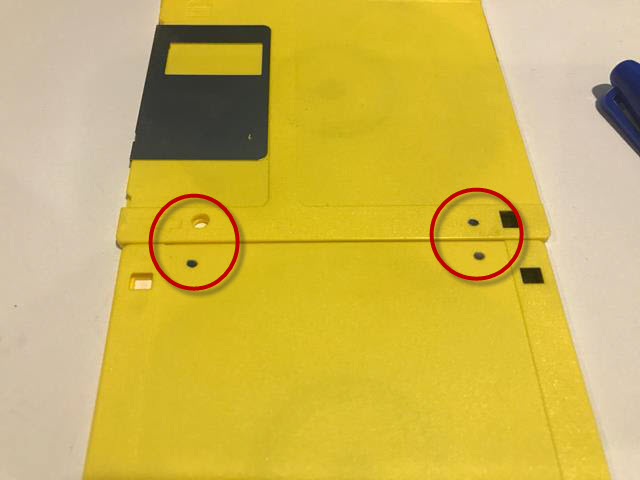
Next, take the sidewall disk that was on top (with the singe dot) and bring it to the bottom of the base disk. Again align the disk and make your dots with a sharpie. You should now have 3 dots total. 1 on the base disk and 2 on the side wall disk (remember we have only been working with 2 of the 5 disks)
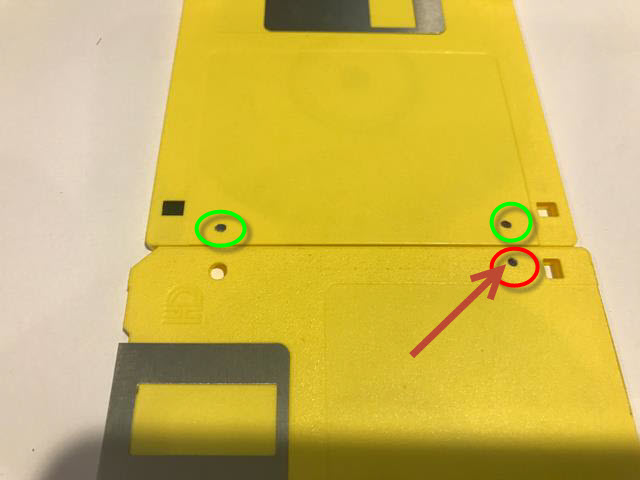
Confused yet? I hope not. Now take the side wall disk again and place it back on the top just like in the first step. The side wall disk already has two dots (green circles) transfer the missing dot onto the base (red circle)
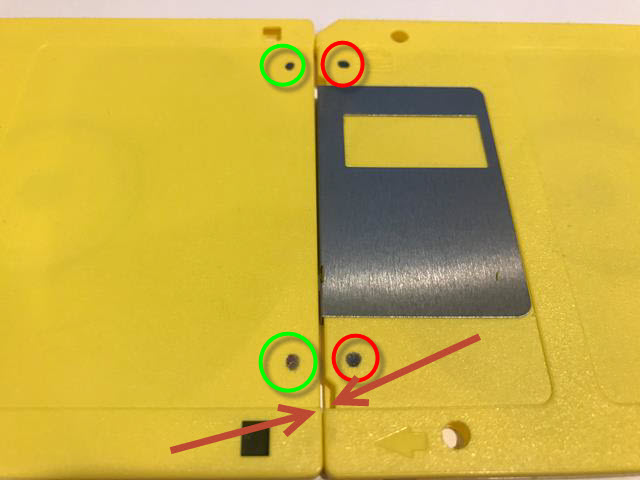
Next move the sidewall disk to the front of the base where the metal slider is. Transfer two dots to the base. Remember in the image to the left Green dots exist, red dots you need to mark off with a sharpie.
Look at the arrows and make sure you are lined up properly.
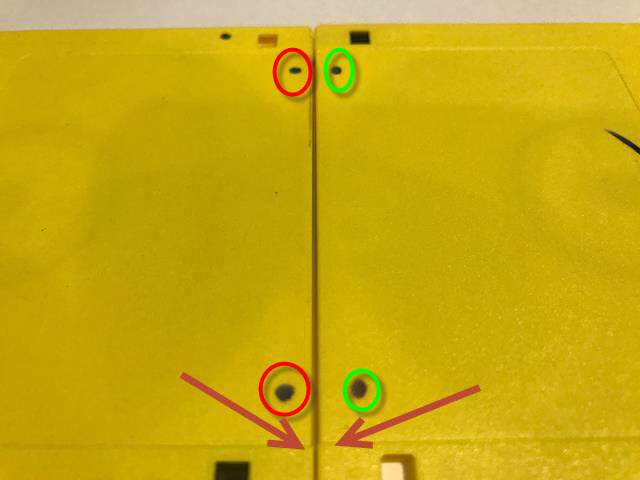
This is the last one, take that sidewall disk and move it to the back of the base floppy (like back to back) It is important to line it up properly and transfer the dots green to red

When you are done there should be 6 dots to be drilled out and 2 that were previously drilled. This will be the base where the rest of the disks will tie in.
Step 3 – Drill the holes
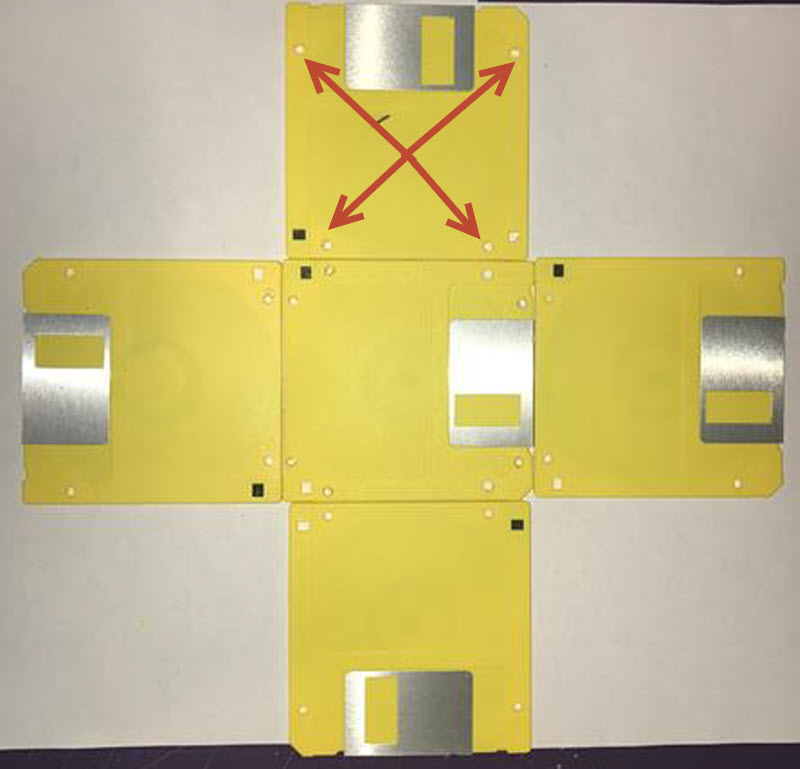
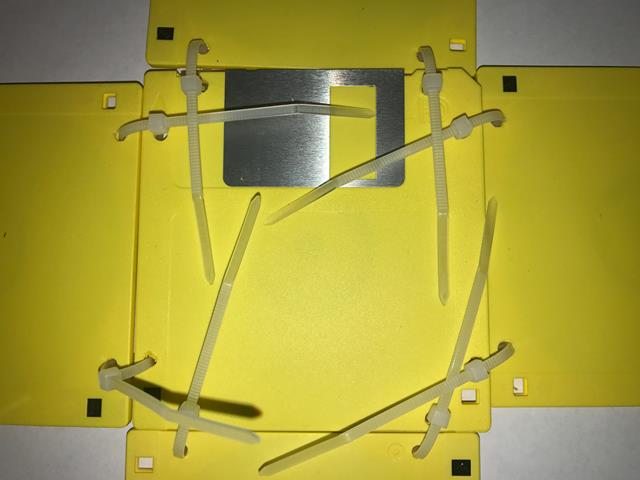
Drill the 6 holes in the base and the 4 holes in each of the sidewalls. When you are done the layout should look like the image to the left. Click to enlarge so you can see the holes better
There are a total of 32 holes – 4 in each disk and 8 in the base. You will need 12 nylon ties to hold everything together
Step 4 – Tie it up with nylon
Working with the base (center disk) use 2 nylon ties to hold each disk in place. * Important Don’t make the ties tight yet. You will need some “slack” to tilt the sides up to make the box.
Step 5 – Make the box
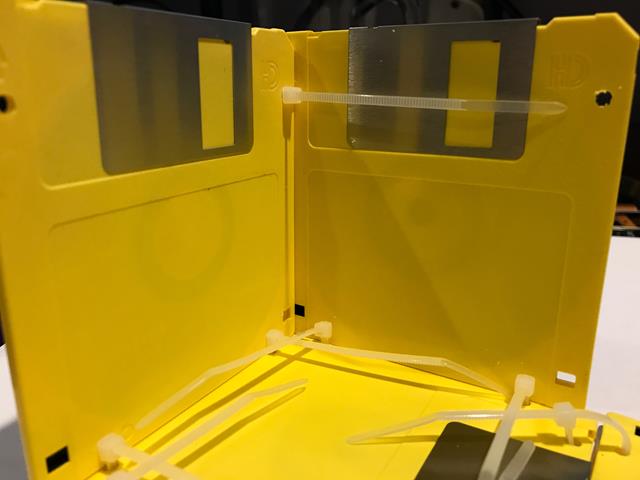
Pick a side (I like to start at the front of the base disk where the metal door is) and fold that sidewall disk up. Then take the adjacent side and fold upward as well. Use a single nylon tie in the upper holes to fasten together.
At this point pull the bottom ties tight as well to hold the disk in place.
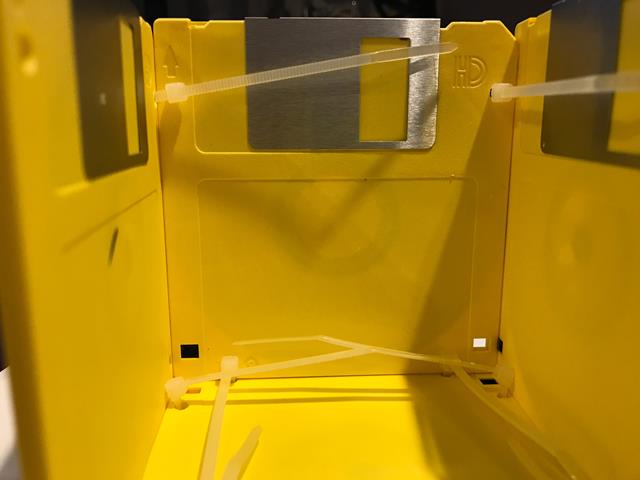
Repeat this procedure for the other sidewalls
It should look like this
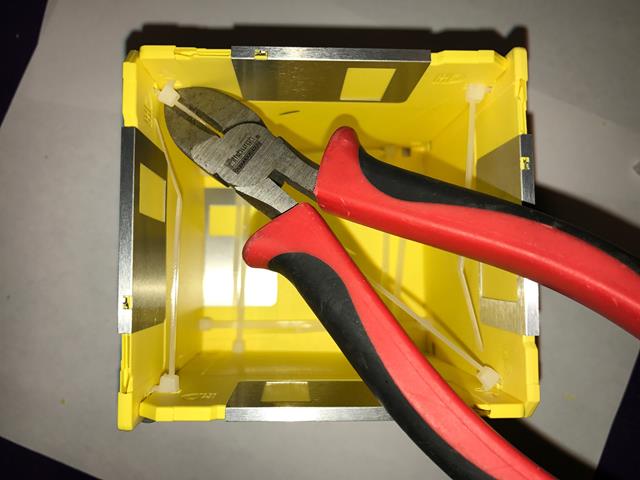
Now use your diagonal cutter to clip the excess nylon tie and you’re done!
This is a great use for old floppy disks! Do you have a good use for old disks? Let me know in the comments.
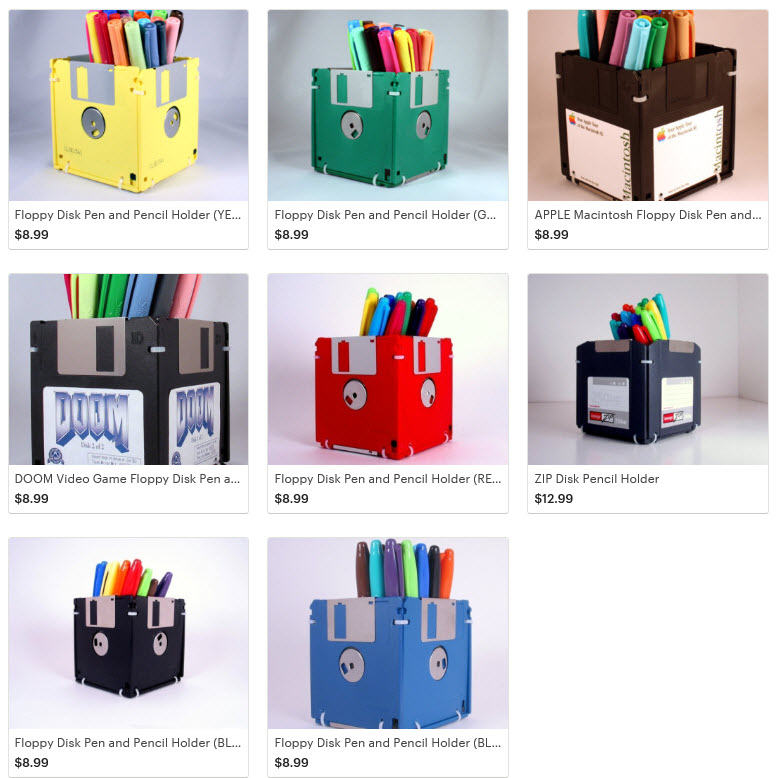
Don’t have any disks at home? Want to buy one of these already made.
Visit my Etsy store – Floppy disk pencil holders start at $9.00
 Thank you for reading my blog
-Joe