

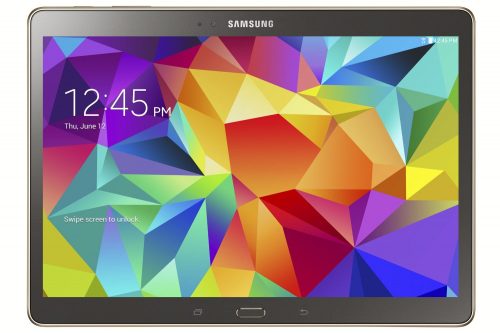
It seems like everyone on this planet likes the latest shinny new gadget, and I’m no exception. However, there are times when one of those gadgets has everything you want in it and does a good job. My Samsung Galaxy Tab S is one of them.
Its OEM battery is running on fumes and basically it needs to be tethered to the wall almost all the time. Rather than toss it in the trash or take it to the kiosk in the mall I figured I would make a run at changing the battery myself. This replacement was MUCH easier than expected. I have changed a number of iPhone batteries over the years and they are a pain to do (because of all the glue). The Galaxy was easy and only took about 15 minutes to complete.
TOOLS AND PARTS
First stop was to Amazon to check out the replacement battery choices. There was a number of different units on sale from $17 to about $55. While scrolling through they all seem to be the same Chinese replacement so I simply picked the lowest cost kit

The above kit was only $17 at Amazon! The tools feel a bit on the cheap side, but they do the job getting the device open and the battery swapped out.
Galaxy Tab S – Done in 5 Easy steps
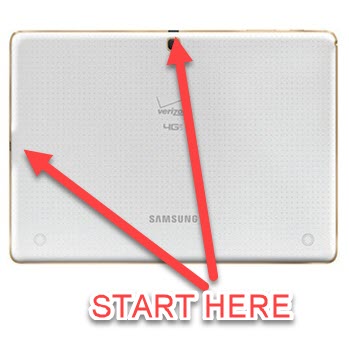
The first and probably most difficult part is cracking open the case. The first step is to use an opening tool and pry away at the USB port or charging port. Make your way around the unit popping the plastic tabs as you go. If this is your first time it may take some pressure to get the unit open.
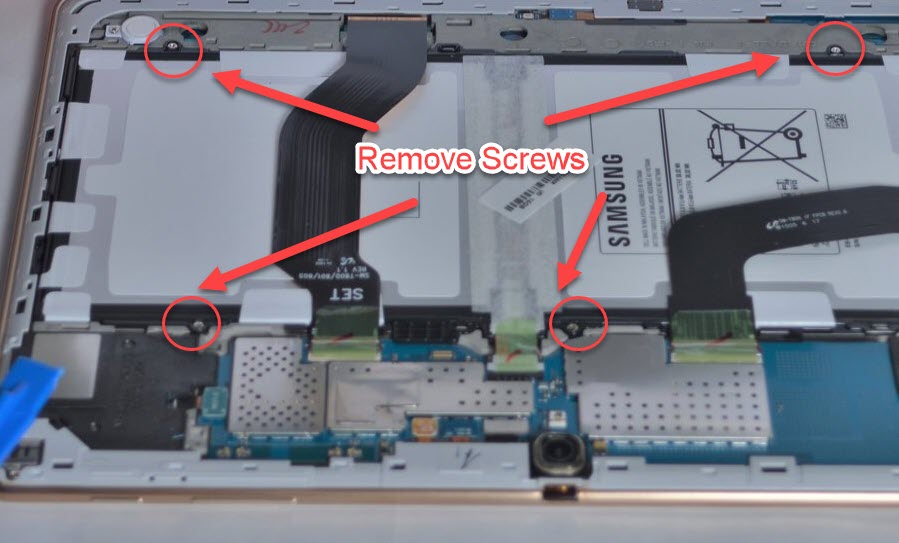
Once you have the back of the Galaxy Tab S off there are two ribbon cables that need to be removed. Use a plastic pry tool to gently open the ZIF socket and lift away the cables. Be sure not to use too much pressure as you can easily break the cable or connector

Remove the 4 screws holding in the battery, then gently pull the battery up. The connector for the battery will release without much effort.
DONE!
Just follow the instructions in reverse seating the battery first, screwing the battery back into place and then carefully reconnecting the ribbon cables.
Don’t forget to replace the tape that was protecting each connector.
That was quite easy and will bring new life into an old tablet.
Thank you for reading my blog,
Joe