


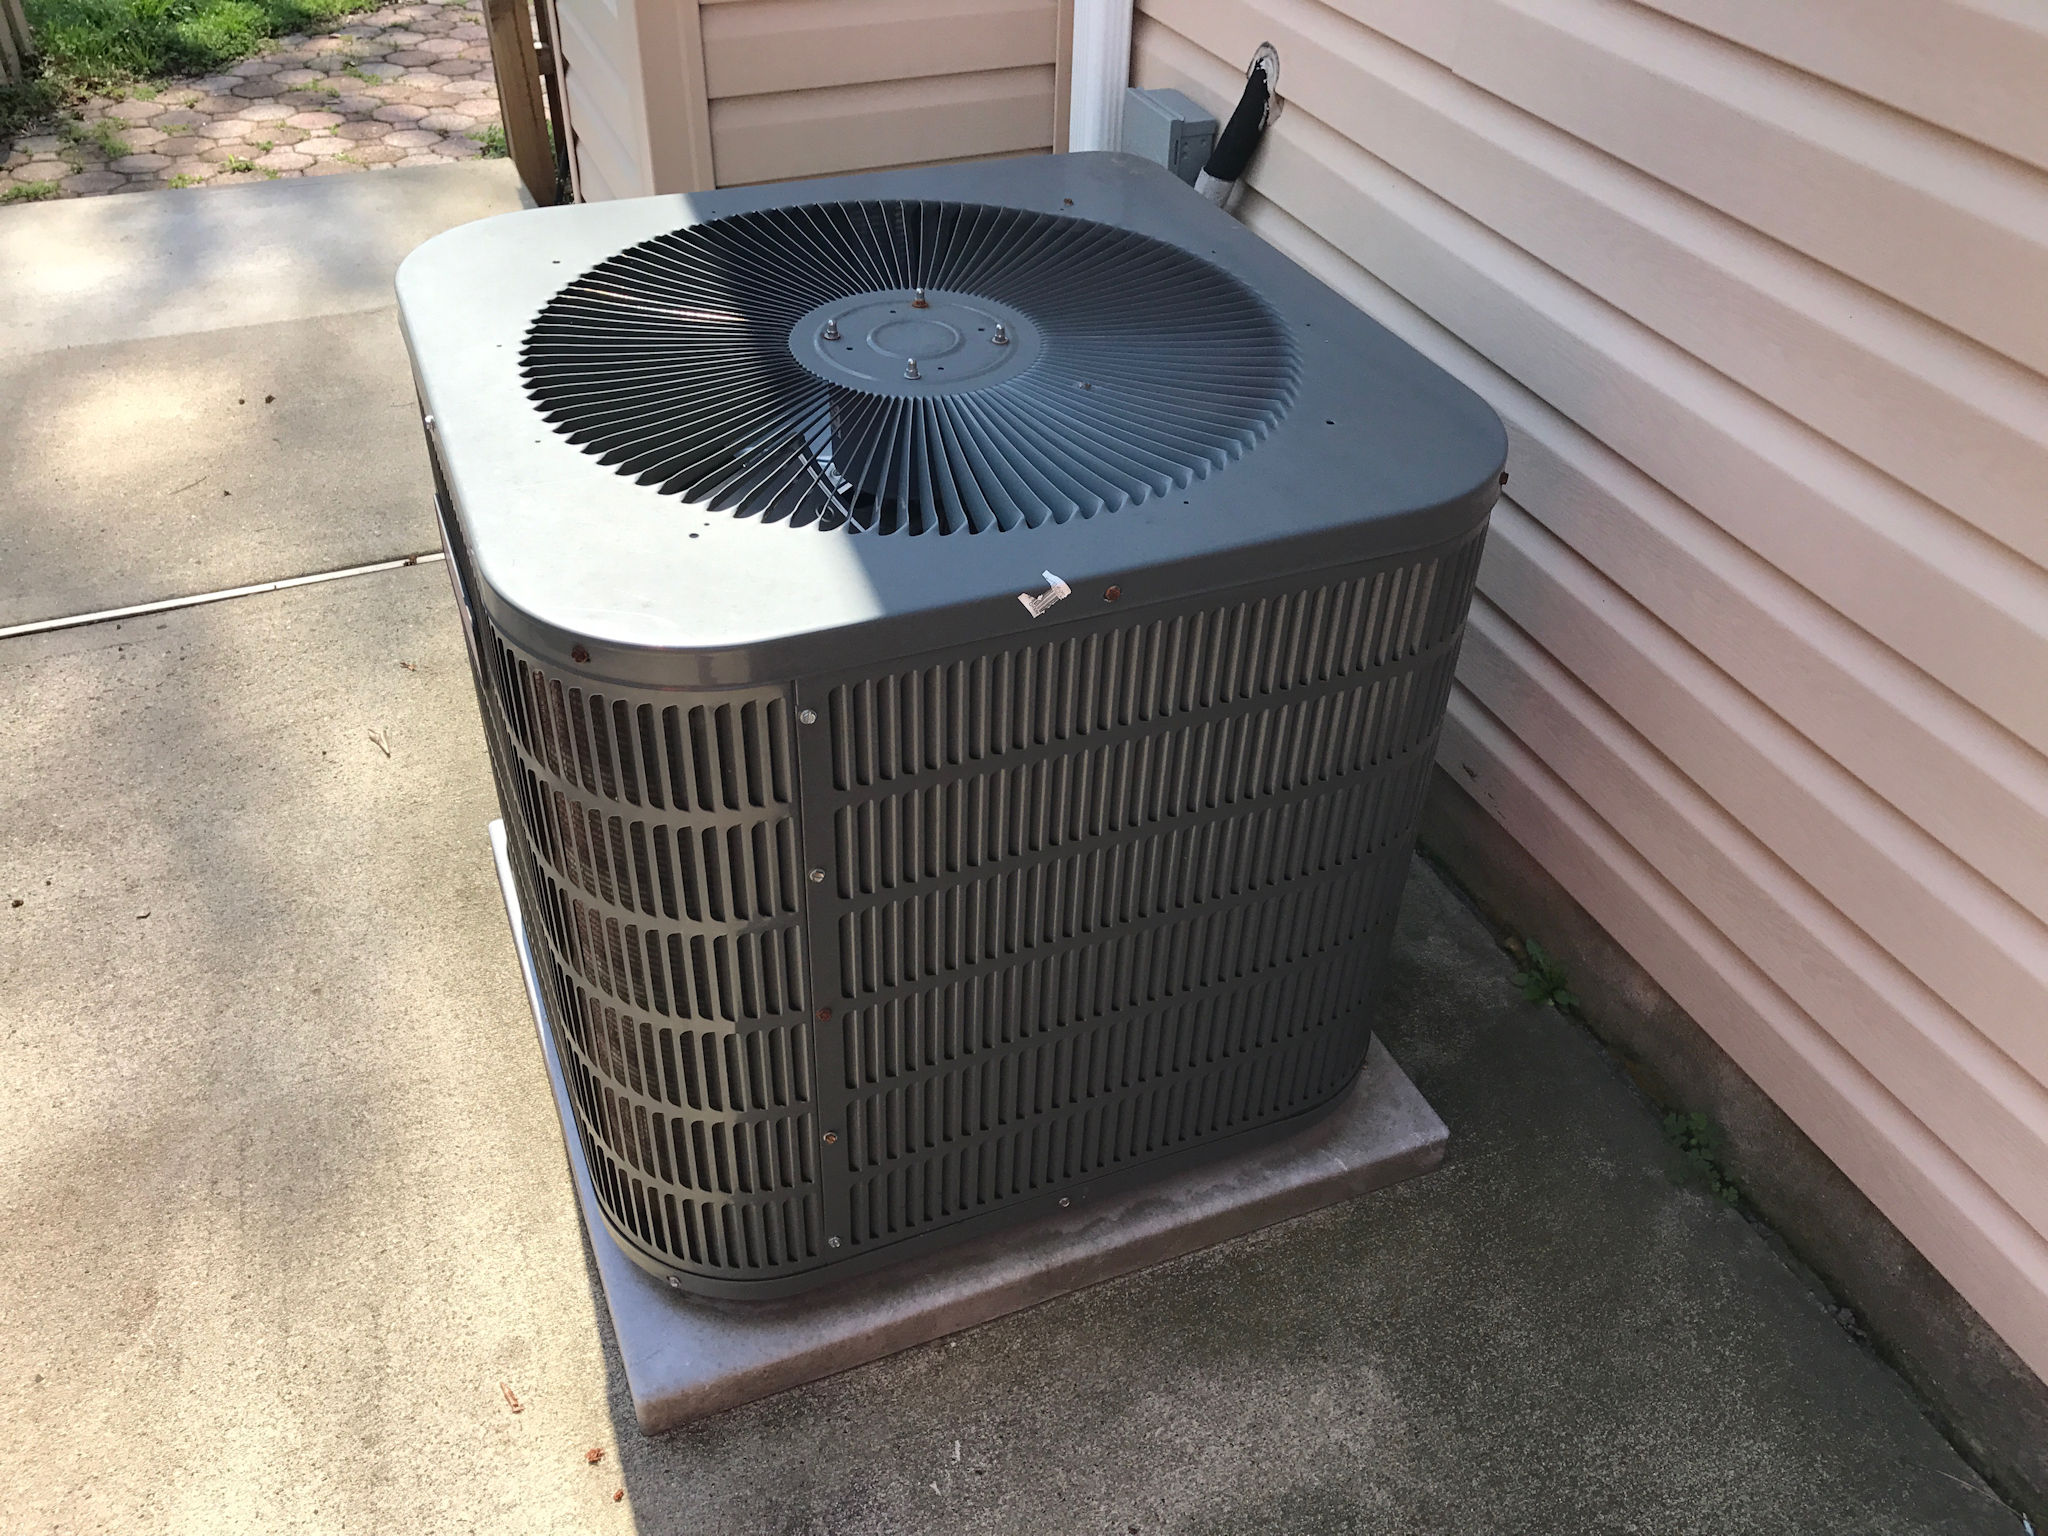
My blog has mainly focused on computers, networking, electronics and an occasional “How To” small project. Today we are going to work on something a bit larger. Every Spring I dismantle my outside central air conditioner condenser units and give the condenser coils a good cleaning. This will help keep the unit running as efficient as possible keeping my house ice cold during the summer months. Also reducing wear and tear on the unit as well as lower my electrical cost too.
Tools you can use:
I completed the entire job with just a few basic tools.
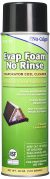 A can of coil cleaner Nu-Calgon 4171-75 $14.12 at Amazon
I used this specific coil cleaner on my units and it works as designed. The thick foam lifted the dirt and grime for easy removal. The label said its a “self-rinsing” formula using the coils own condensation to wash away the dirt. I still used my hose to wash away the grime. One can was NOT enough for my 2 units.
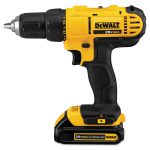 A good cordless drill similar to this one from DeWalt
Any cordless drill with a decent amount of torque will do just fine.
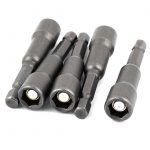 Magnetic socket nut driver, I used a 5/16″ driver like this
The screws on my unit had a 5/16″ head and using the cordless drill saved me a ton of time. You can use a hand driver or a flat edge regular screwdriver as well. The screws on your unit may vary so take a look before you buy any new tools.
Time to get started
It took me about an hour from start to finish to complete the job, my condensers are Goodman units and are about 13 years old.
 IMPORTANT – Before we begin be sure the unit has been completely shutdown and power has been disconnected to the outside. Most condensers have an electrical cutoff box on the side of the house. Pull the fuses or flip the circuit breaker inside the house. please be safe when working with high voltage!
Step 1 – Remove the top cover
The first step is to remove the top cover of the unit including the fan. This can be easily accomplished by removing all the nuts going around the top.(DO NOT REMOVE THE COVER YET)
Also there may be a small access panel on the rear of the unit that houses the electrical components, remove the cover and place on the side.
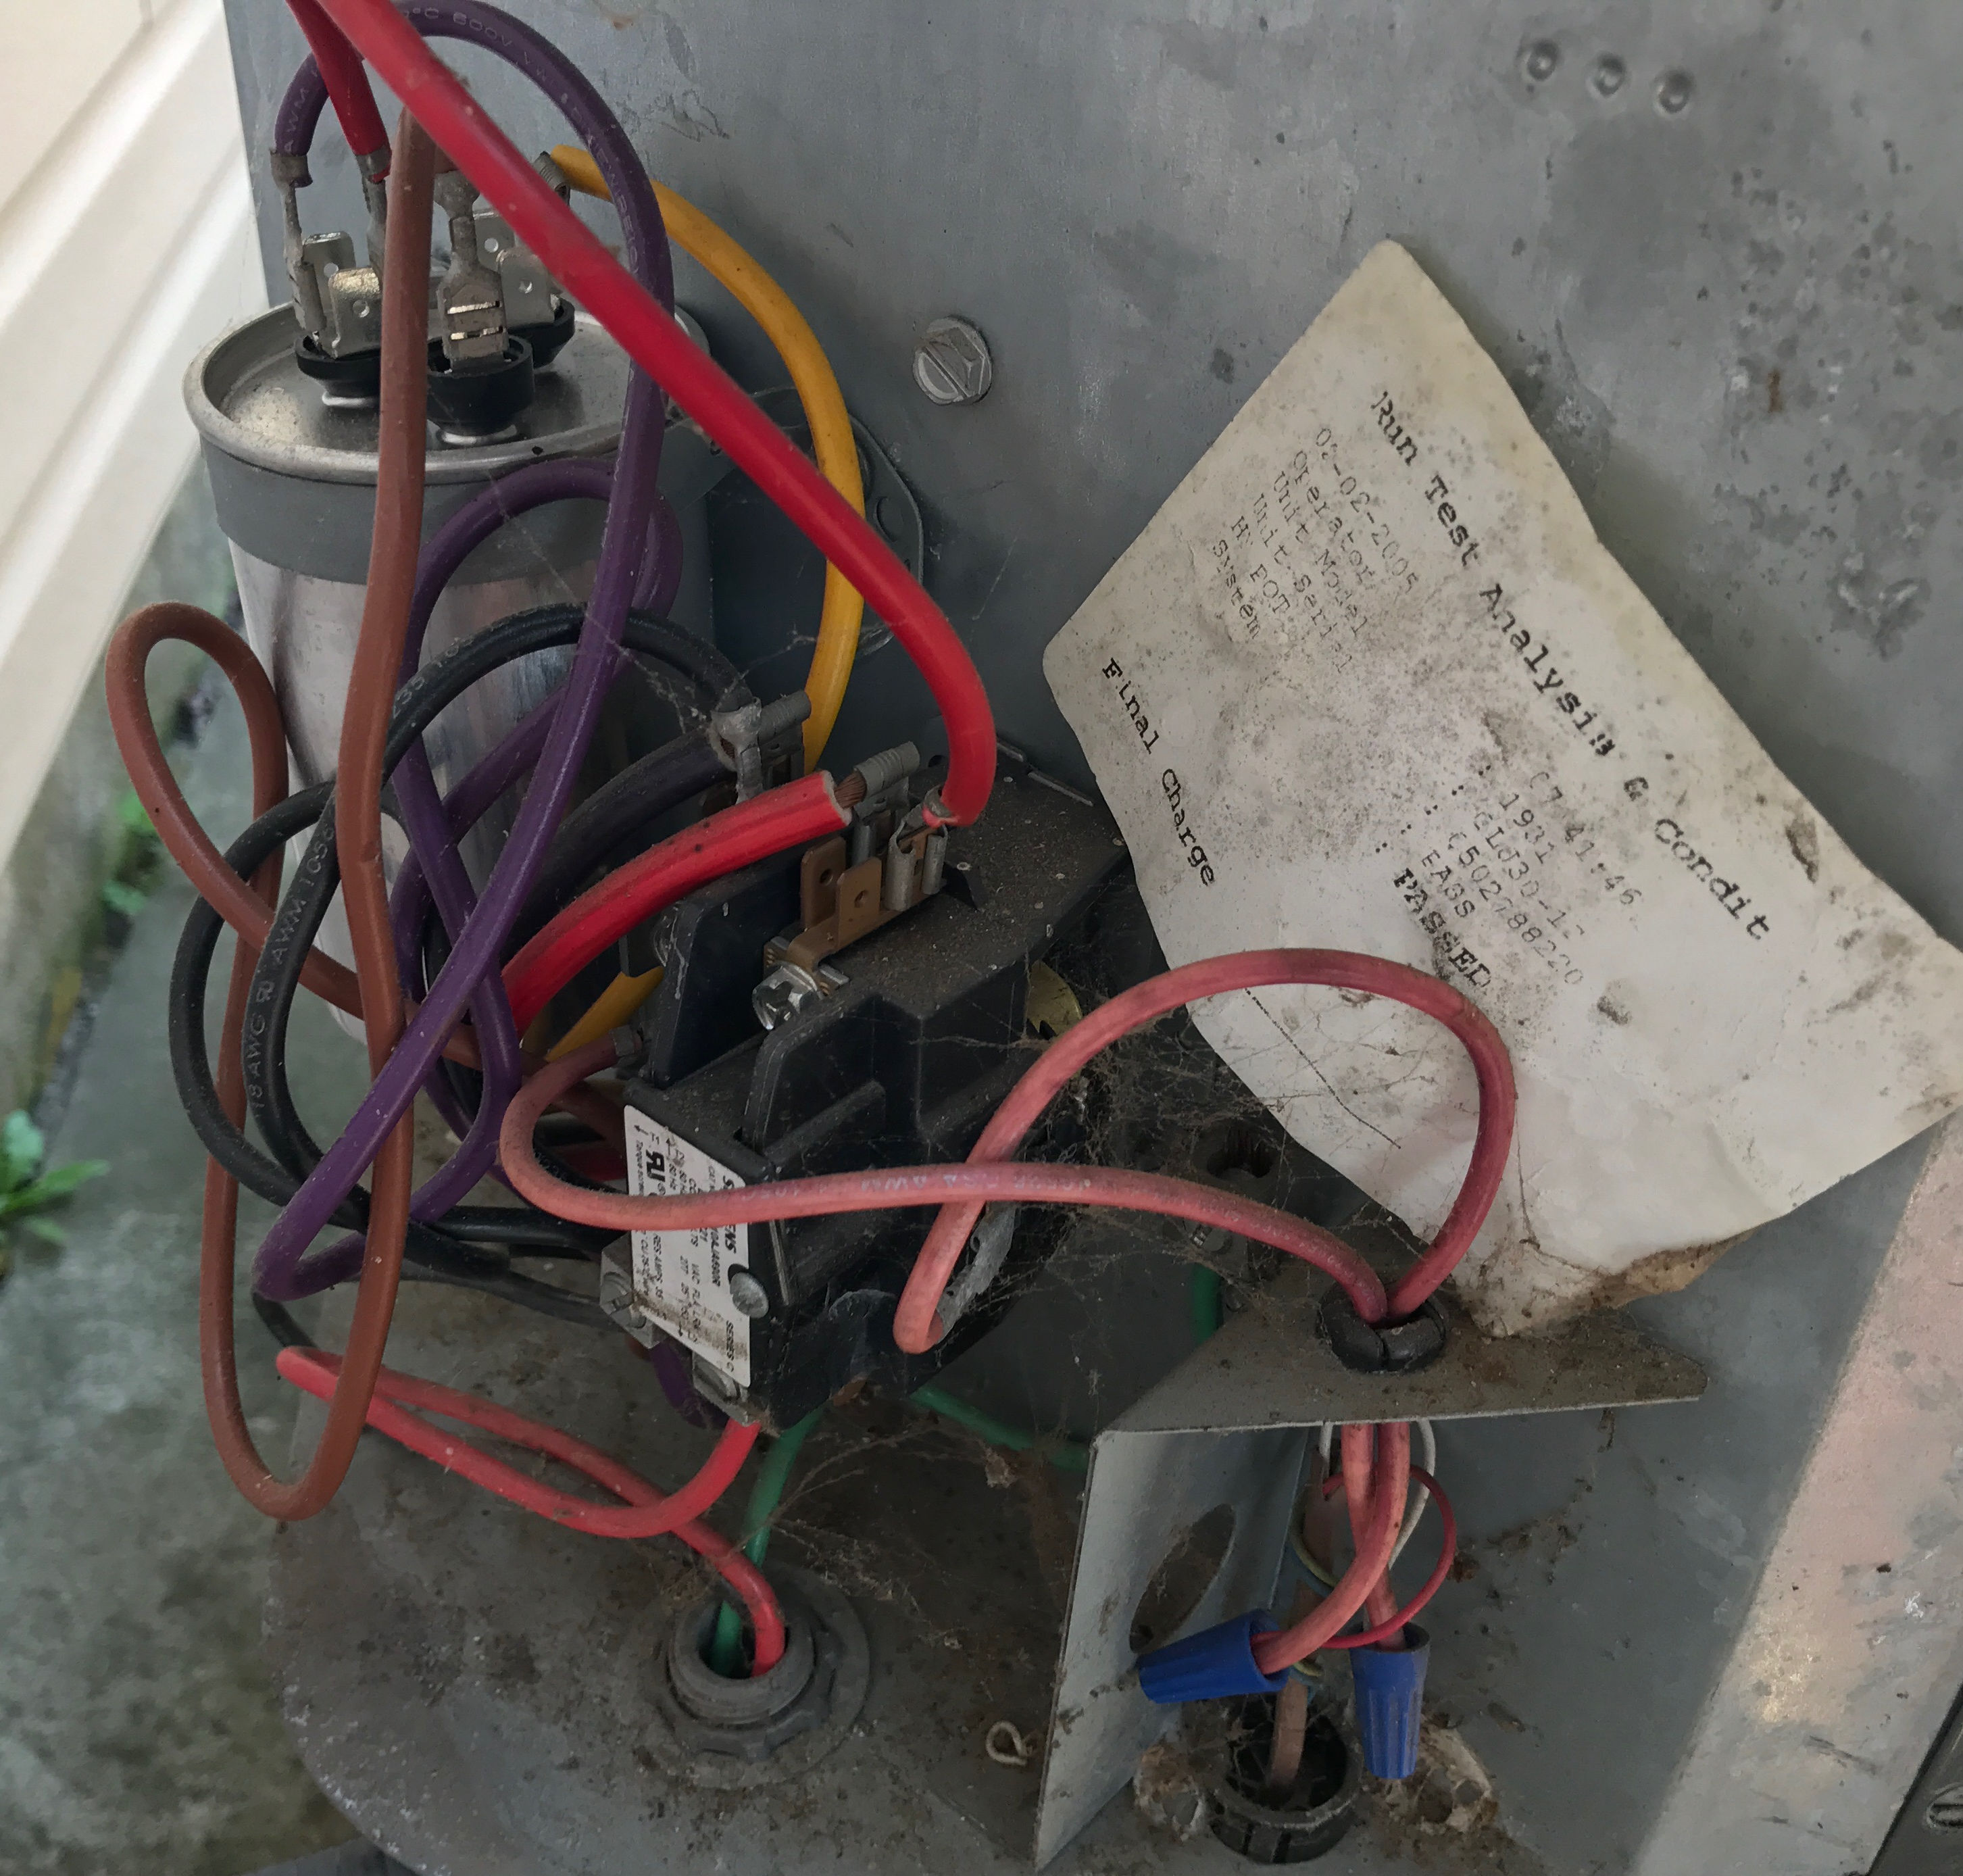
Next look inside the unit and see if you can tell which color wires are coming off the fan motor. My unit had three wires, a black, brown and purple. Now would be a good time to take a photo of your wiring for easy reassembly. Disconnect the wires by gently pulling them off the lugs.
Once the wires have been removed lift the top cover and fan off the unit and place on the side. The fan motor is heavy and it may be beneficial to have a friend help lift.
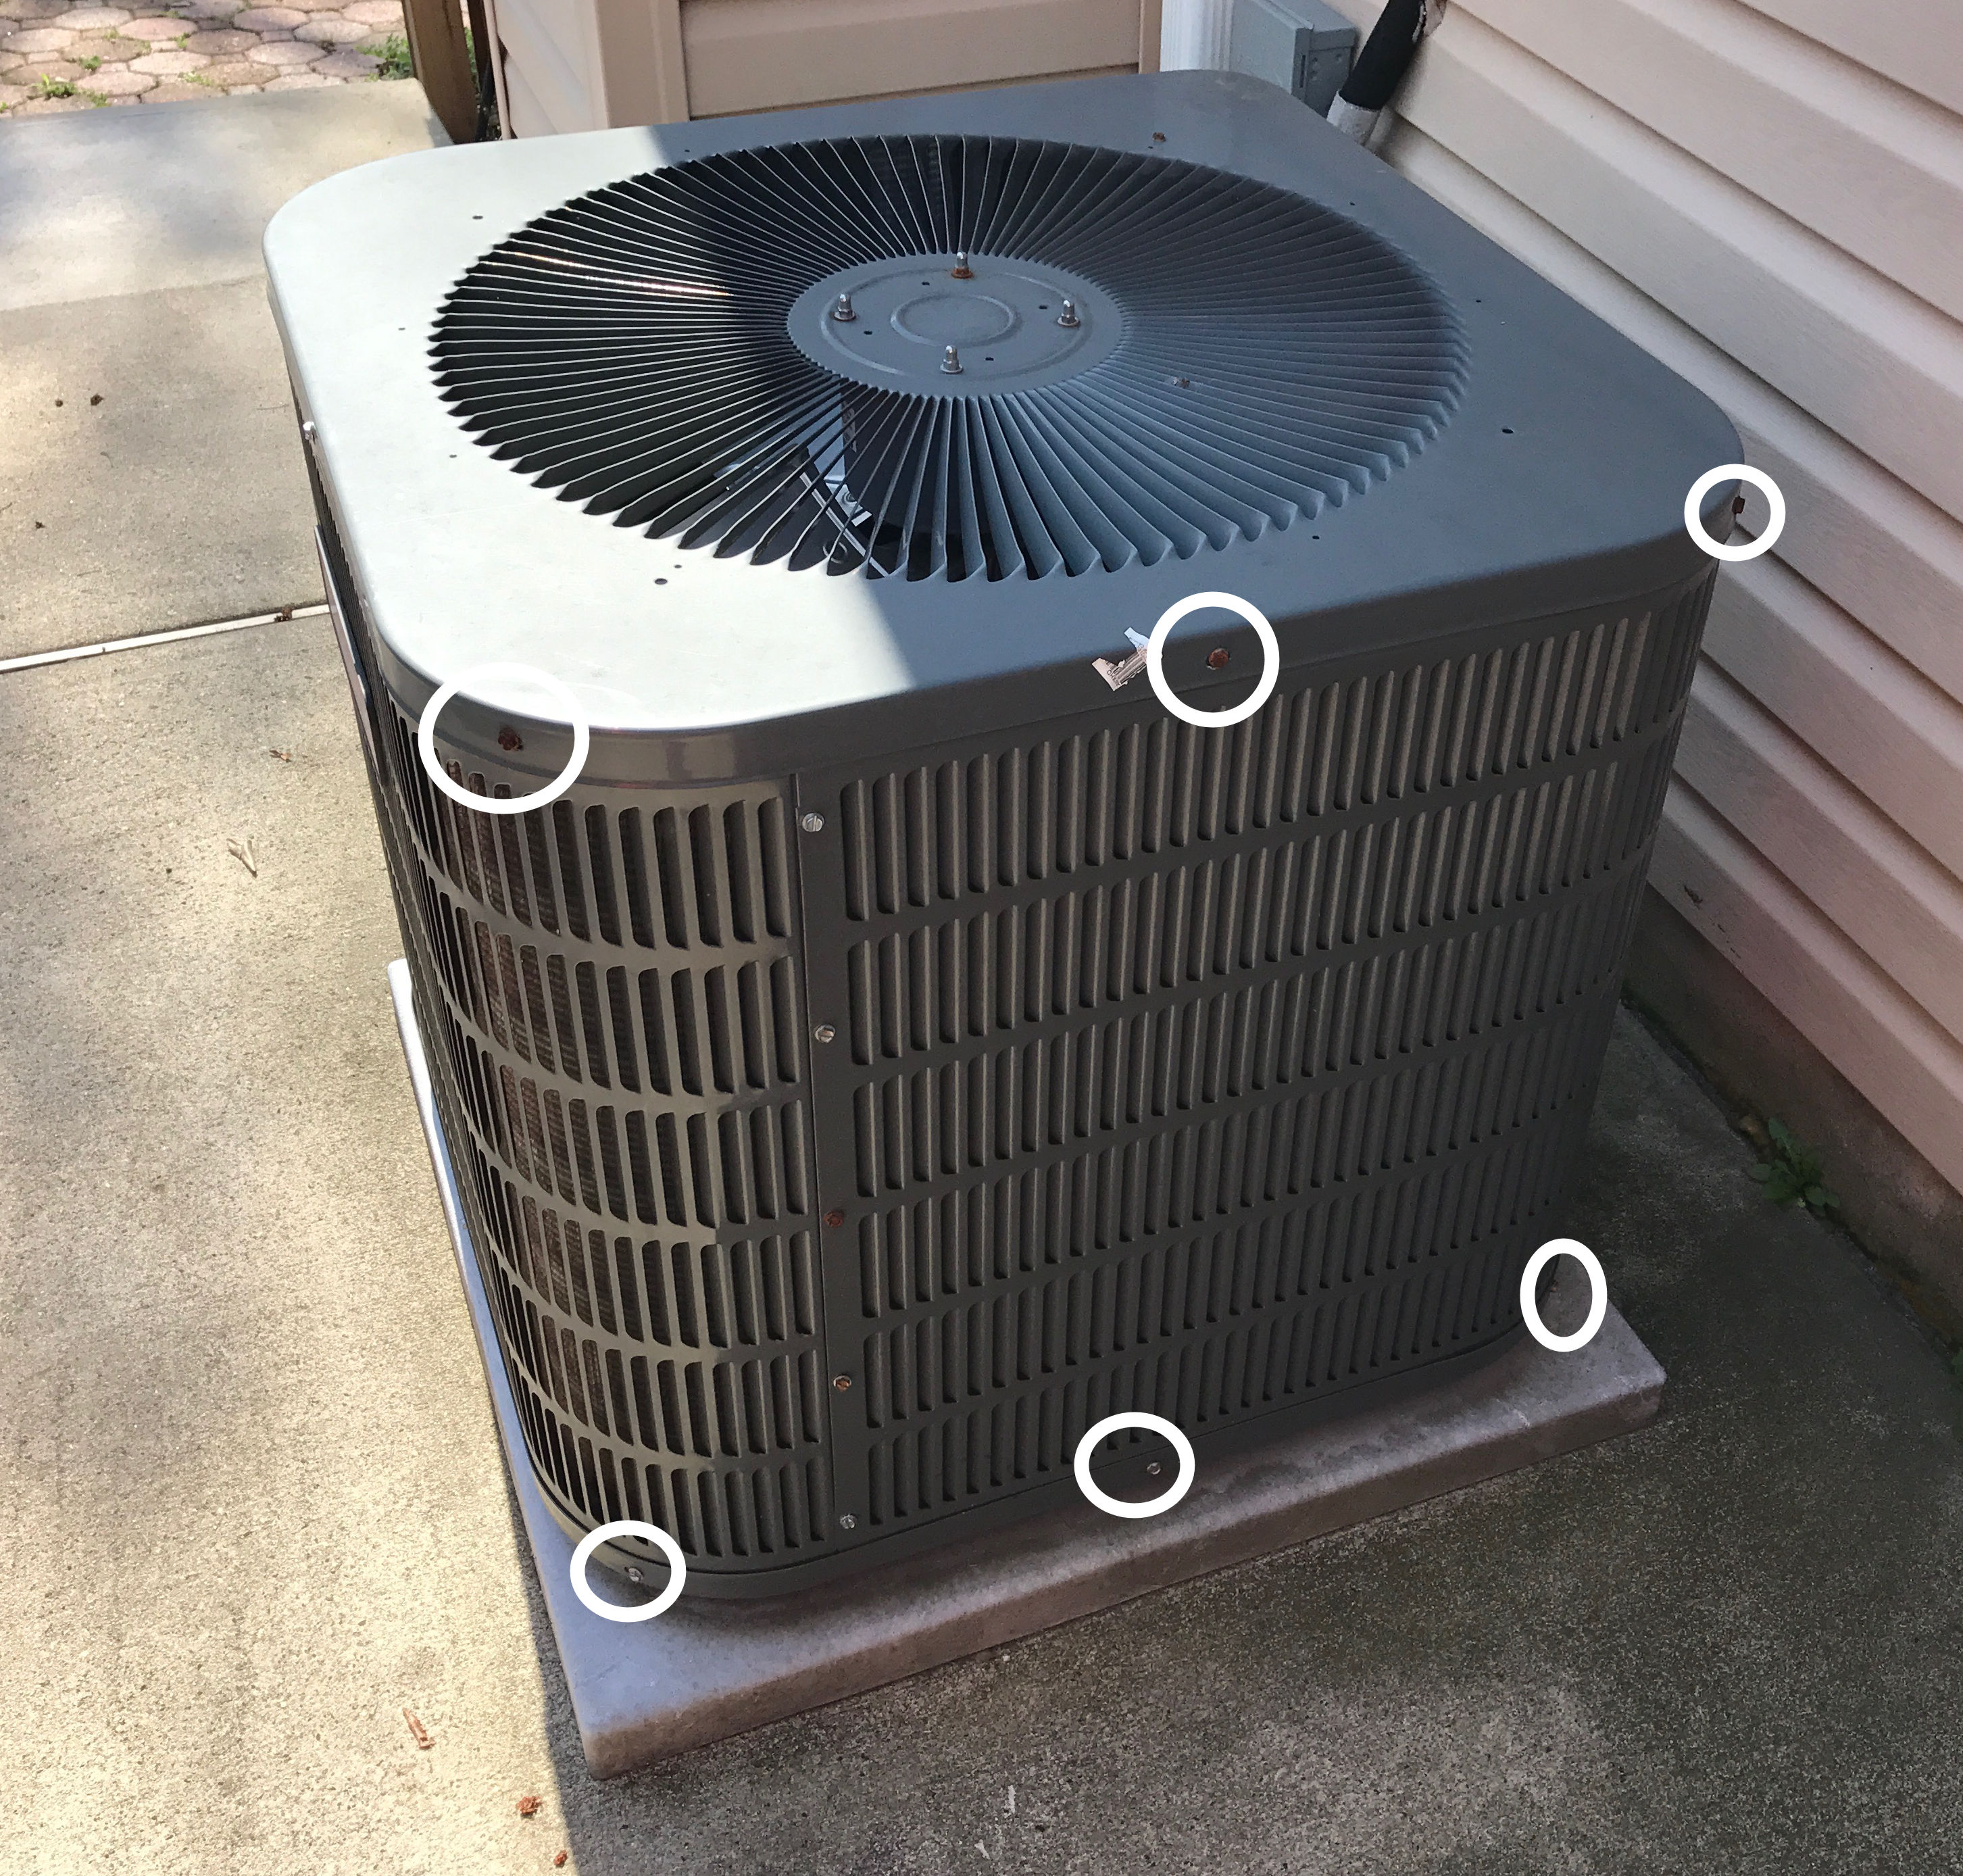
Step 2 – Remove the lower screws
As shown in figure 1 above remove all the lower screws around the bottom of the condenser. Now with the top cover already removed and all the bottom screws removed you should be able to lift the protective side cover off and place out of the way. The cover is more awkward than heavy and it would be helpful to have a friend assist with the removal. The fins on the coil are delicate, use caution not to damage them with the cover removal.
Step 3 – Clean, Clean, Clean
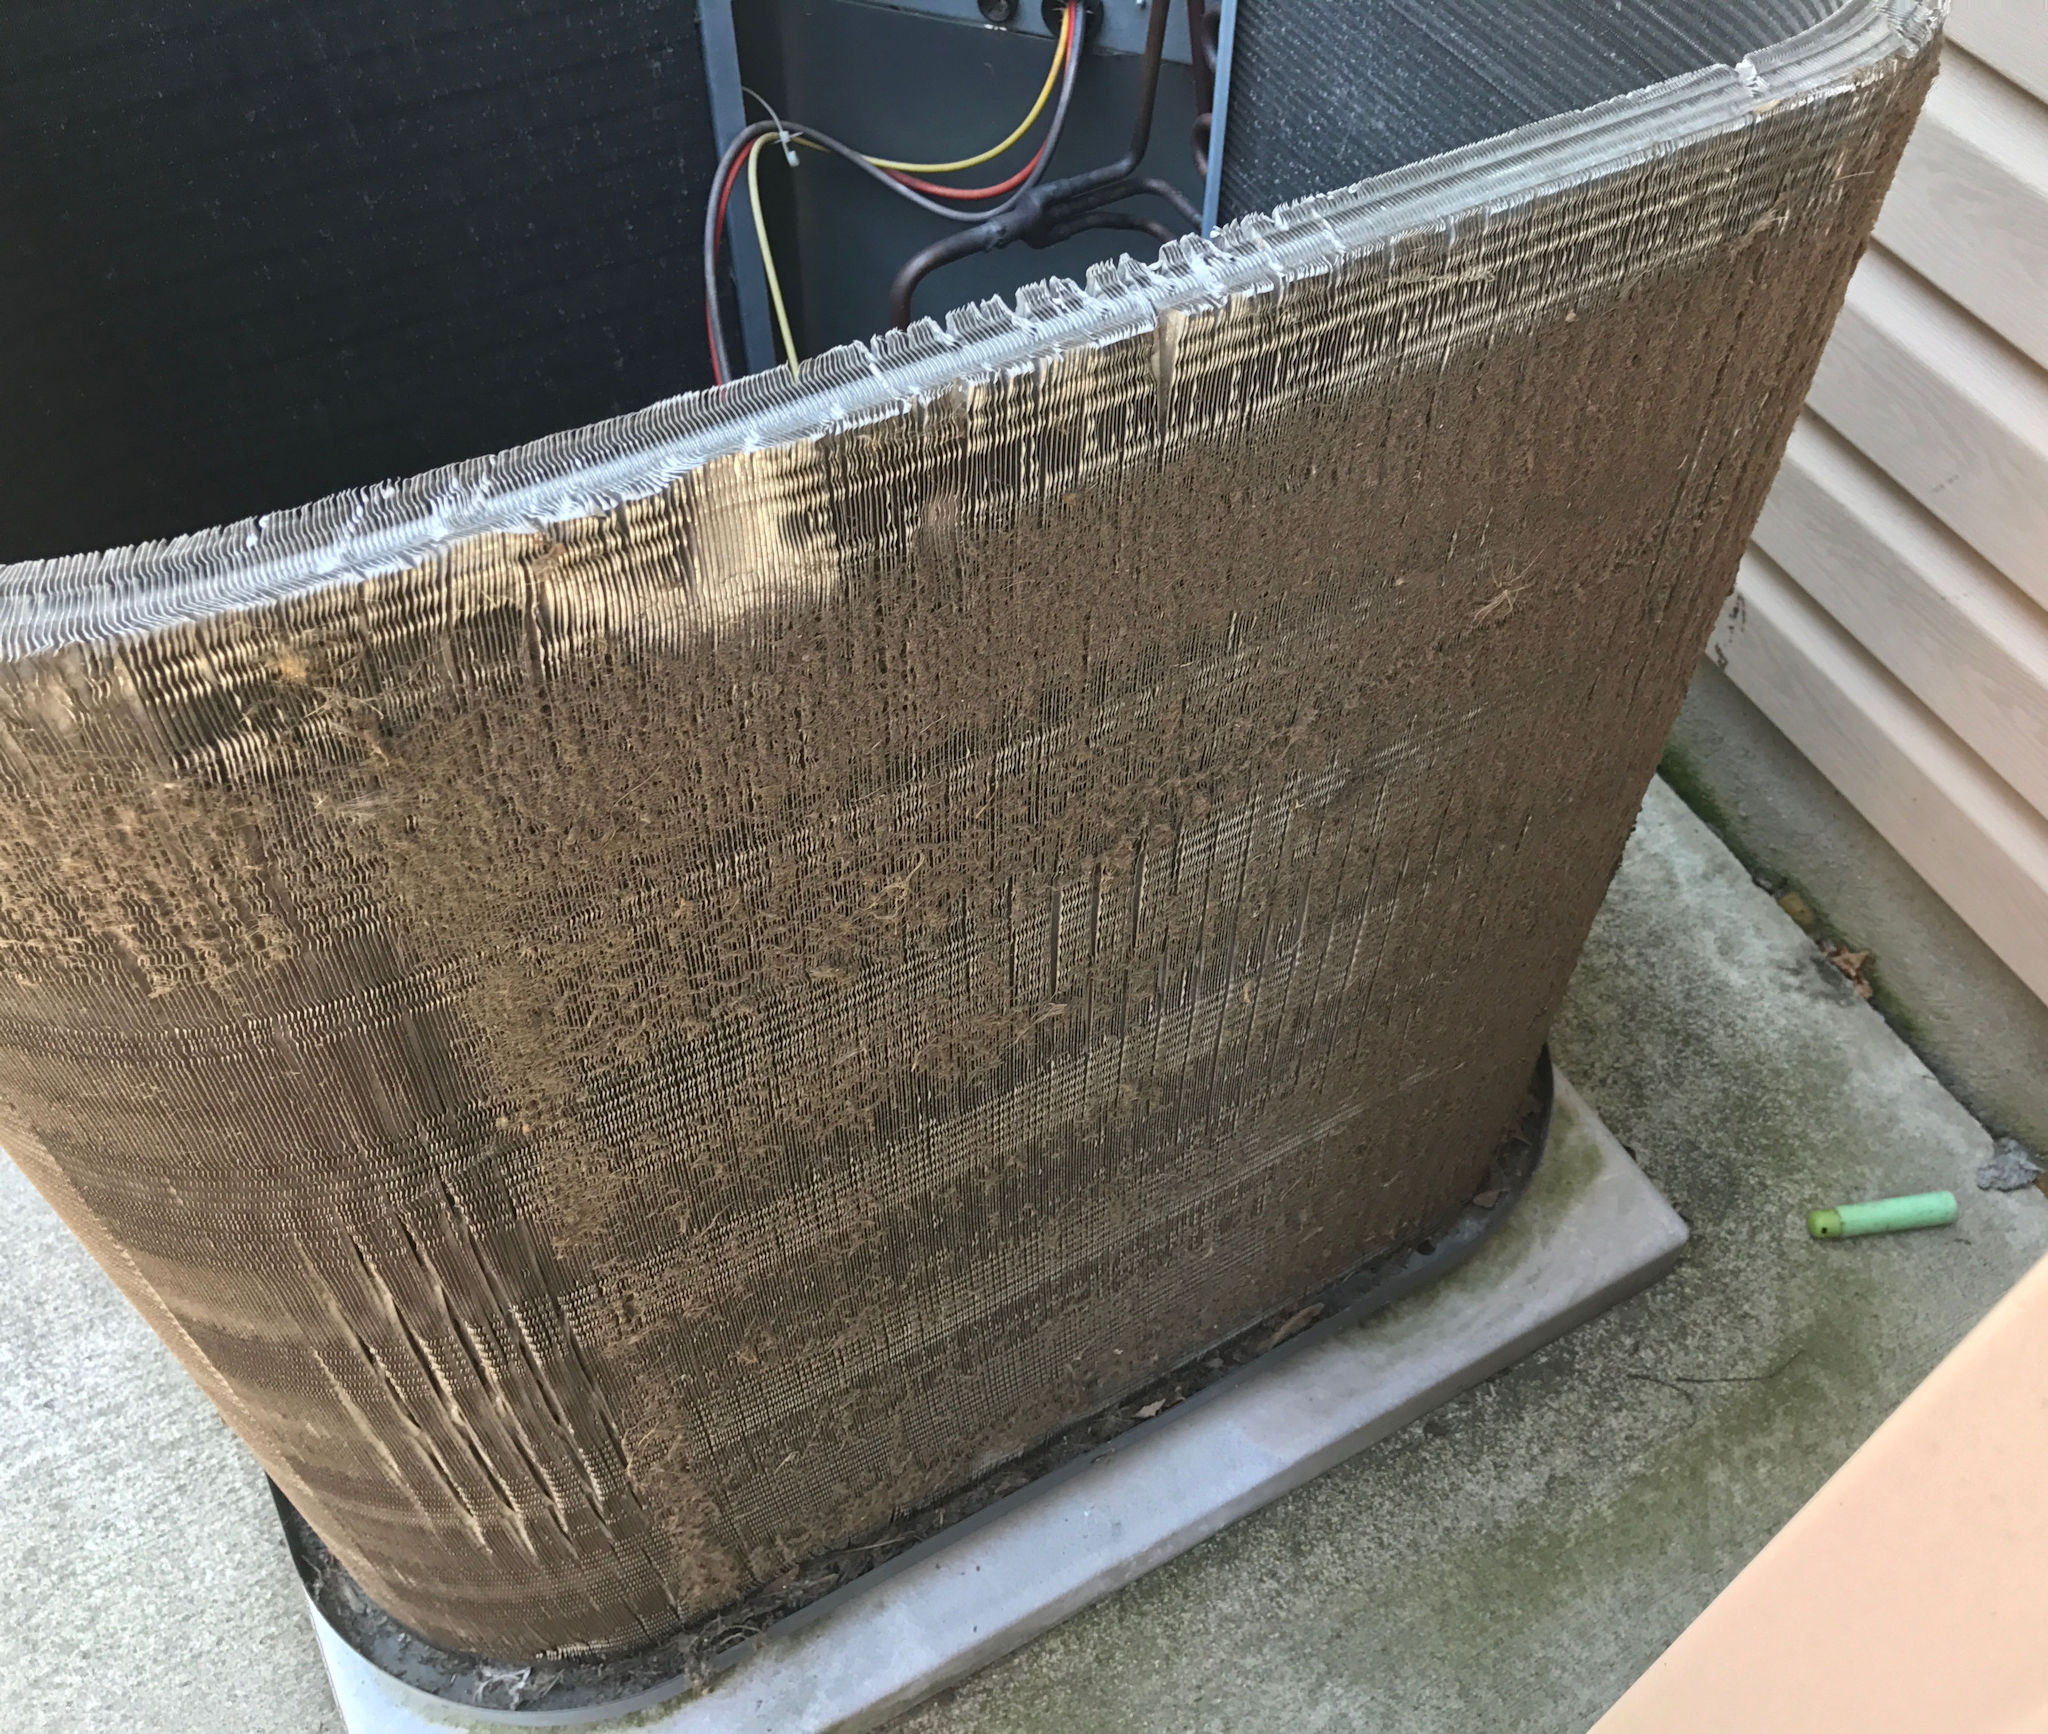
Spray the coil cleaner on the fins of the coil allowing the cleaner to foam. Do this for the outside of the coil only spraying extra cleaner where the coil is heavily covered in dirt. Allow the foam a few minutes to penetrate all the grime.
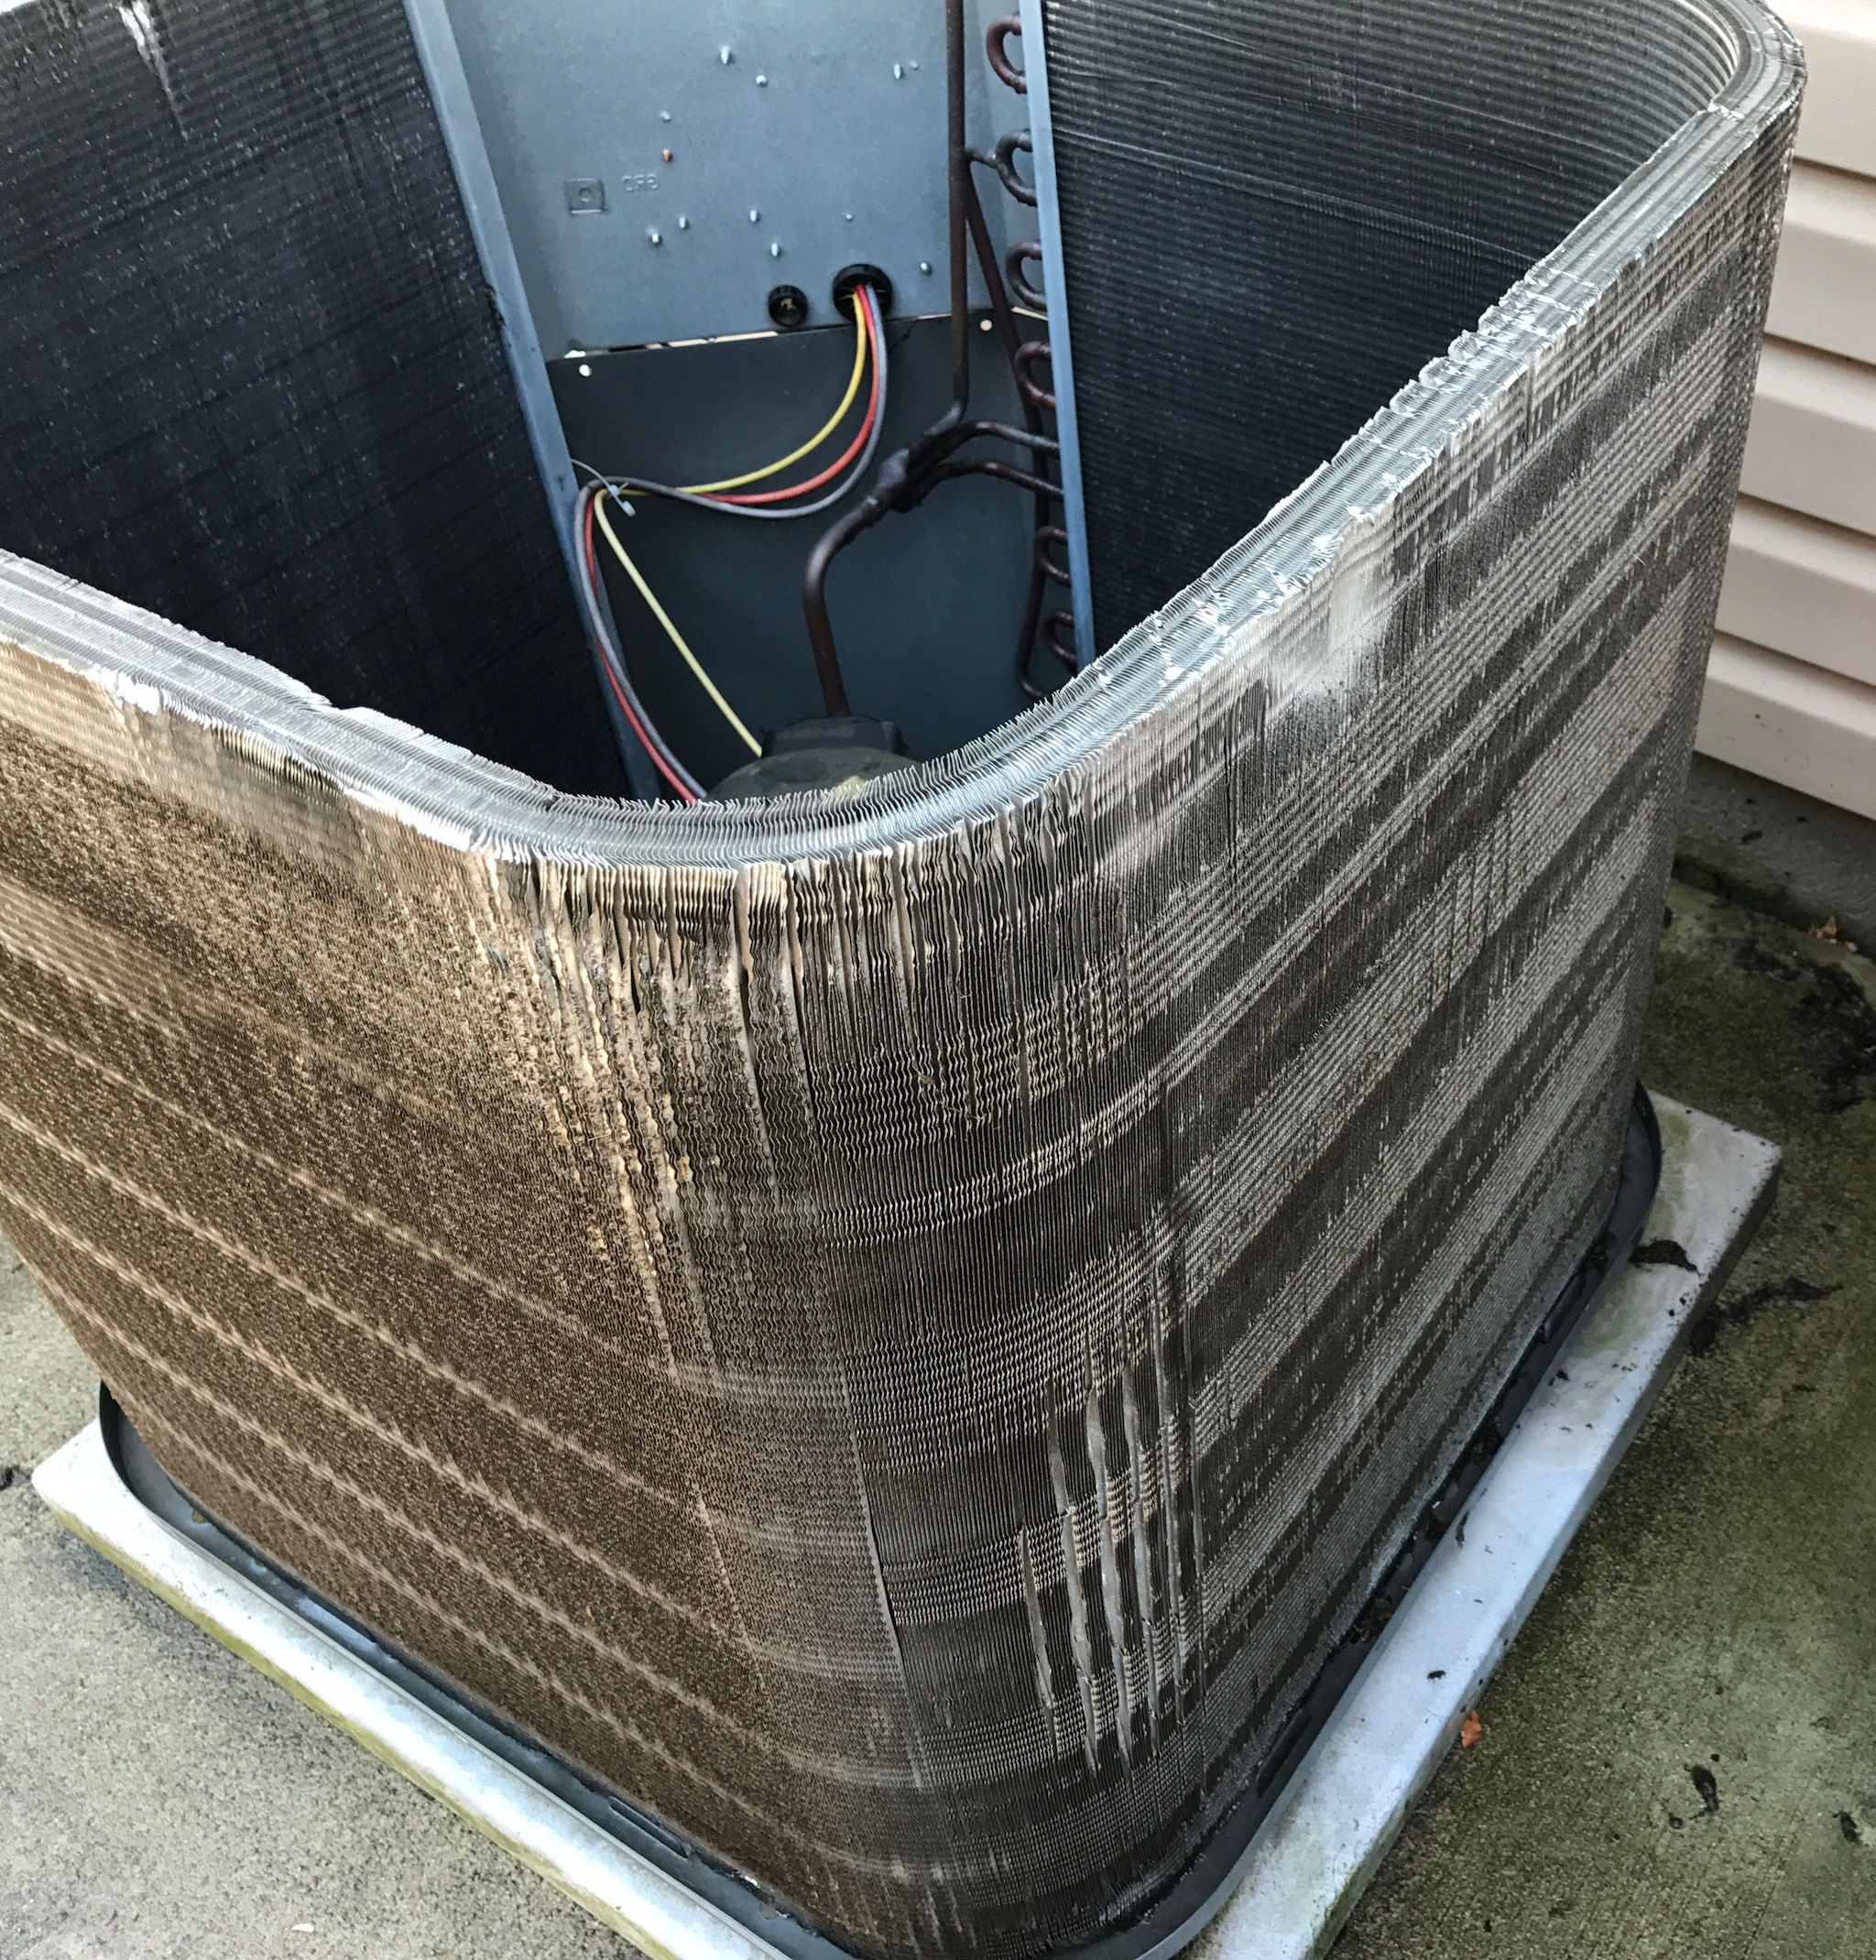
Gently wash away the dirt from top to bottom. Use just enough pressure to rinse the dirt off the coil. Excessive water pressure can bend and cause damage to the coil fins. In the lower part of the coil tray there will be a build up of dirt, be sure to wash away all the dirt or you may have a hard time putting the cover back on.
Step 4 – Reassembly
 To reassemble, we are basically just doing the above process in reverse. Carefully install the protective cover making sure to lineup the holes for the screws. Place each screw hand tight back into its hole.
Place the top cover back over the unit slightly off center so you can feed the fan motor wires back through the hole at the rear of the unit. Then place the top cover back on the unit properly lining up the screw holes. Now hand tighten the screws. Once all the screws are in, go back and tighten all of them. I adjusted my drill to apply enough torque to tighten the screws but not over tighten.
Next reattach the fan motor wires to the same lugs you removed them from earlier. Use the photo you took during step 2 in case you have forgotten.
IMPORTANT – Be sure to pull all the wire slack through the hole to insure the spinning fan blade does not hit the wires
Keep your wires neat and reattach the rear electrical panel protective cover. Finally apply power and test the unit.
DONE!
**NOTE** There is a coil on the inside of the house too. Its called an evaporator coil and needs to be cleaned as well. Cleaning post coming soon!
I’m not a licensed air conditioner repair main, so the information provided here is simply based on my own experience as a home owner. Use the above information at your own risk, your cooling system may be different than mine and make require, additional tools or specialized training to complete the job.
Thanks for reading
Joe