

If you’re as old as I am you may remember some of the auto body repair techniques of the late 70’s and early 80’s. It was an era of body fill ,shape and repair rather than today’s replace replace replace. While Bondo is still used in the automotive industry there are so many other uses for this stuff its ridiculous.
What I like most about Bondo is the fact it will not harden in the can and you are able to store it almost indefinitely. The other amazing quality about this stuff is it hardens and is ready for sanding and paint in under 15 minutes.
Repairing The Porch With Bondo!
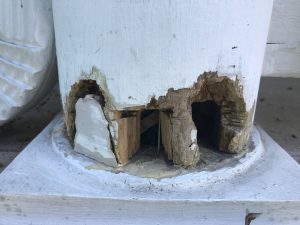 Recently I noticed the columns holding up my covered front porch were showing signs of rotting at the very bottom. Apparently some of the caulking around the top of the column weathered and was allowing moisture in the pole and causing rot.
Step 1 – Clean And Prep The Area
The first step was to clean the rotted wood out and make space for the repair. I found my Dremel MM40-05 Multi-Max a perfect fit for the job. Just a side note, the Dremel is a 3.8 Amp Oscillating tool that can cut sand and has adjustable speeds. It can make quick work of cutting wood, sanding and even removing old caulk and grout! Only $129 at Amazon!
Step 2 – Mix and apply the Bondo
Once the area was properly cleaned the next step was to fill the holes with something the Bondo could grip onto. I drove a few galvanized nails that would not rust horizontally and vertically into the holes. Think of it as miniature rebar! The rebar would increase the strength of the Bondo repair and also hold it in place.
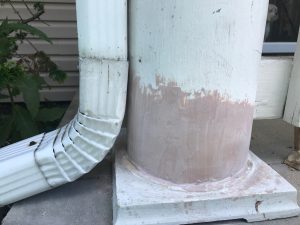 Now its time to apply the Bondo, mix a SMALL amount of the product with the proper amount of the activator. The activator is usually a dark color and you can tell right away when the mixture thoroughly mixed. Apply immediately, as the mixture will begin to harden within 5 minutes. In the attached image I applied at least 3 coats of Bondo to fill the holes waiting about 10 minutes in between each application. After waiting an additional 10 minutes for the mixture to completely set I proceeded to sand and shape the pole.
Step 3 – Sanding and Painting
Once you have completed sanding, sit back and enjoy a drink for yet another 10 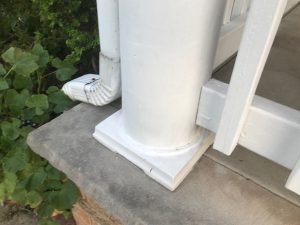 minutes, then you will be ready for paint. Apply your favorite color in two or more coats and then you have the satisfaction of a job well done!
Bondo has amazing strength, will not rot or rust and sets up quickly so you can finish your job in a flash! I believe its truly better than any wood filler you can buy, especially for outdoor applications!
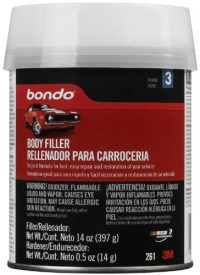
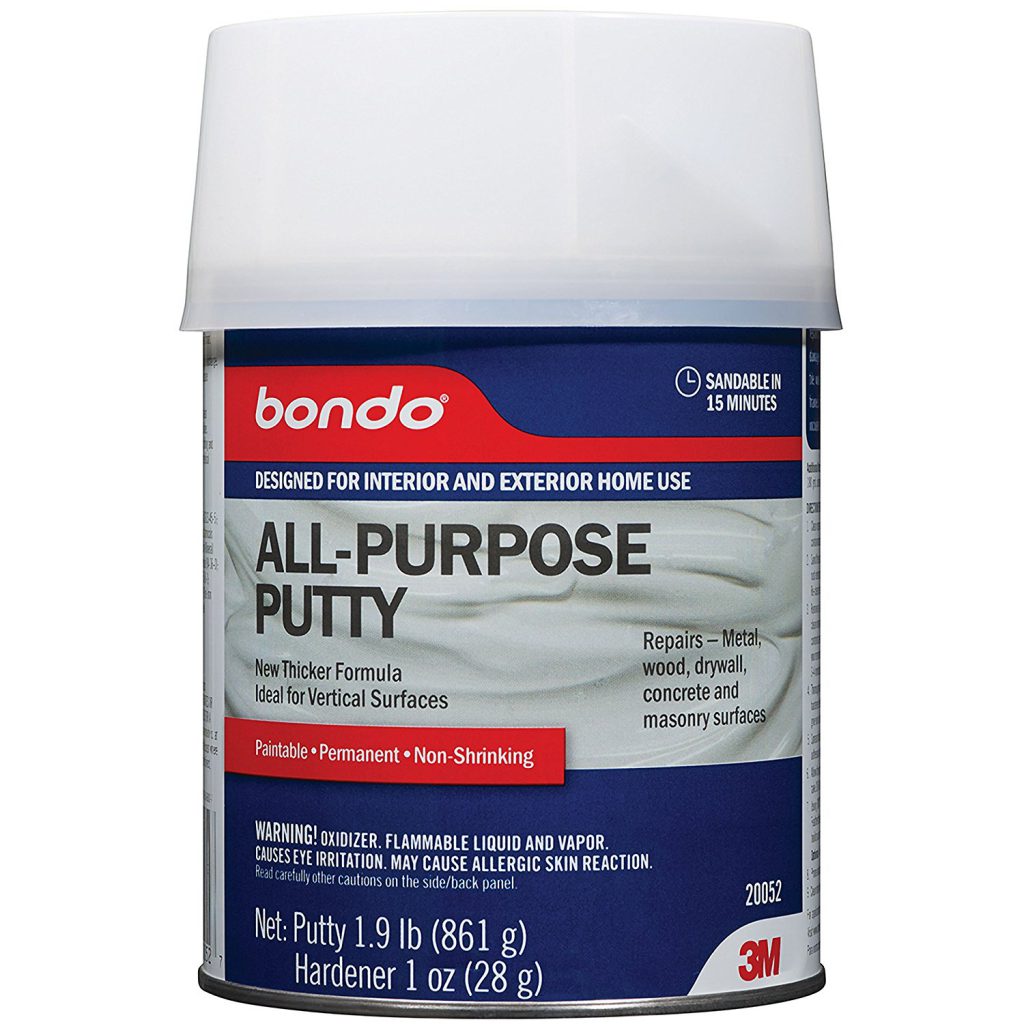
Where to get Bondo
Bondo can be found in most DIY home stores or you can pickup a can at Amazon for under only $15!
Thank you for reading my blog,
-Joe